In WooCommerce, a simple product is one product, one price, and one thing being sold – no editions, no sizes, no versions. A customer adds it to their cart, checks out, and receives their serial key.
All your keys live in a single pool, and the plugin picks the next available key for every new order. You just need to make sure the pool is stocked and the settings are right. WC Serial Numbers handles the rest automatically from a simple tab inside the product settings.
If your product comes in multiple editions or tiers sold from the same product page, that is a variable product, and the setup works differently. See Configure a Variable Product guide instead.
Before You Begin
Make sure WC Serial Numbers is installed and activated on your WordPress site. If you have not done that yet, follow the Installation Guide to get set up in just a few minutes.
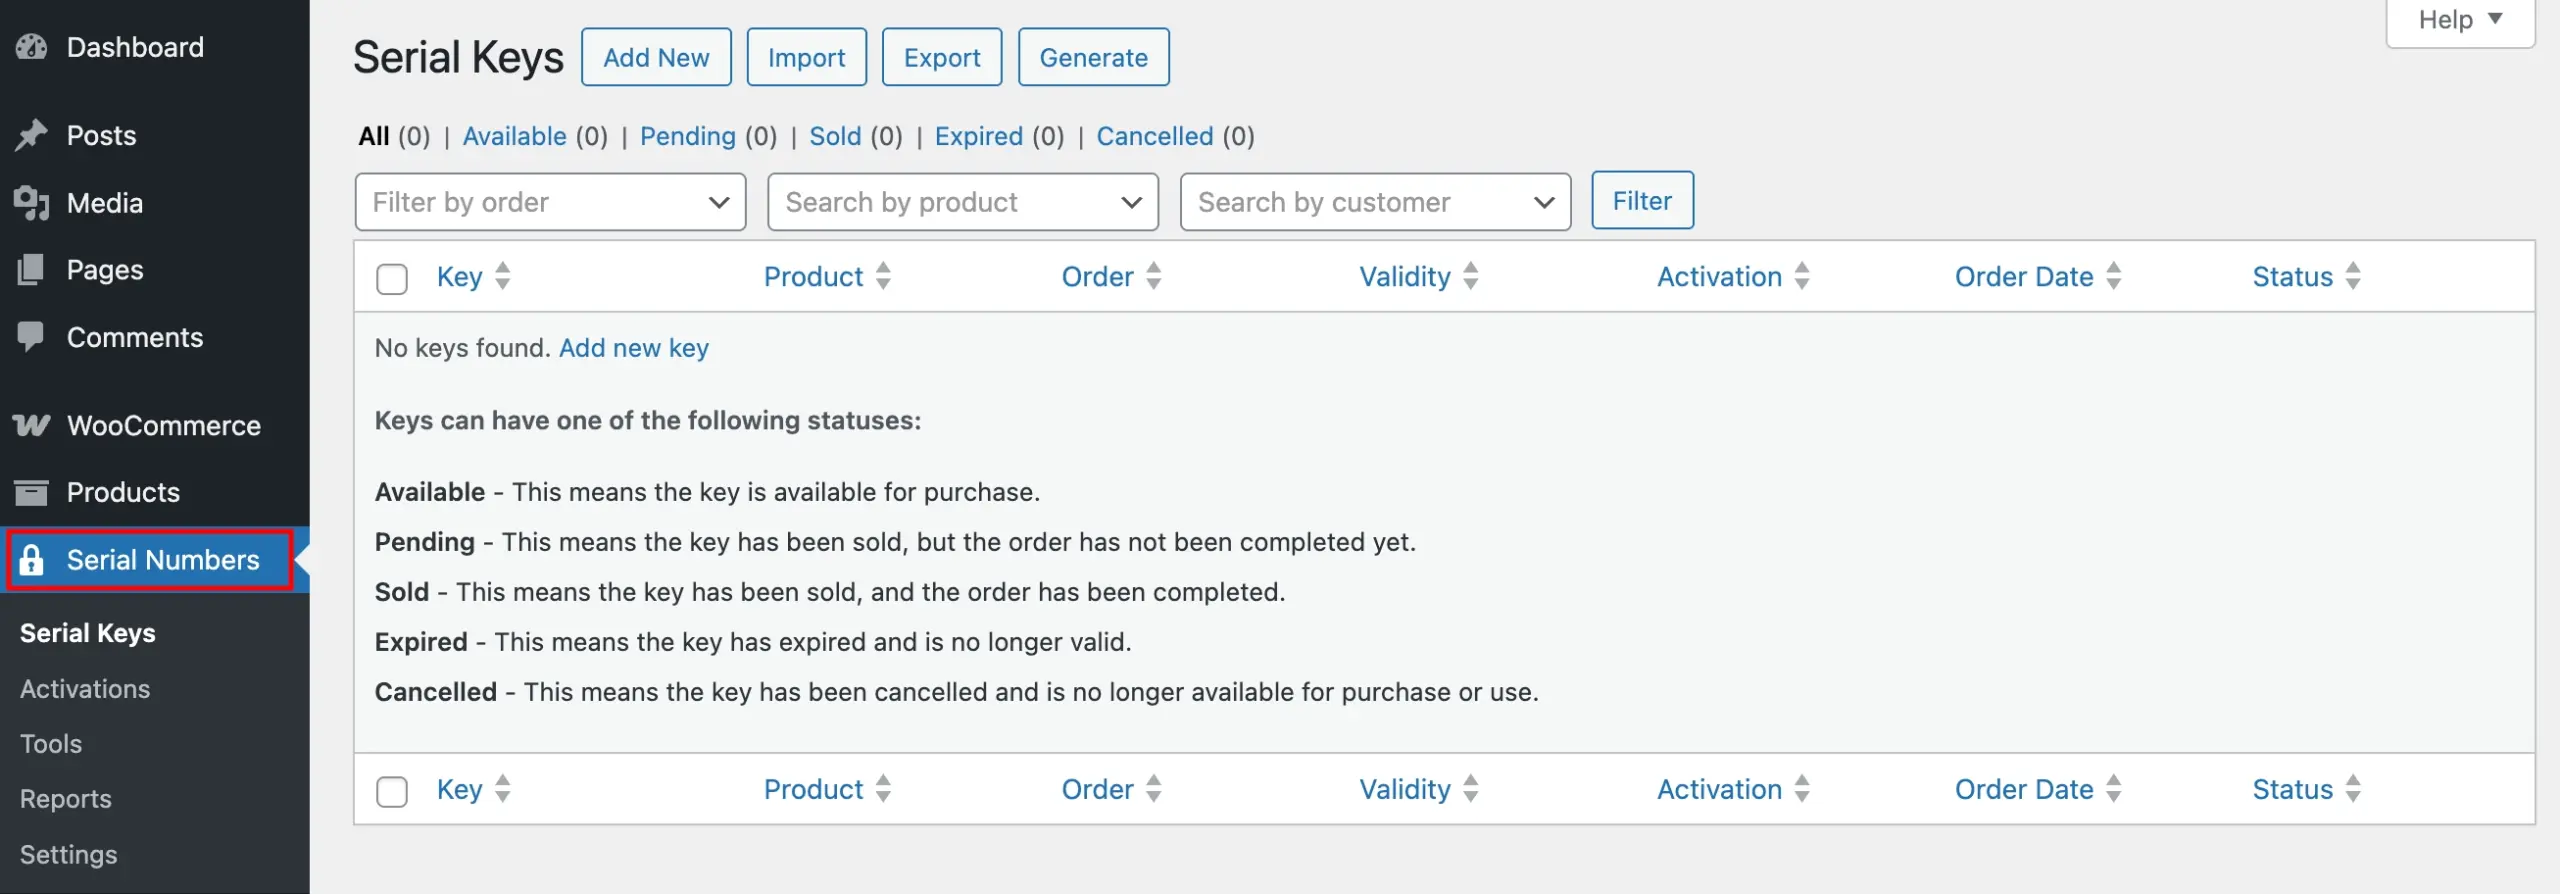
Once activated, you will see a Serial Numbers menu item in your WordPress admin sidebar. This is where you will manage all your keys, generators, and other settings.
Step 1: Find and Open the Product You Want to Configure
Go to Products from your WordPress admin menu and open the simple product you want to configure.
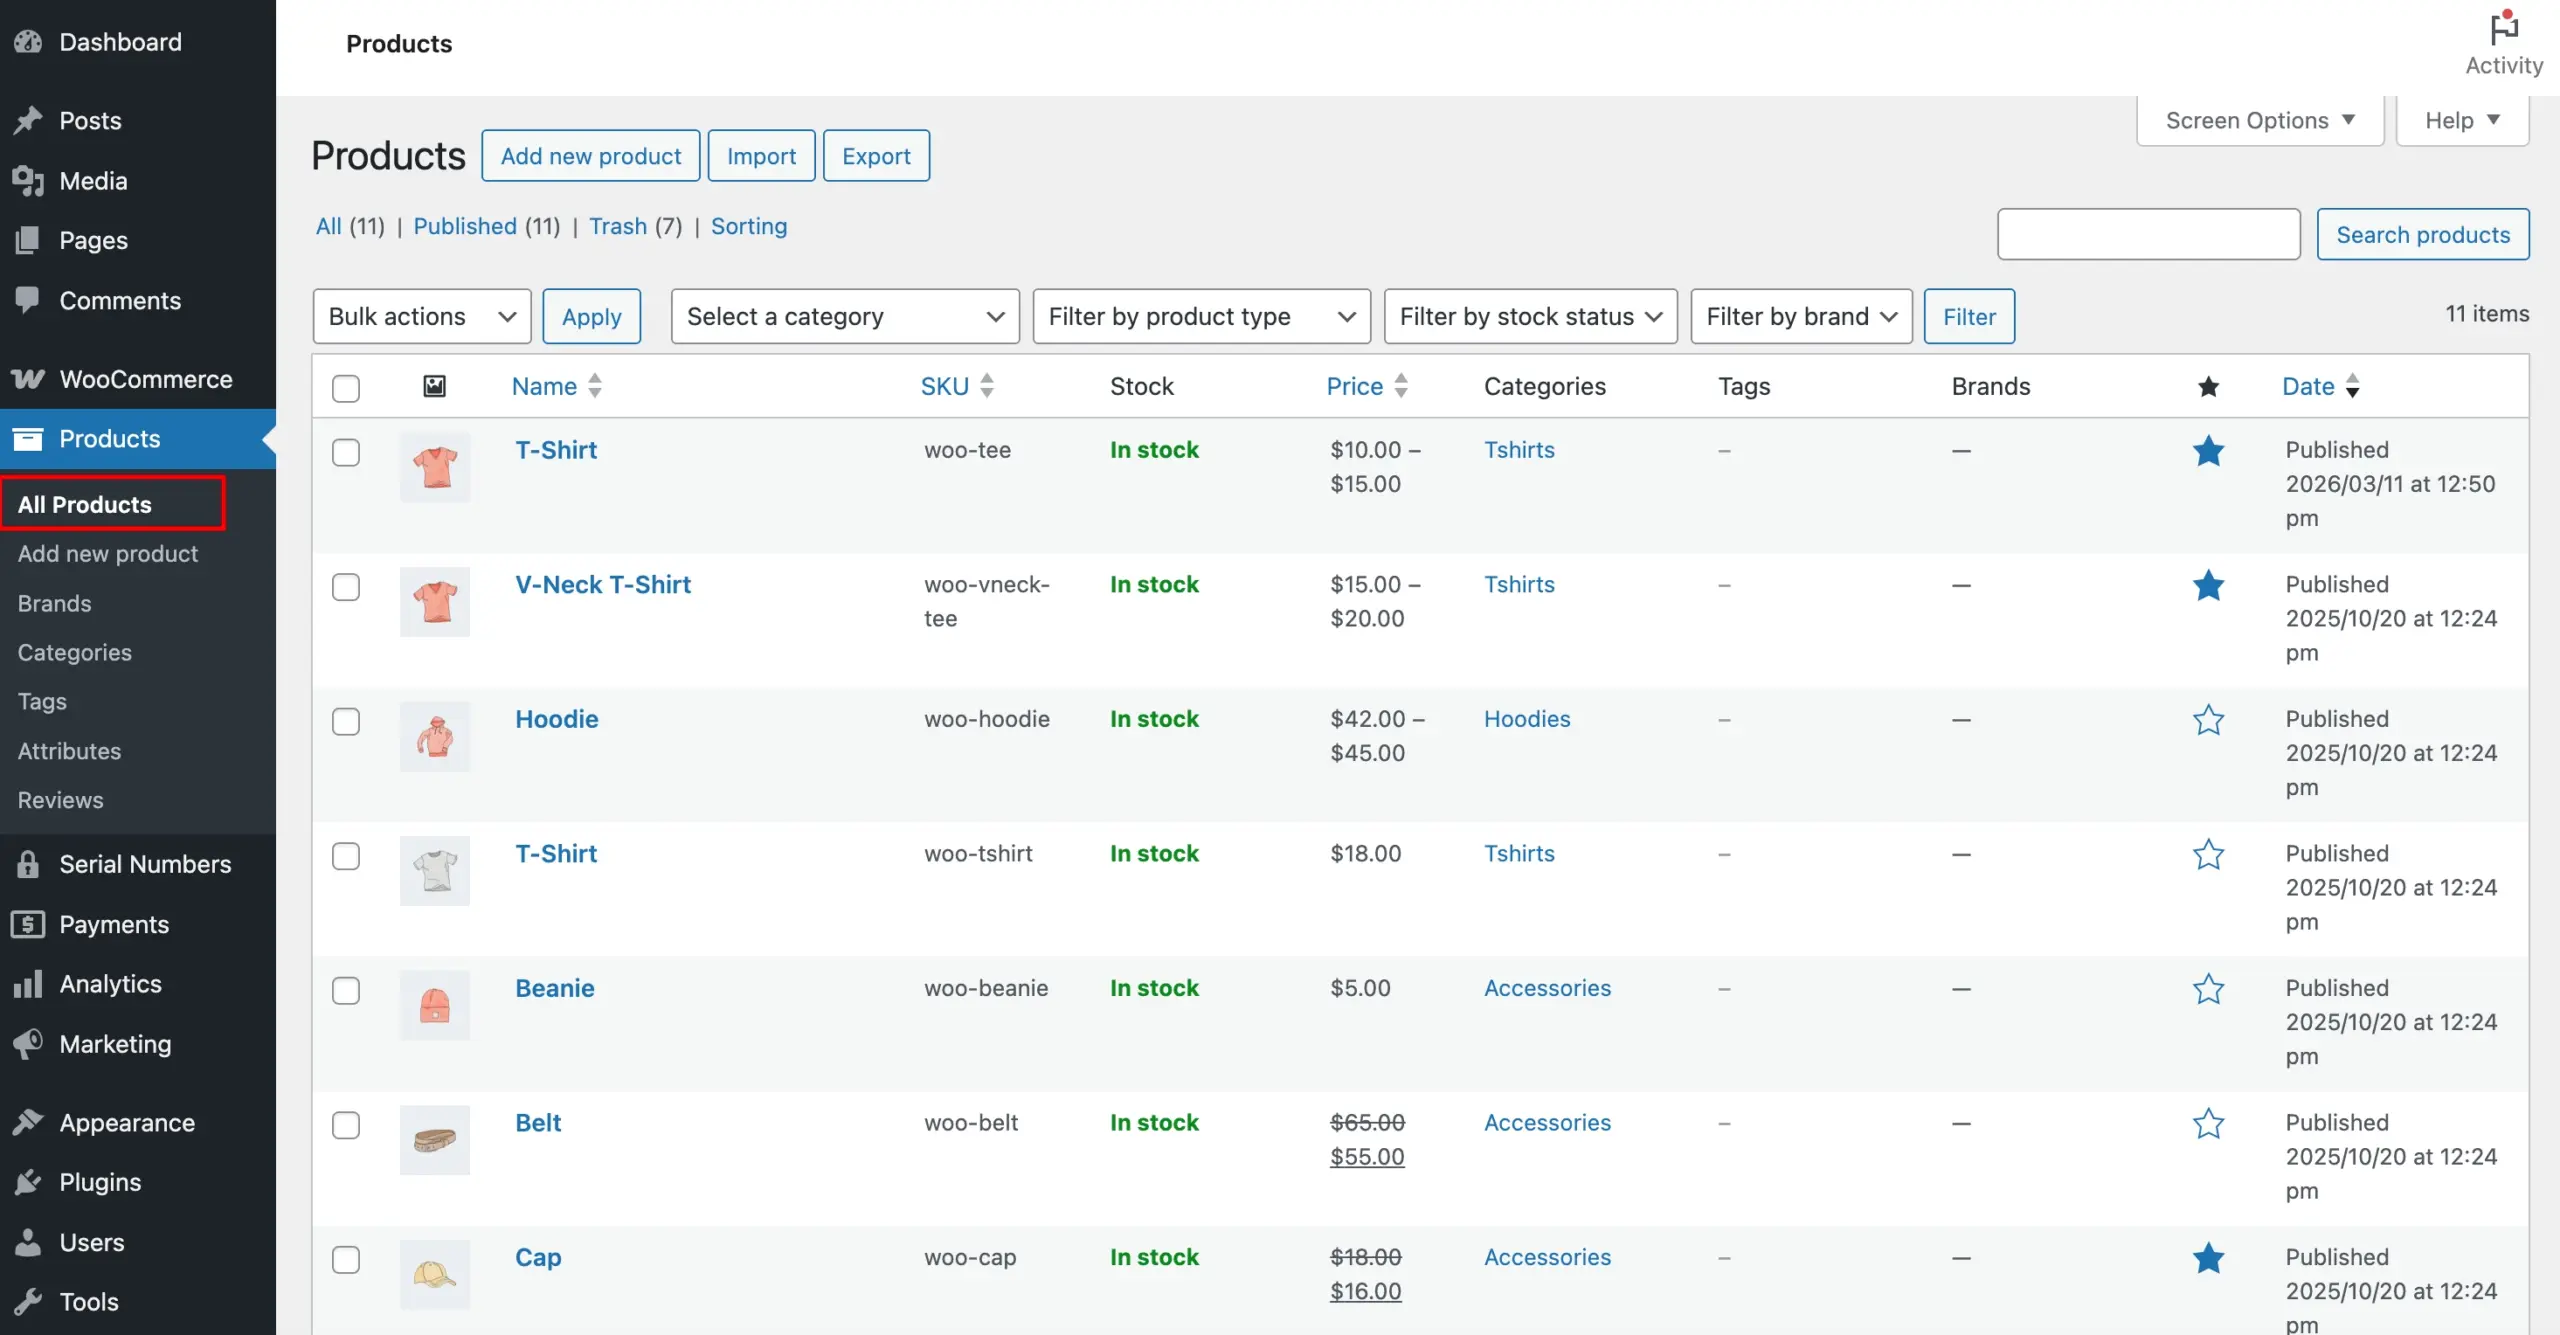
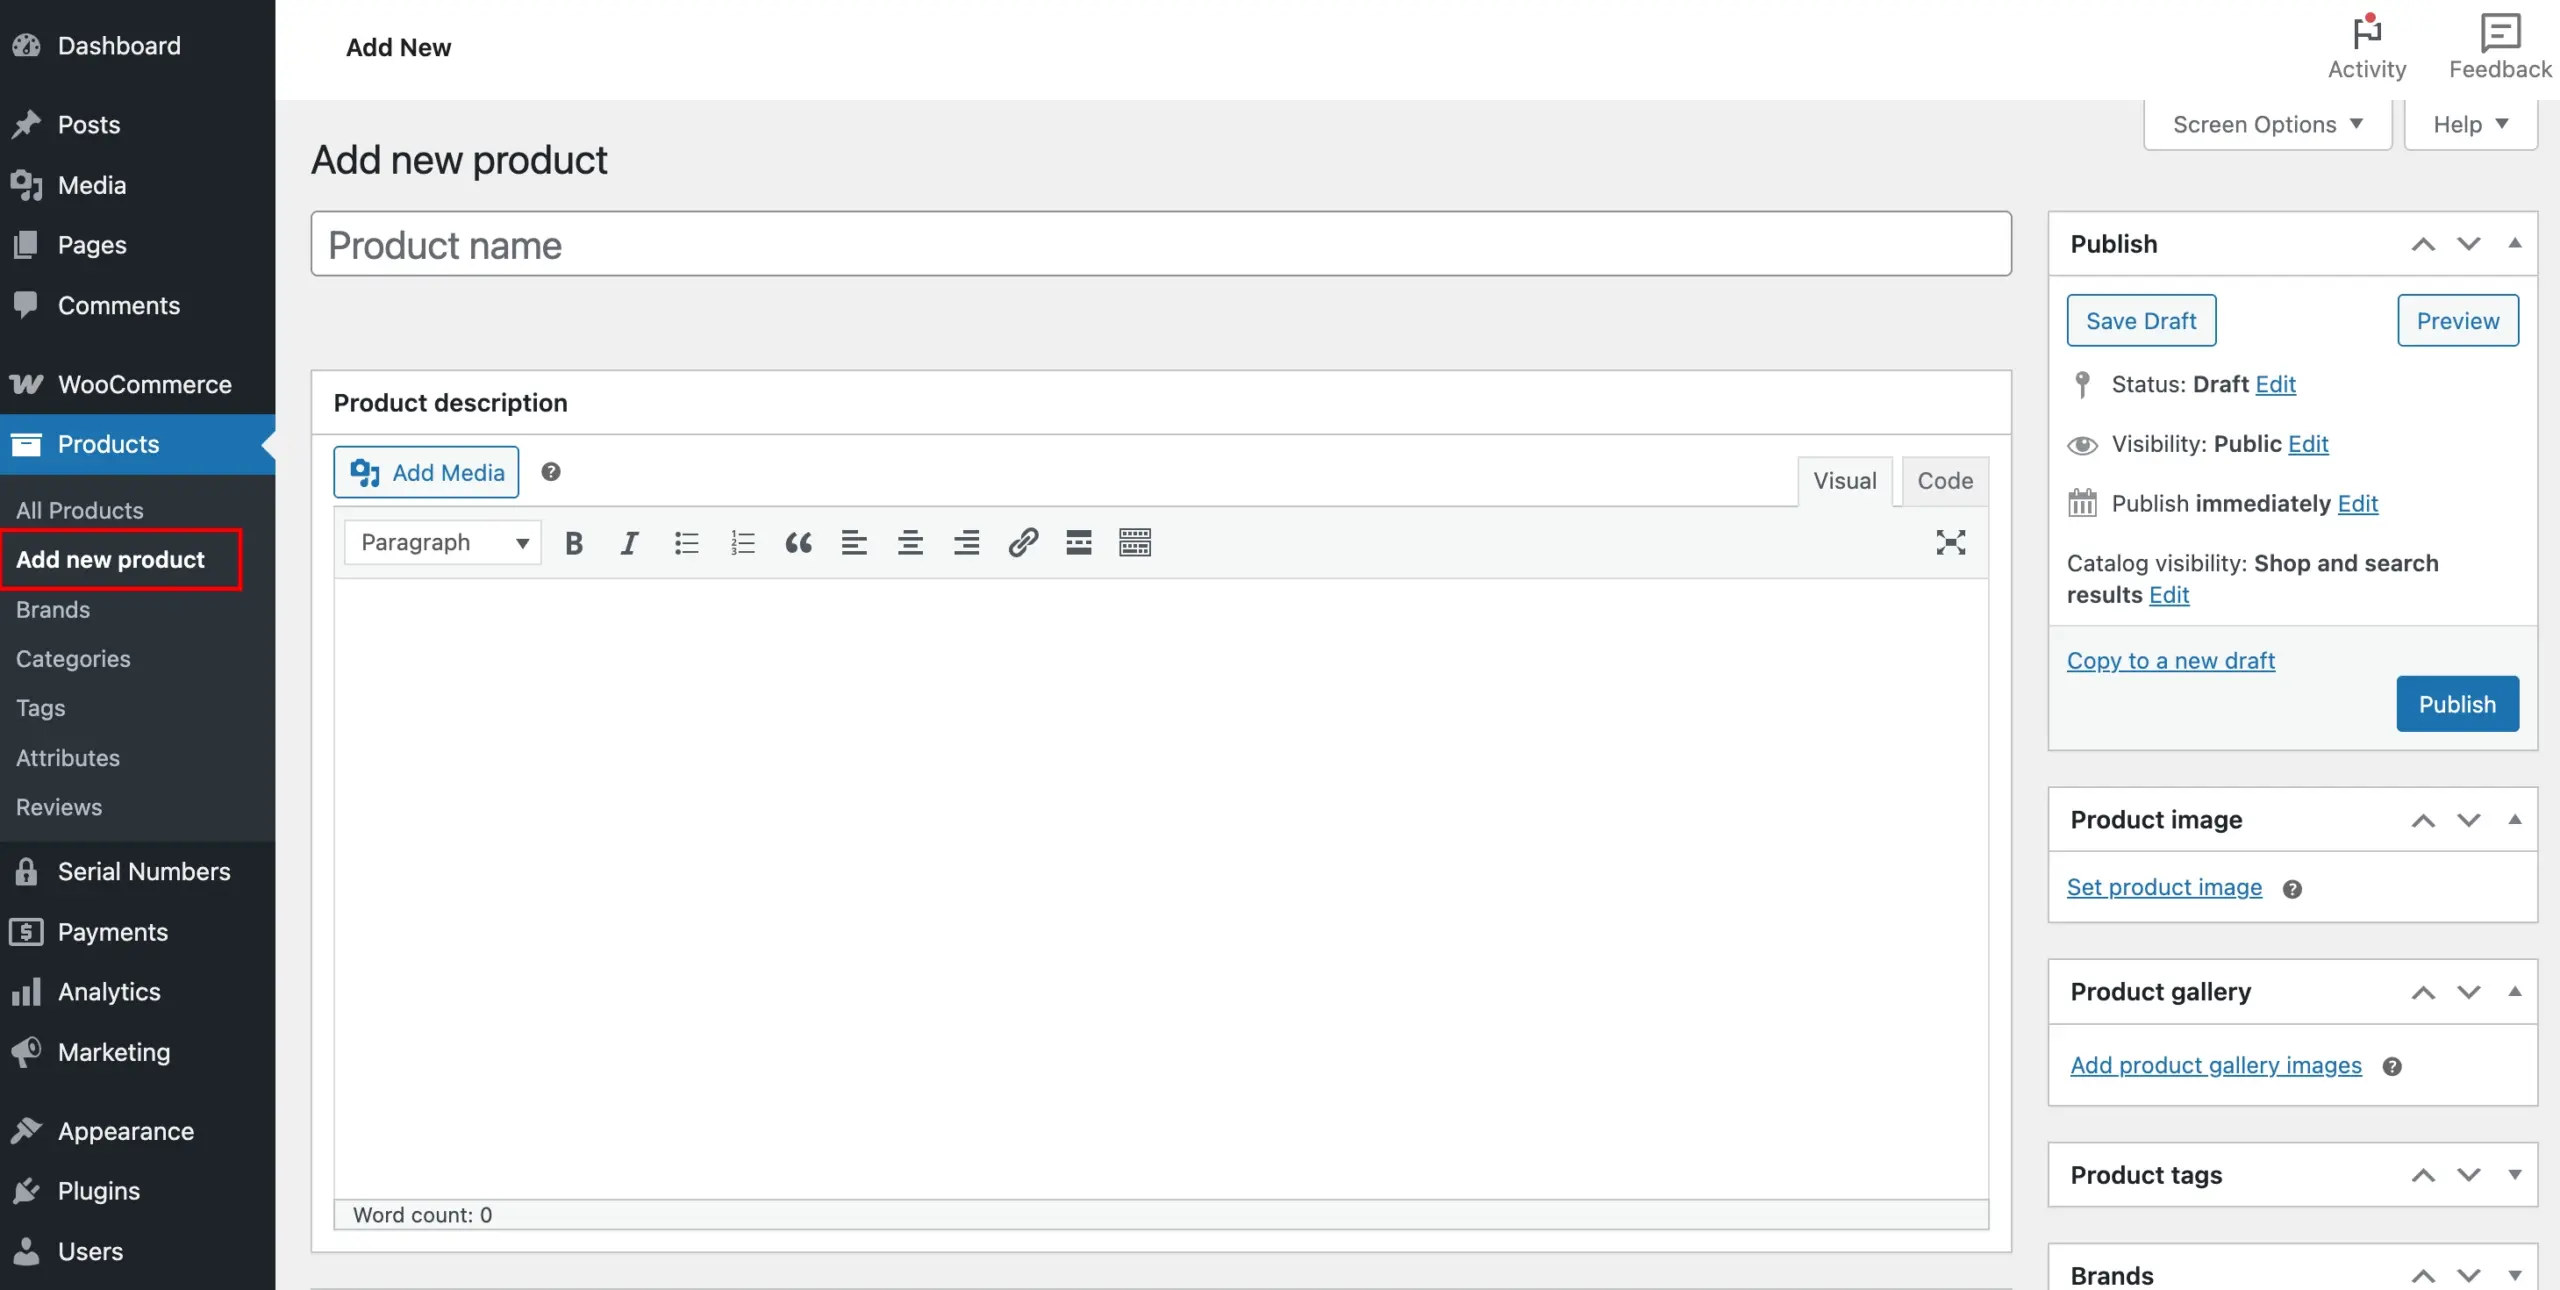
If you do not have a product yet, click Add New and set it up as a Simple Product before proceeding. Variable products are configured differently – this guide covers simple products only.
Step 2: Enable Key Delivery on the Product
Scroll down to the Product Data section and click the Serial Numbers tab. This is where all the key delivery settings for the product are located.

Check Sell Keys to enable key delivery for this product. Until this box is checked, the plugin will not attempt to deliver any keys for this product, regardless of other settings.
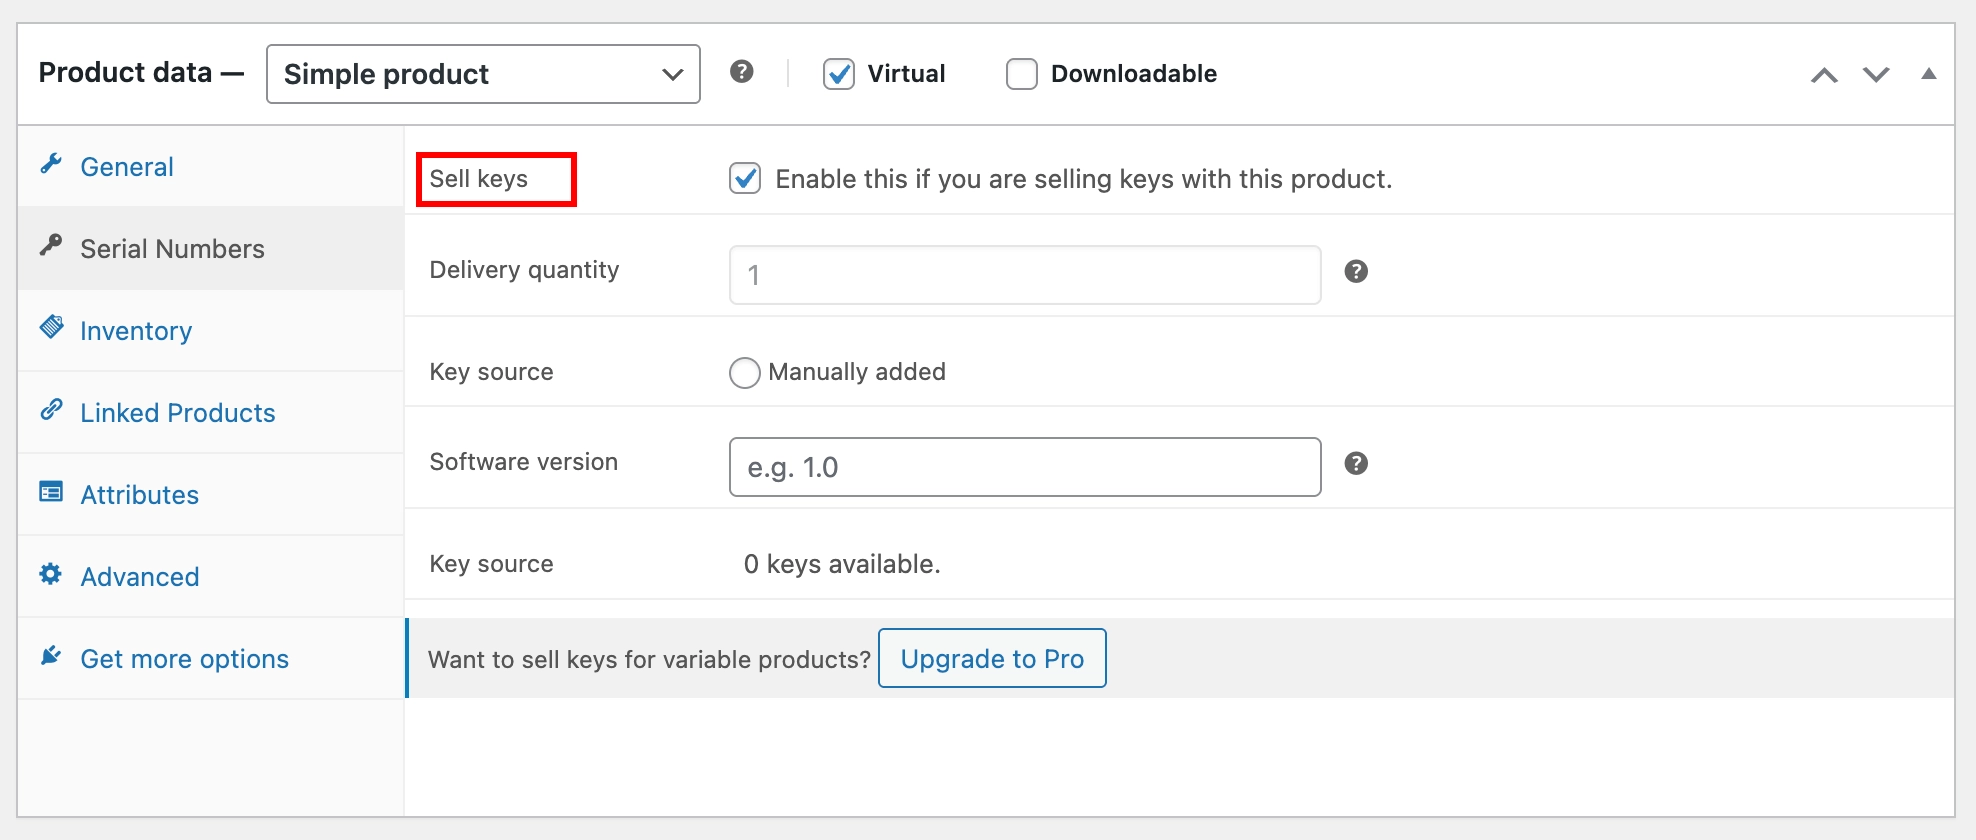
Next, set the Delivery Quantity. This controls the number of keys a customer receives per unit ordered. In most cases, leaving this at 1 is the right choice – meaning a customer who orders 3 units receives 3 keys. If your license model requires multiple keys per unit (for example, a product bundle), increase this number accordingly.
Step 3: Choose How Keys Will Be Delivered
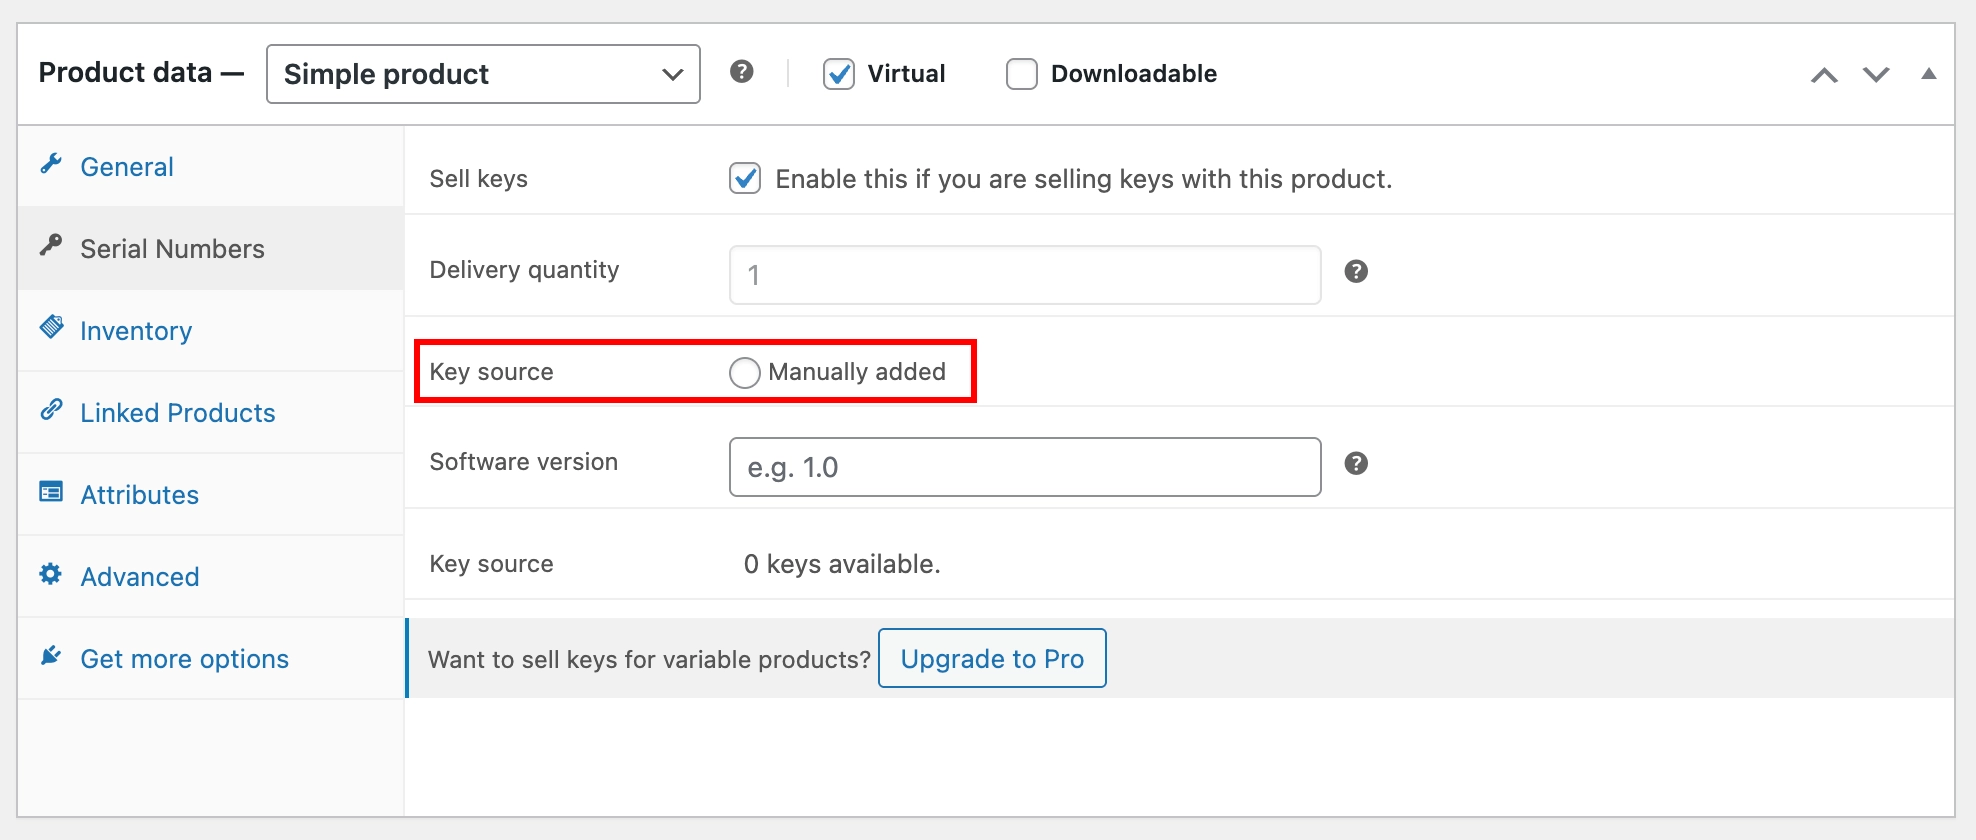
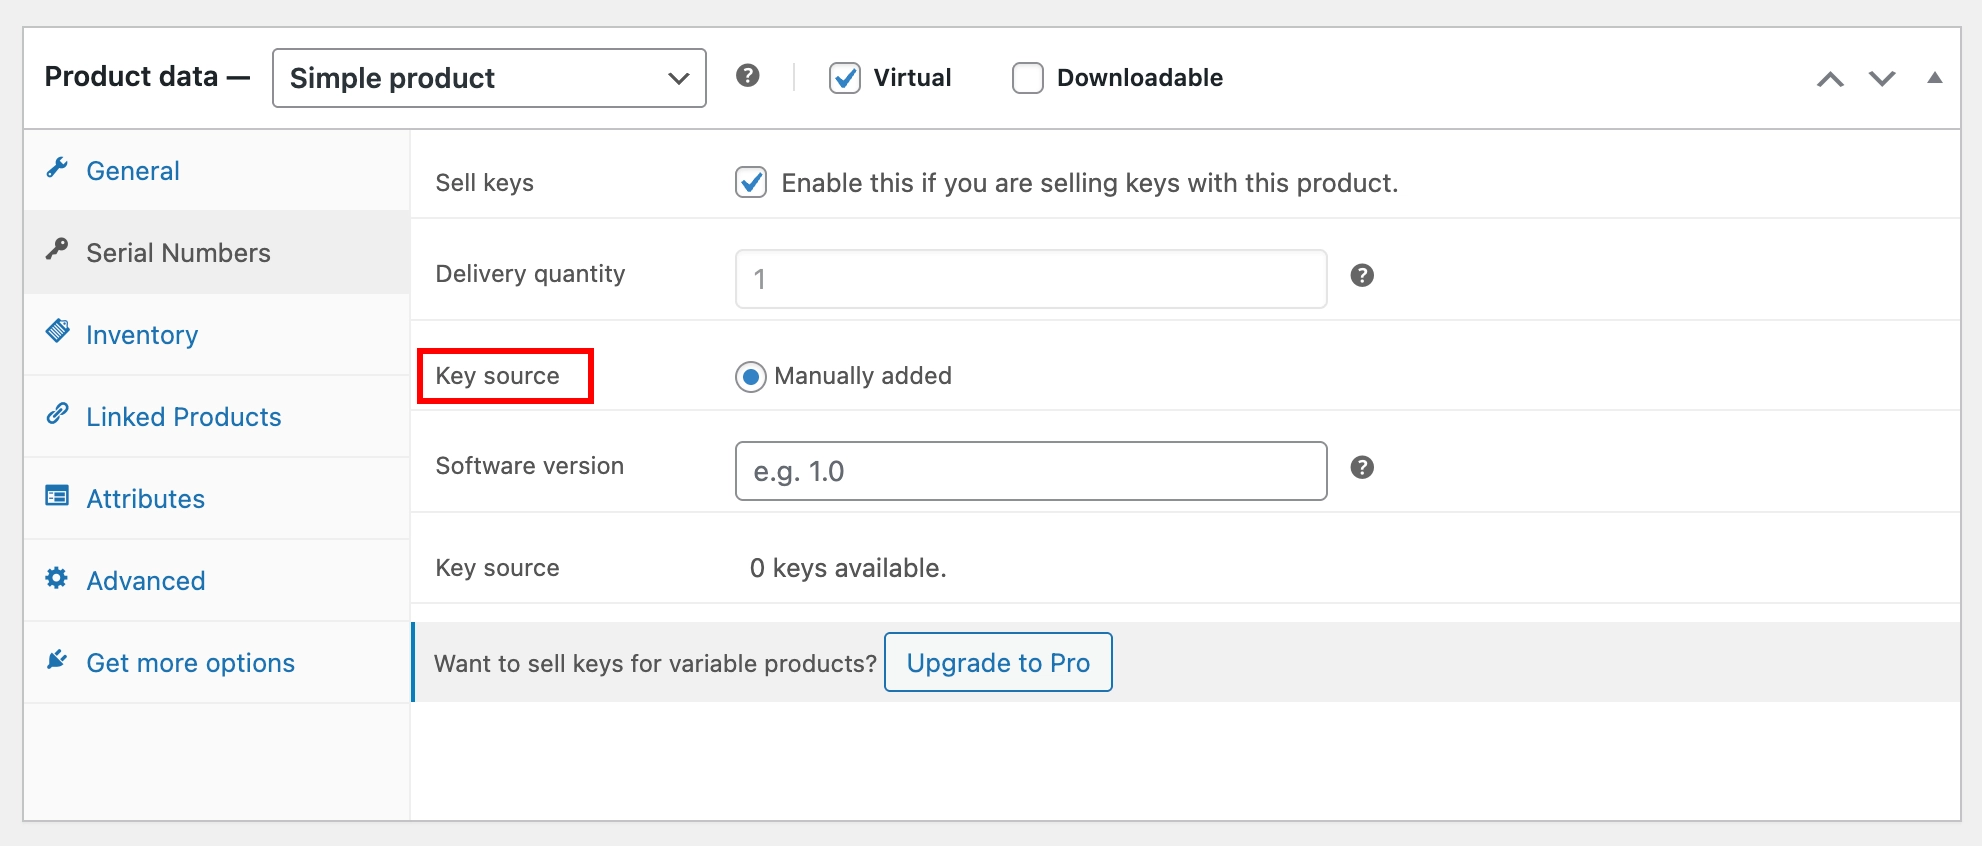
The Key Source setting controls where the keys come from and how they are delivered. For the free version, only Manually Added is available.
Manually Added
This option delivers keys from a pool that you add to your store yourself. It is the best starting point if you already have a list of pre-existing keys. For example, license keys from a software vendor are ready to upload.
To add your first key, follow the steps in the Add Keys Manually guide. Once your key is added and assigned to this product, come back here and set the Key Source to Manually Added.
If you have a large batch of keys to load at once, the Import Keys in Bulk (Pro) guide will walk you through the bulk import process.
Want to automate key delivery? WC Serial Numbers Pro unlocks two more powerful key source options – Generator Rule and Auto-Generated Key. So you never have to add keys manually again. Upgrade to Pro, then install and activate the license, and come back here and continue.
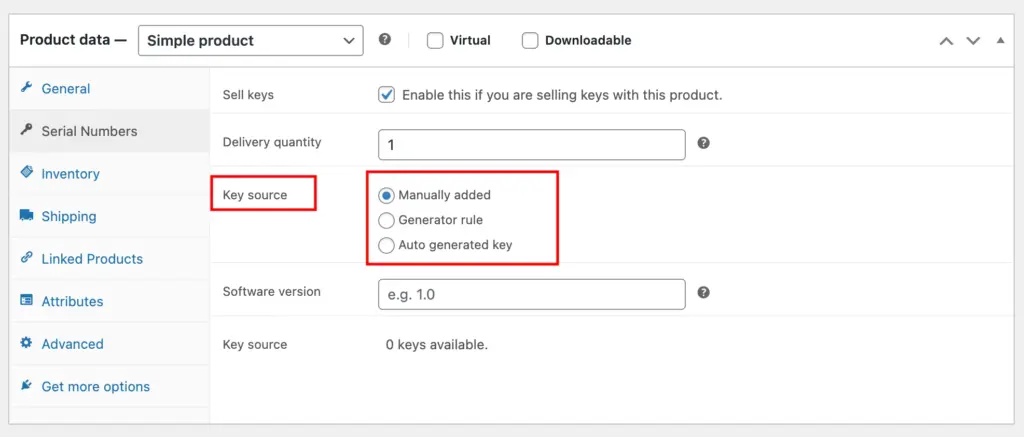
Generator Rule (Pro)
With a Generator Rule, WC Serial Numbers automatically generates a new key every time a customer places an order, based on a custom pattern you define. This means you never have to add keys manually again.
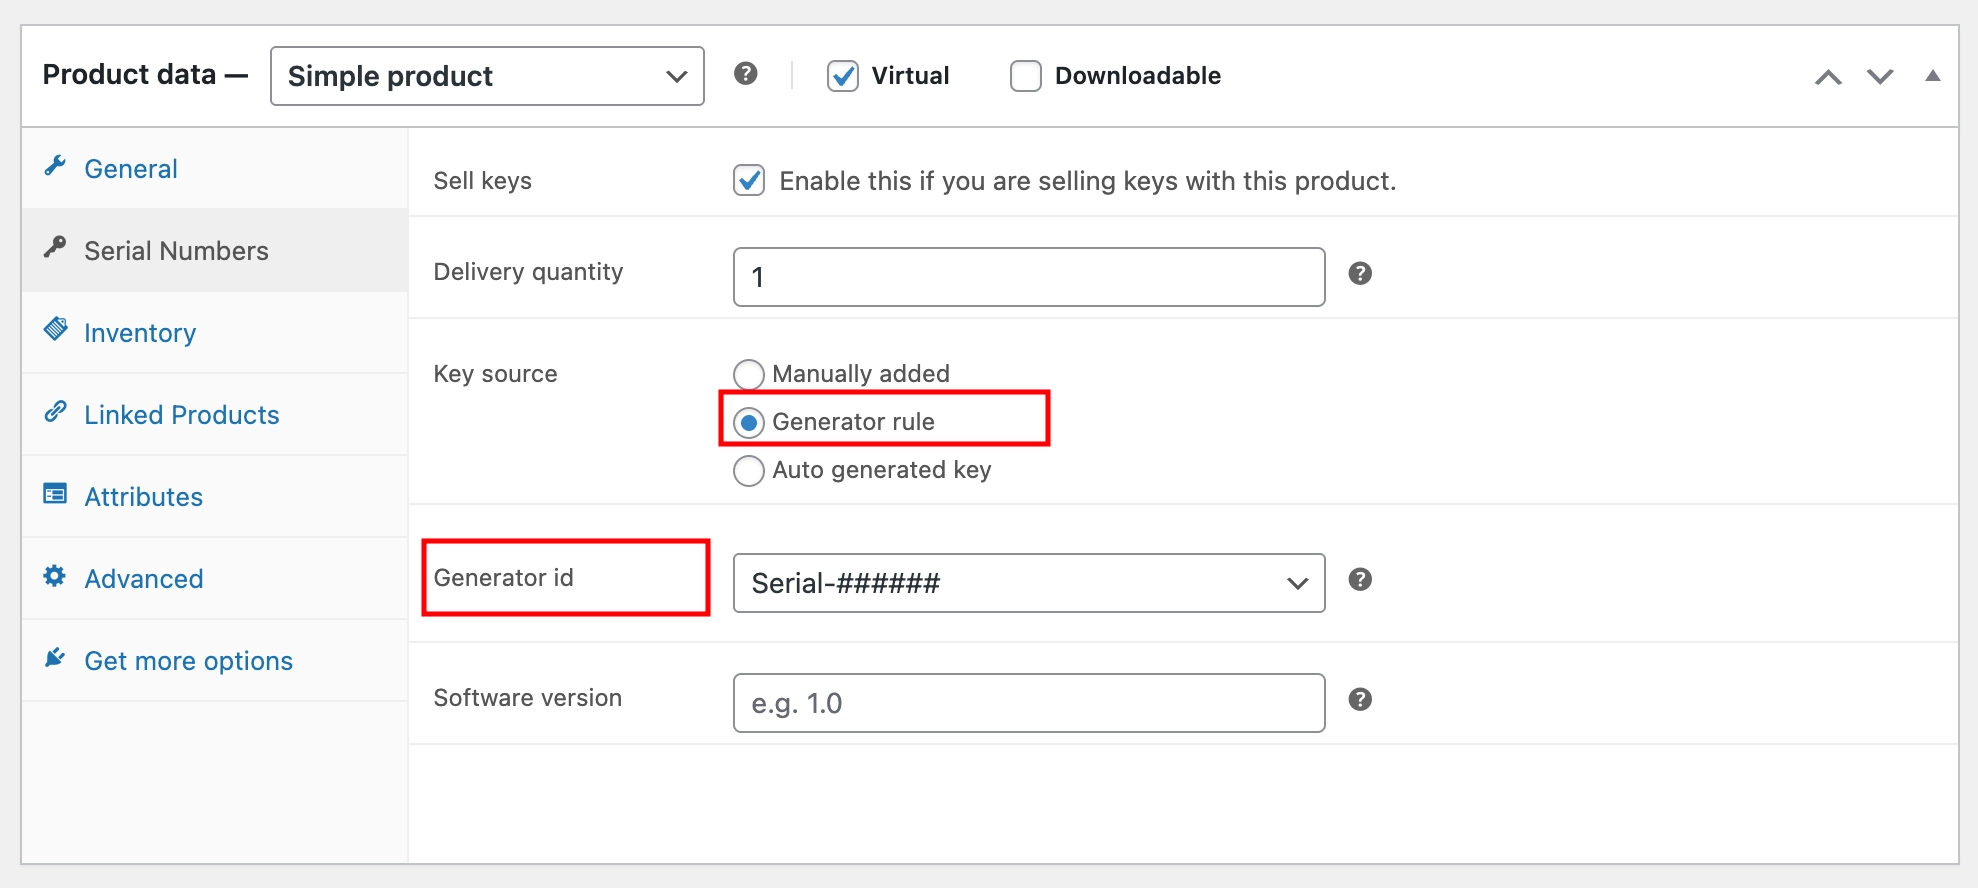
Once on Pro, follow the Set Up a Key Generator guide to create your first generator, then follow the Deliver Keys with Generator Rule guide.
Auto-Generated Key (Pro)
Auto-Generated Key takes automation a step further. The plugin generates a unique random key for each order without requiring a generator rule to be configured. Simply select it as the key source, configure the prefix and activation settings, and the plugin handles the rest.
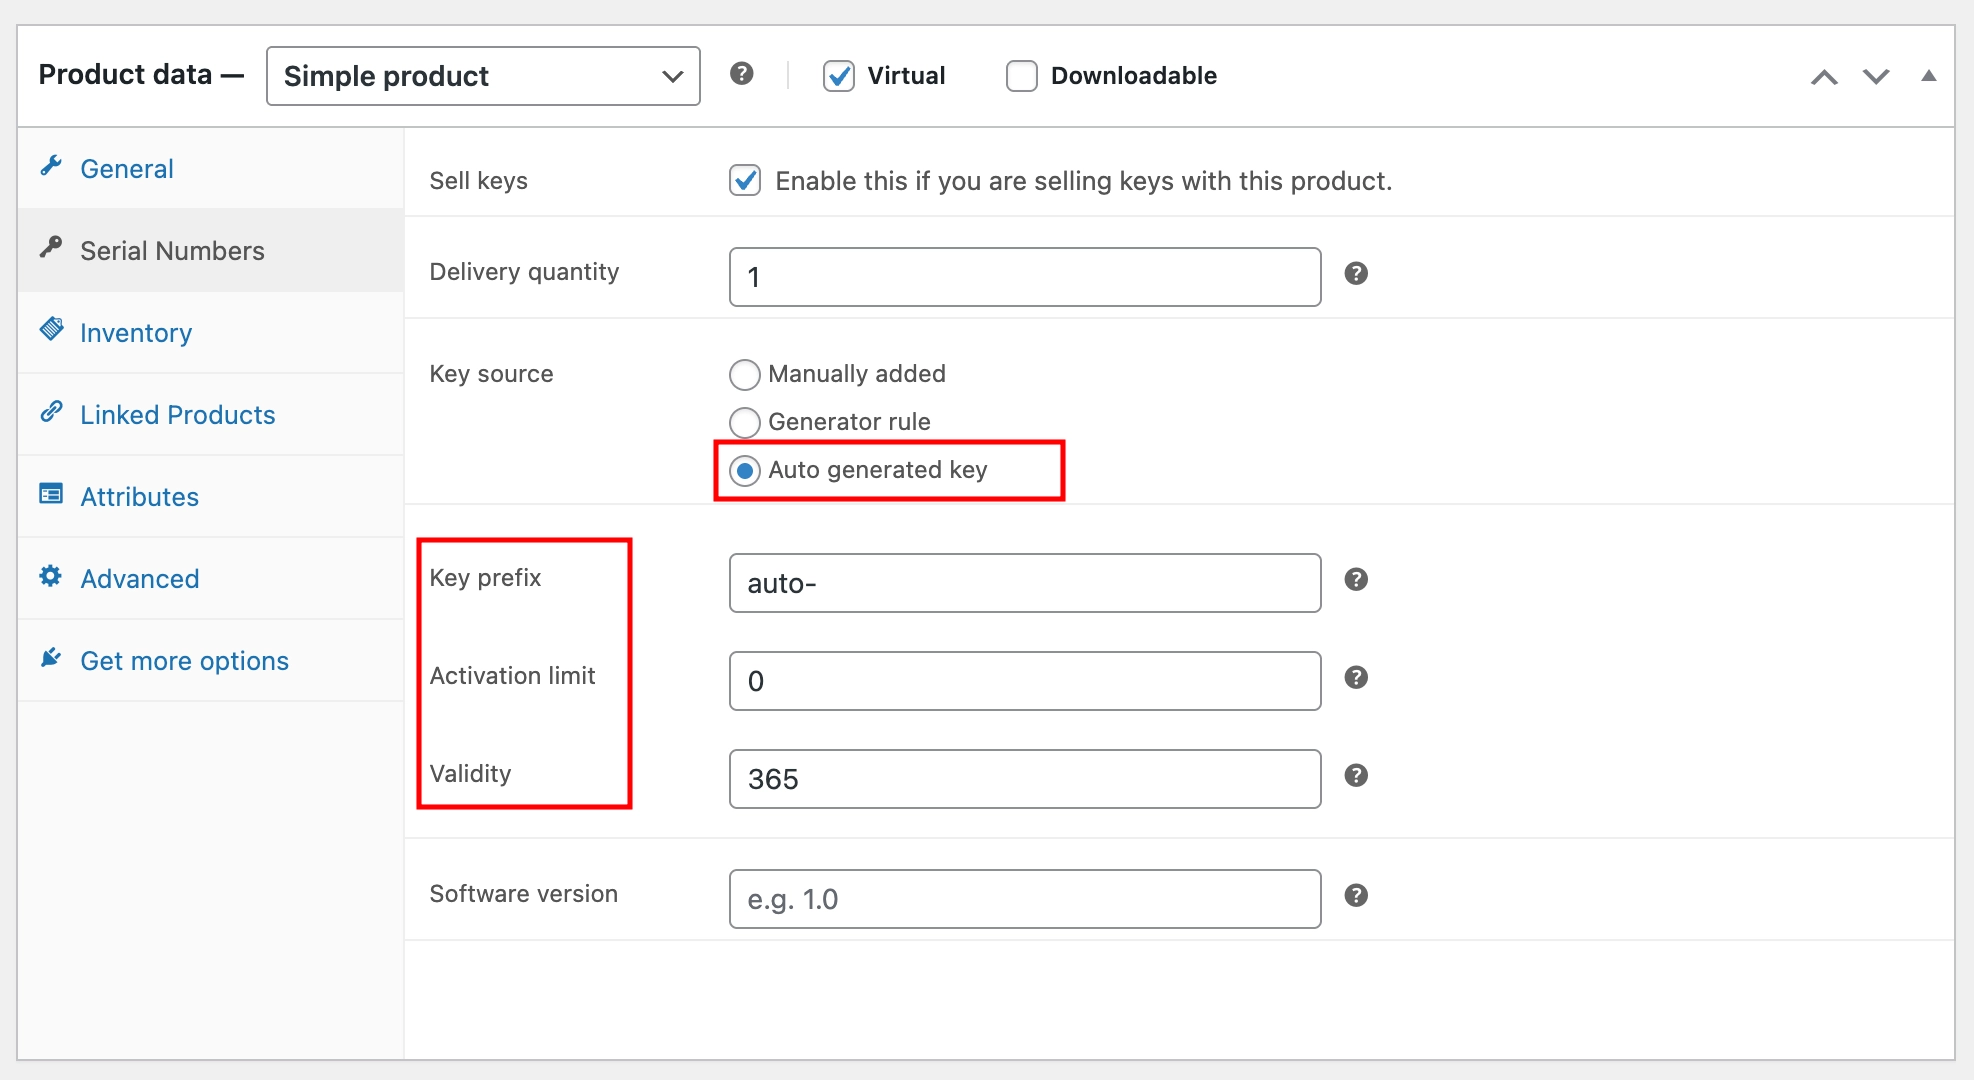
Once in Pro, follow the Deliver Keys Using Auto-Generation guide to configure the key format for this product.
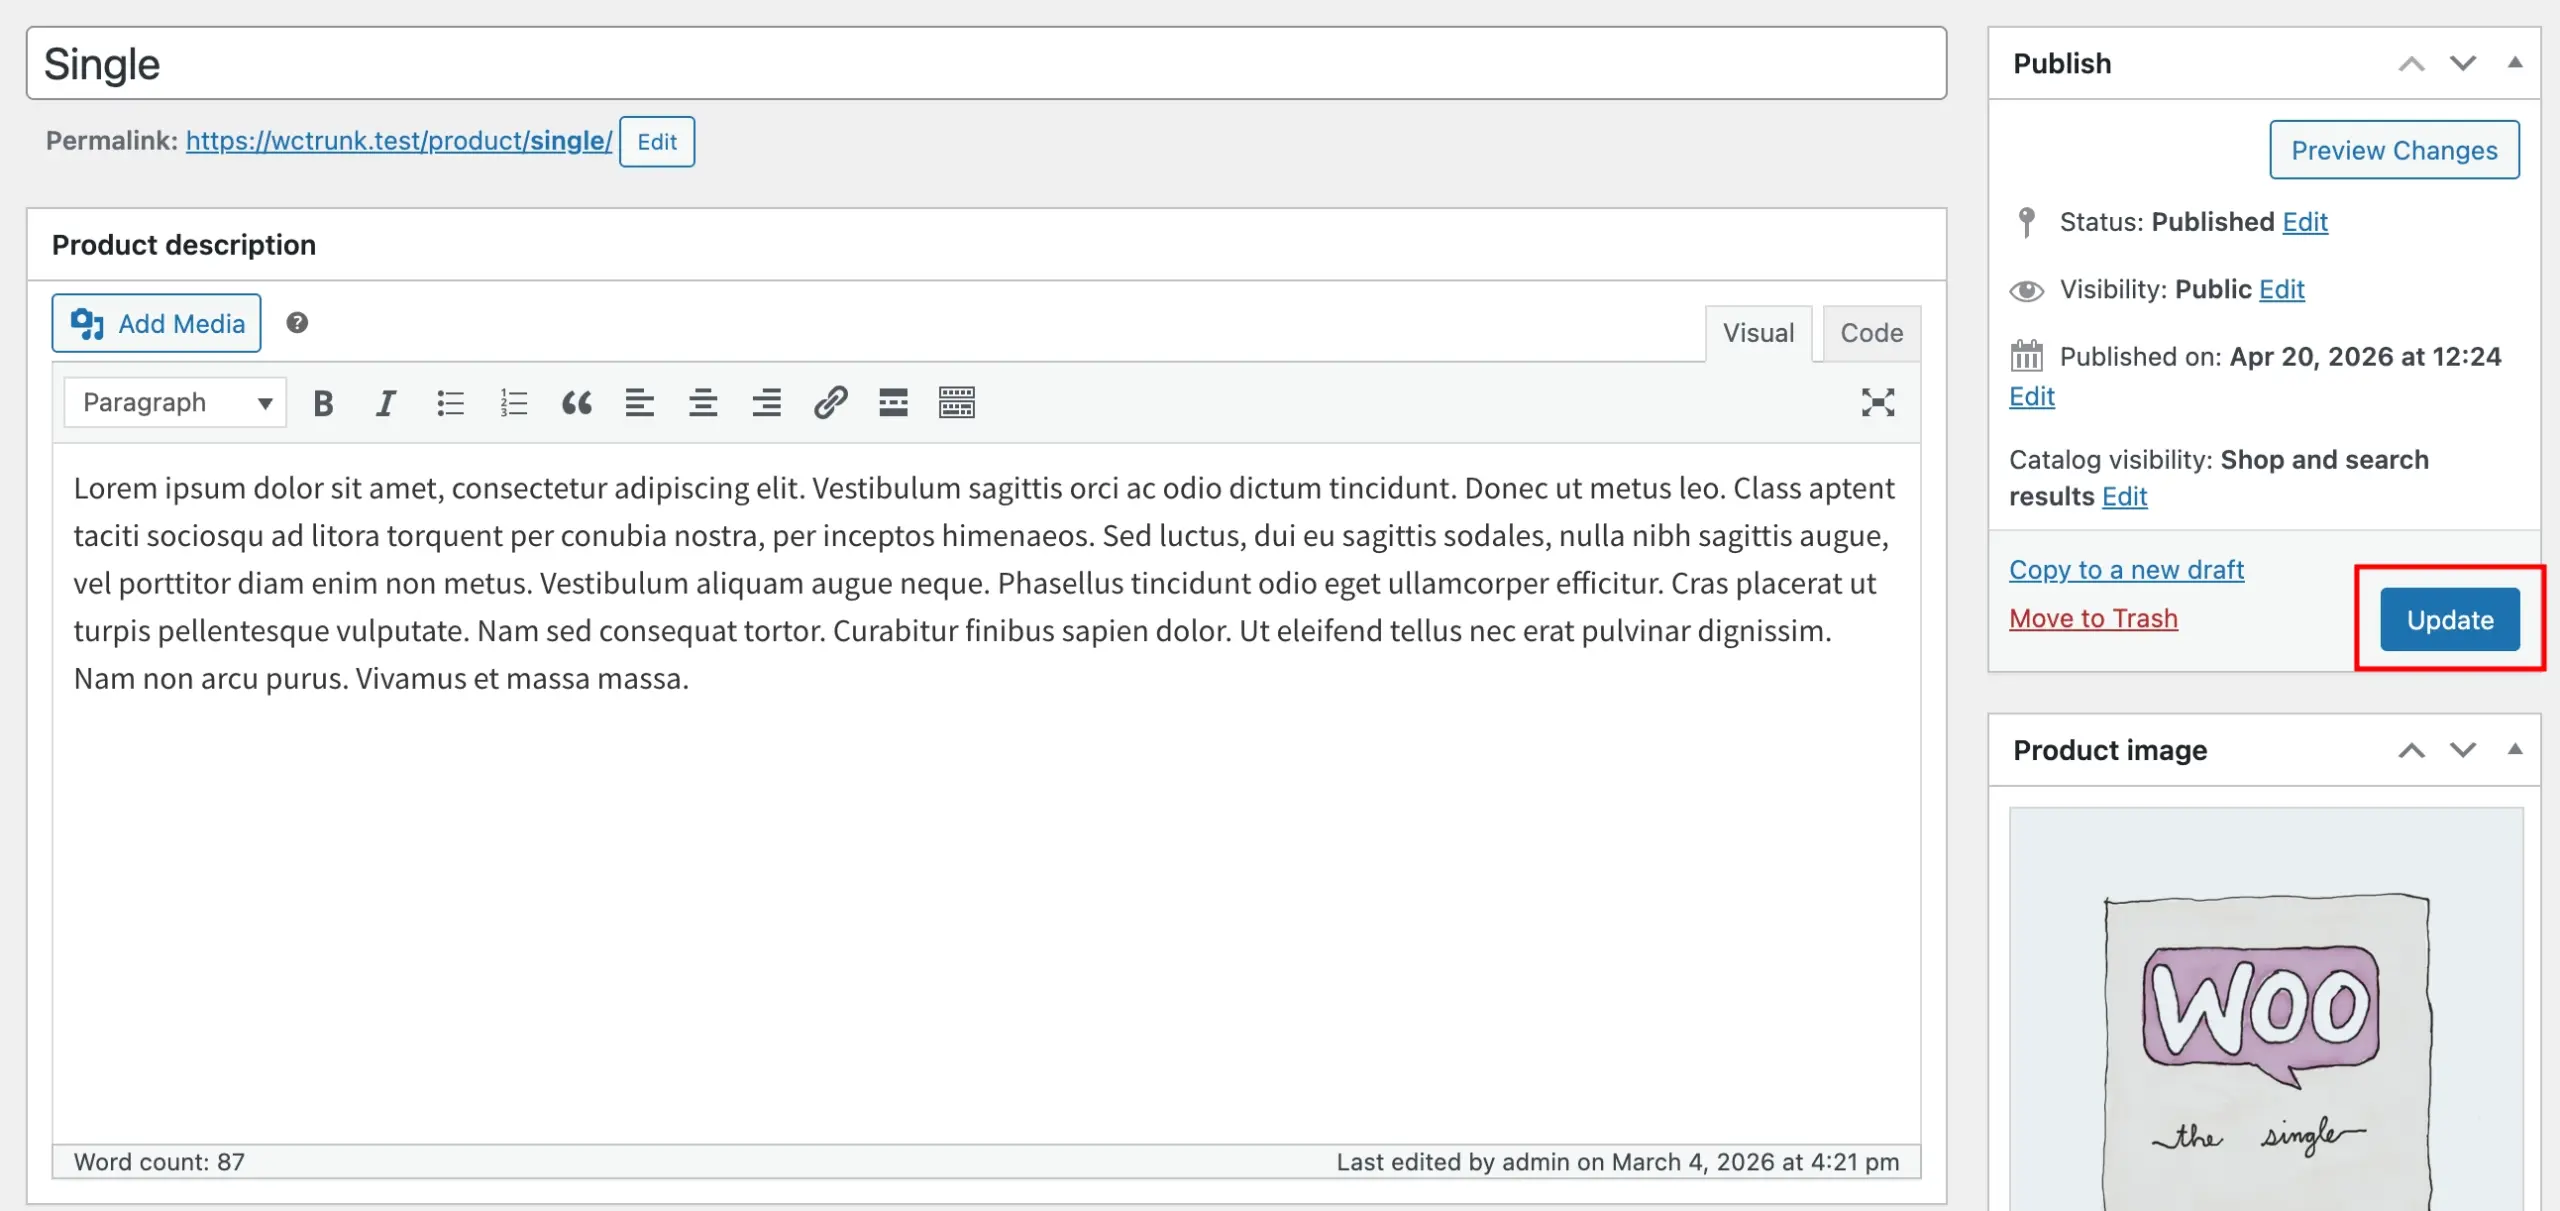
Step 4: Save the Product
Once you have selected your key source and configured all settings, click Update to save the product. Your product is now ready to be sold and to deliver serial keys.
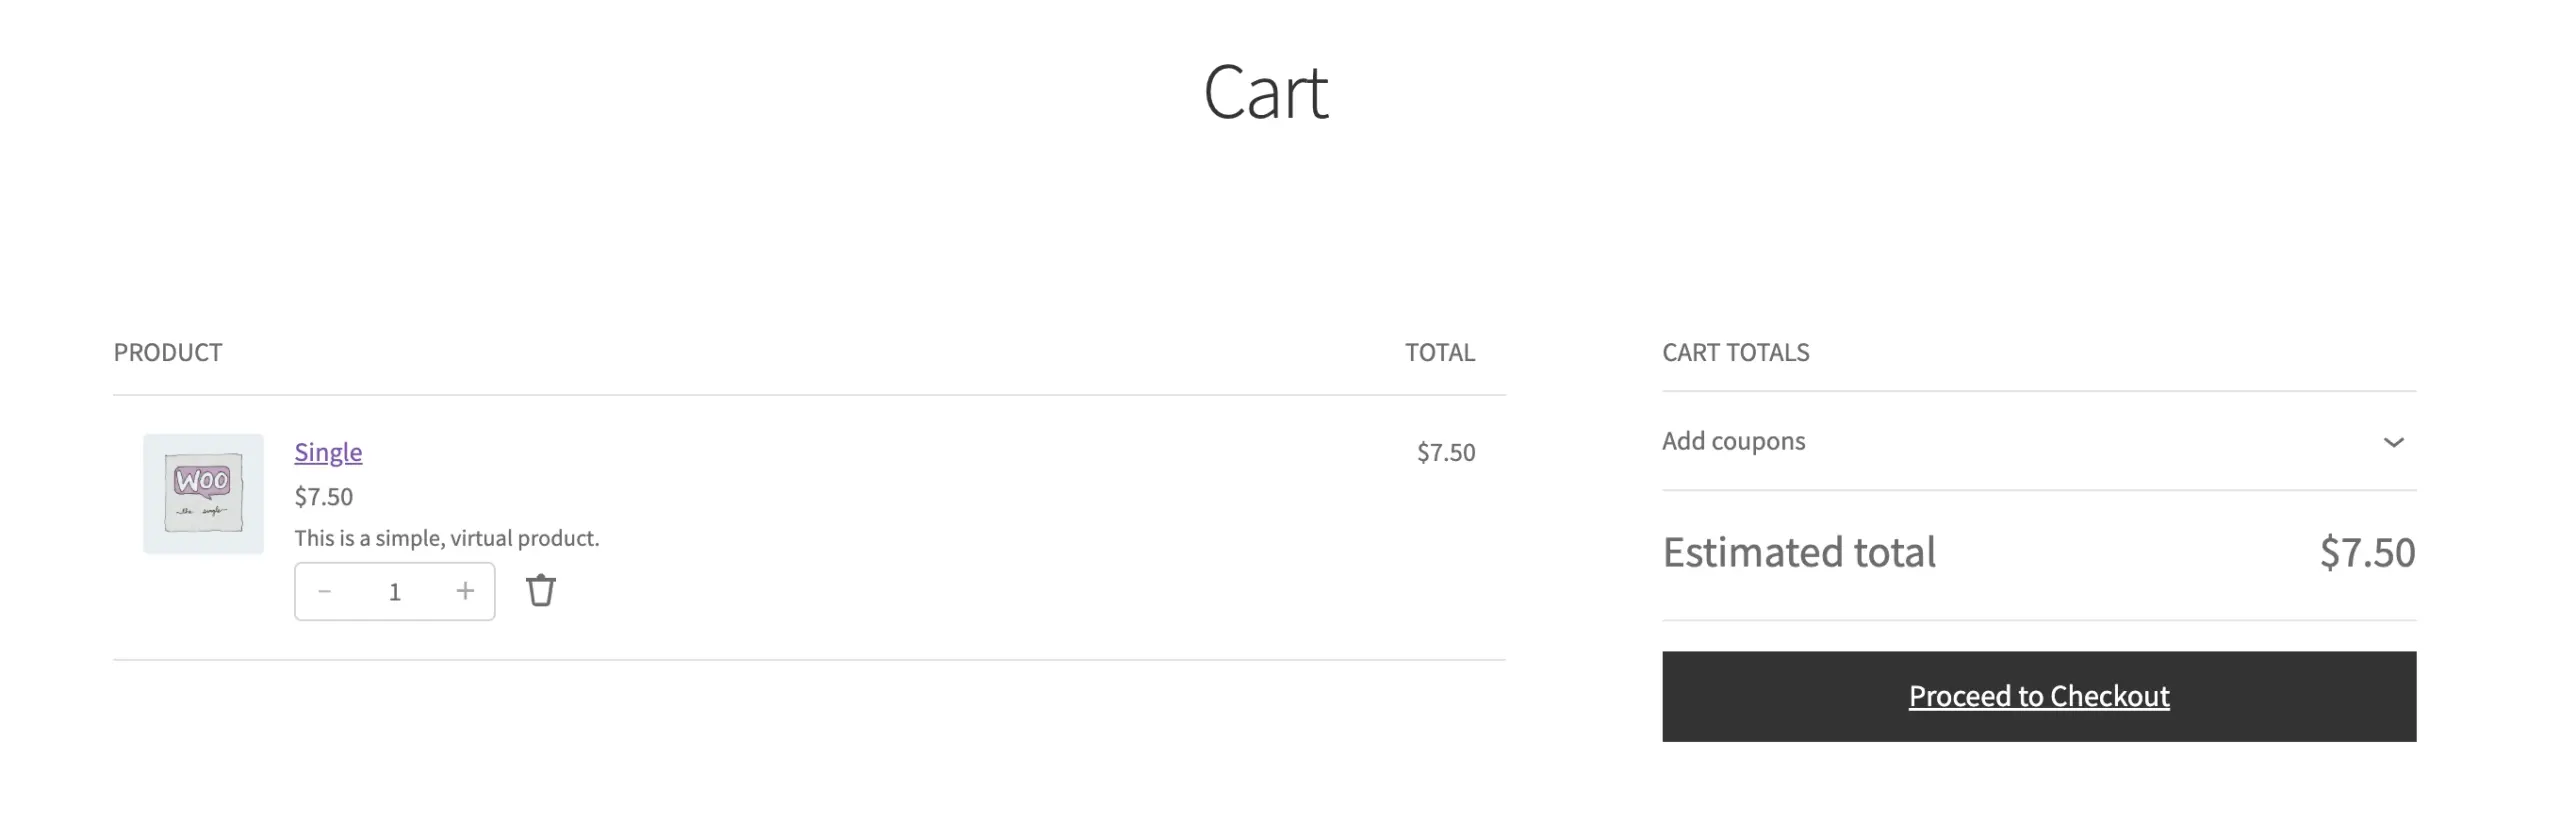
Step 5: Place a Test Order
Before going live, place a test order to confirm everything is working as expected. Add the product to your cart and complete checkout using a test payment method (such as WooCommerce’s built-in Cash on Delivery or a payment gateway in test/sandbox mode).
Once the order is placed, go to WooCommerce → Orders and open the order you just created.

Step 6: Mark the Order as Completed to Trigger Key Delivery
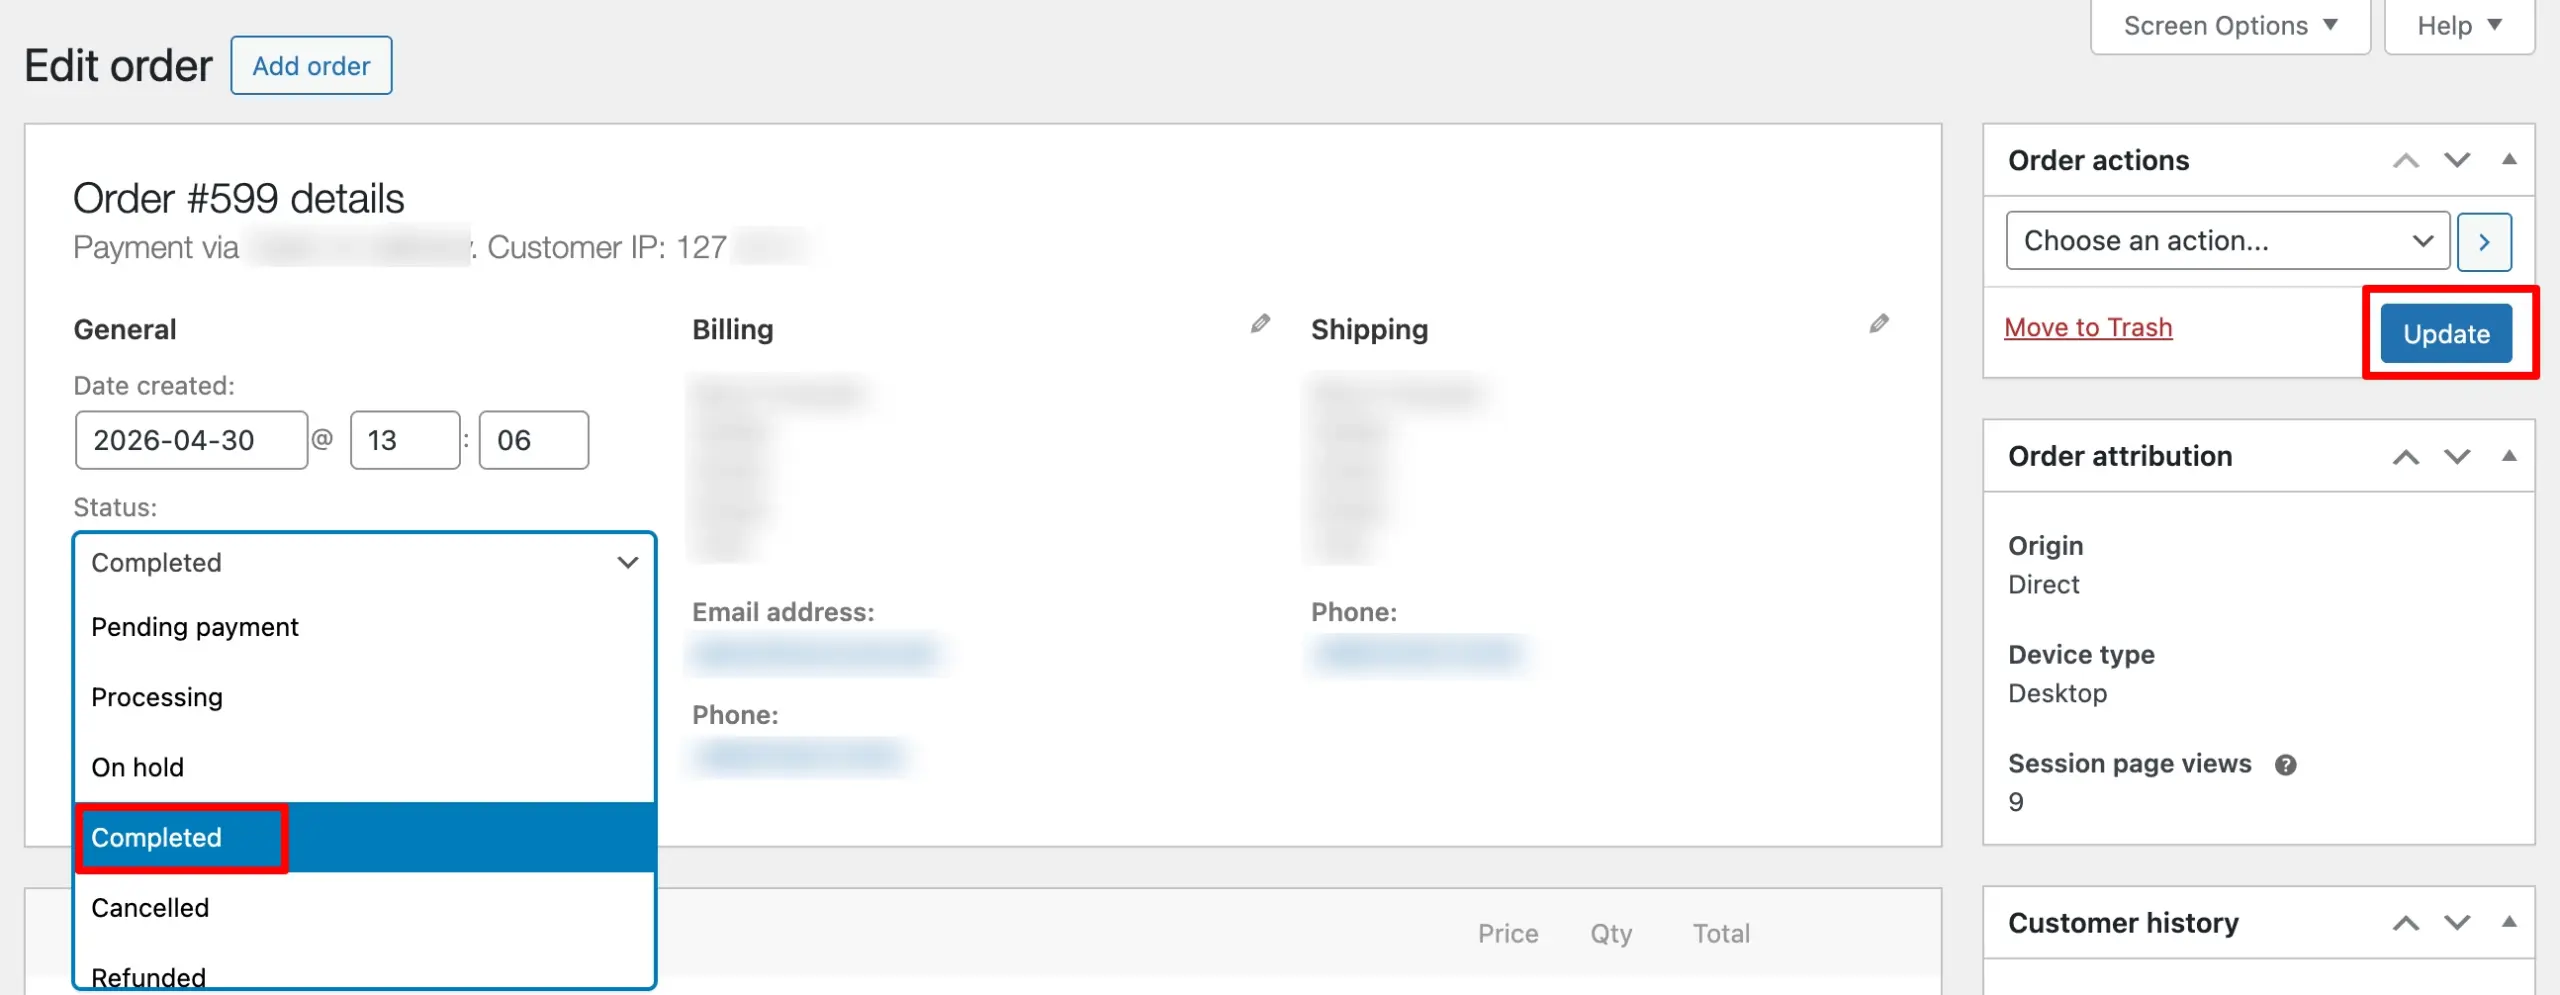
By default, WooCommerce marks orders as Processing (or On Hold) after a successful payment. Key delivery in WC Serial Numbers is triggered when an order reaches Completed status.
Open the order, change the Order Status dropdown to Completed, and click Update.
Tip:
If you want orders to complete automatically after successful payment without this manual step, enable Auto-Complete Orders After Payment in the plugin settings. This is especially useful for digital-only stores where no physical fulfilment is needed.
Step 7: Verify the Customer Received Their Key
Once the order is marked as Completed, the key is delivered automatically. You can confirm this in three places:
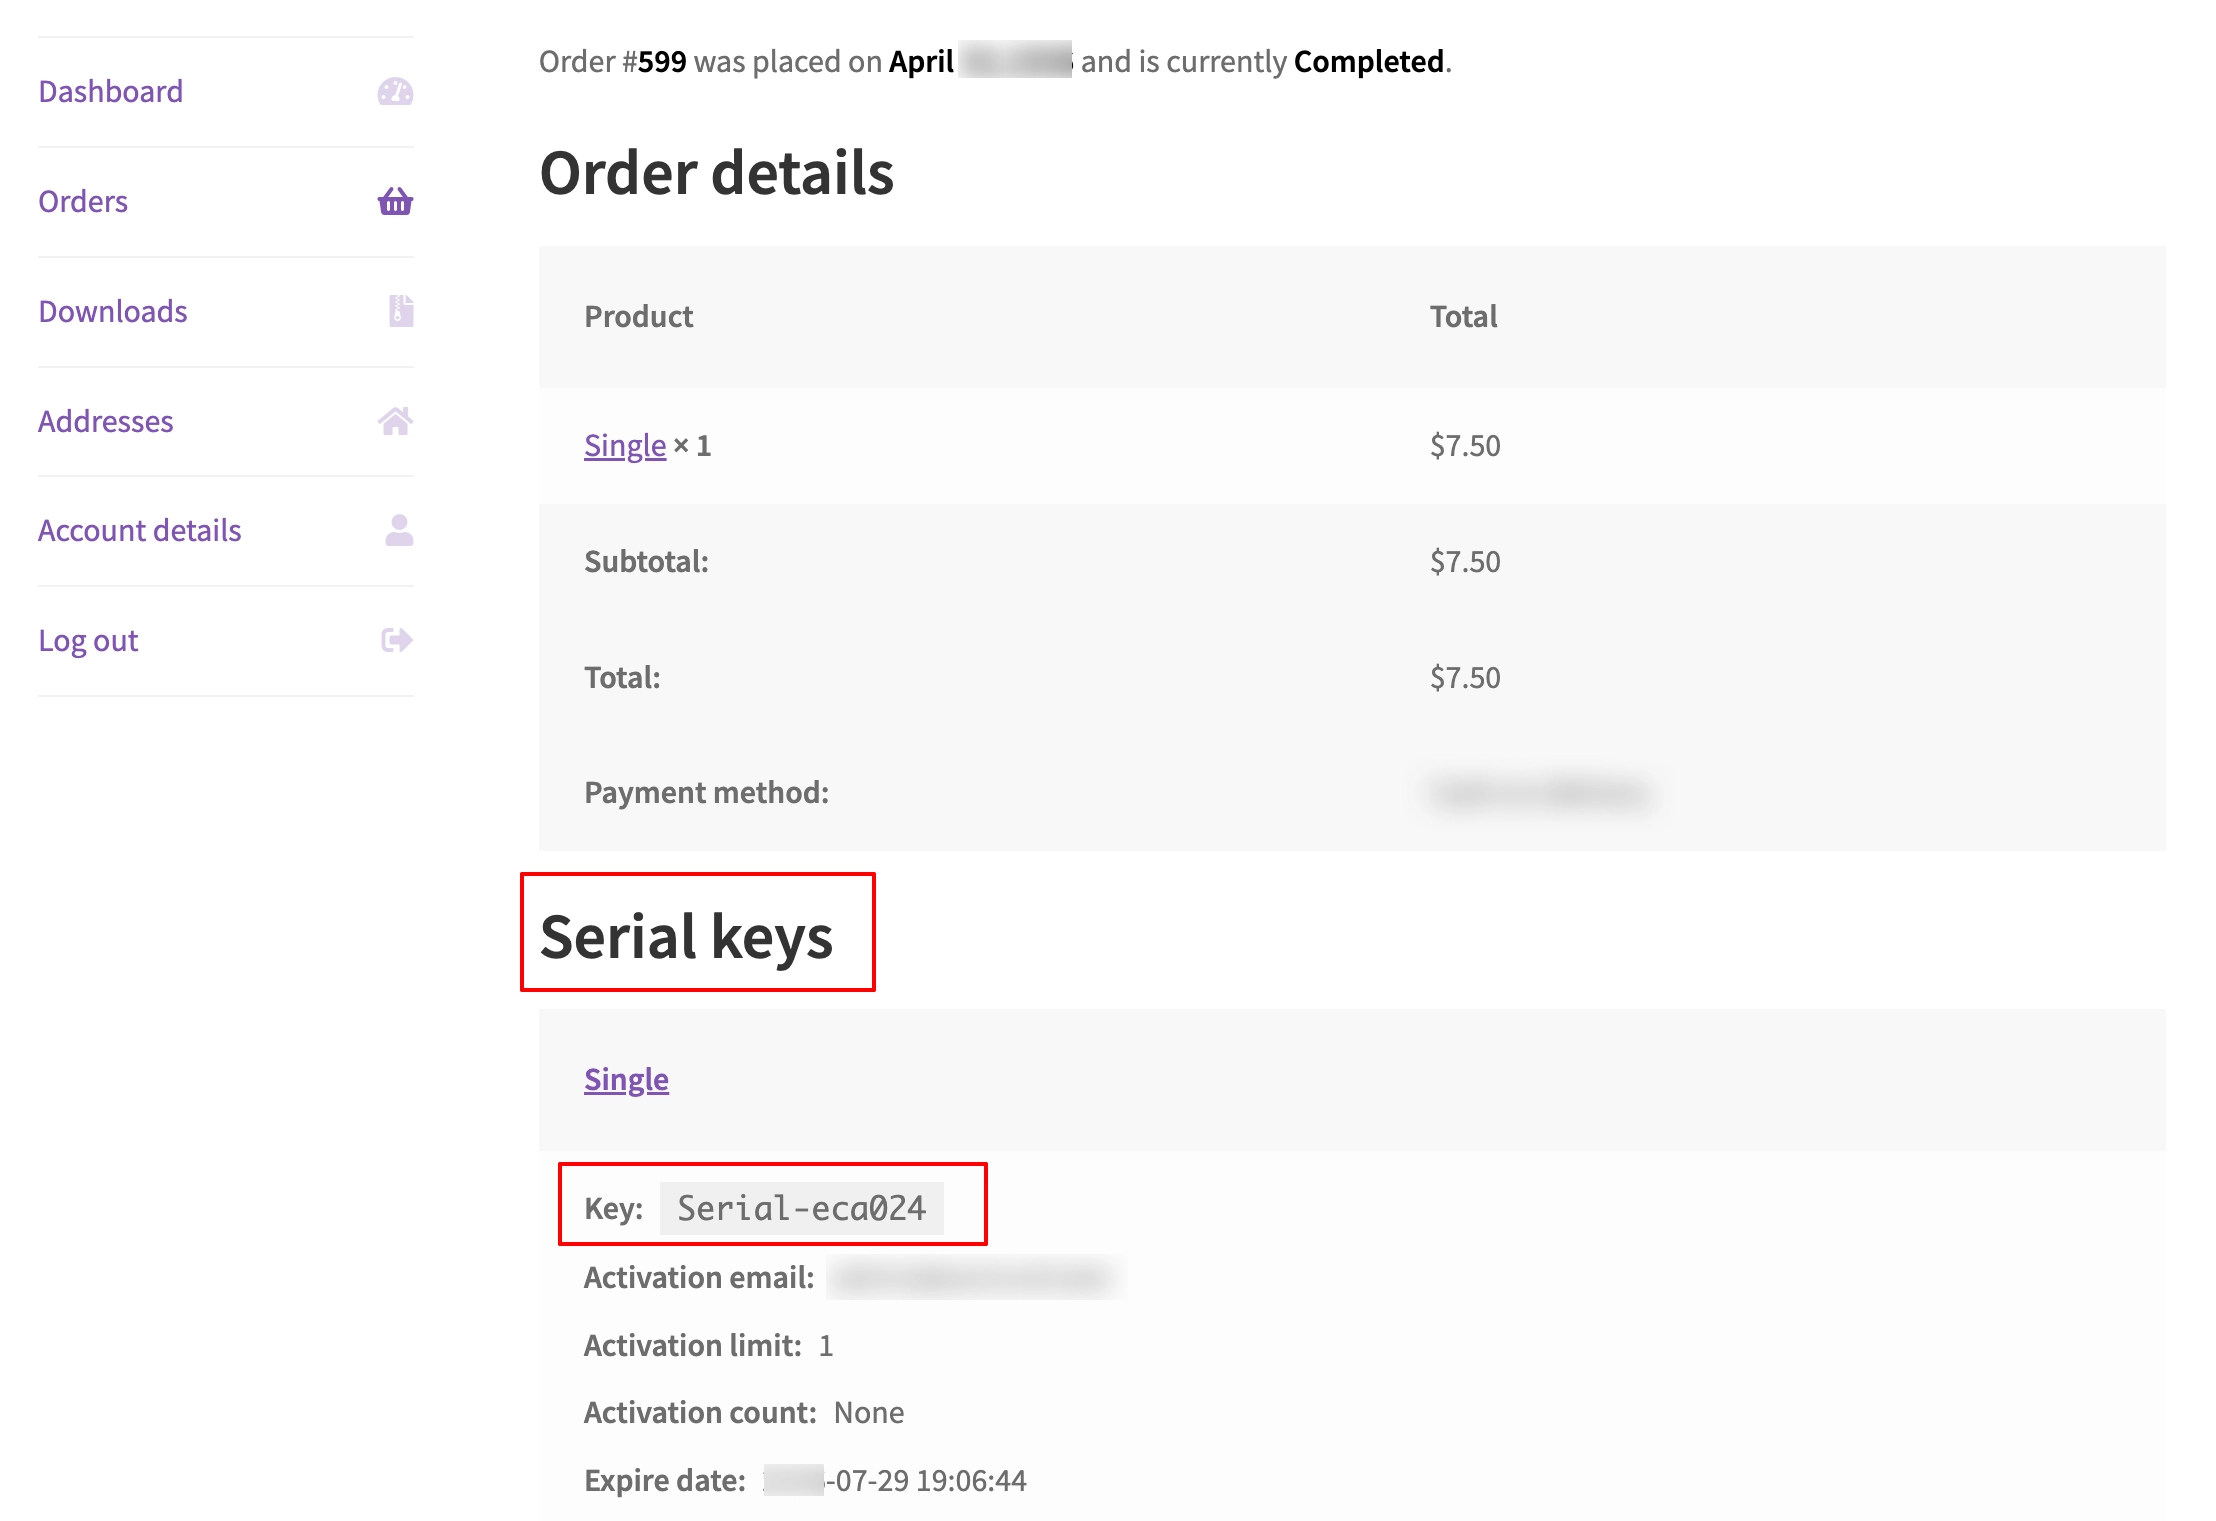
On the Order Details page – Scroll down to the Serial Keys section. You will see the key assigned to this order along with its status and properties.
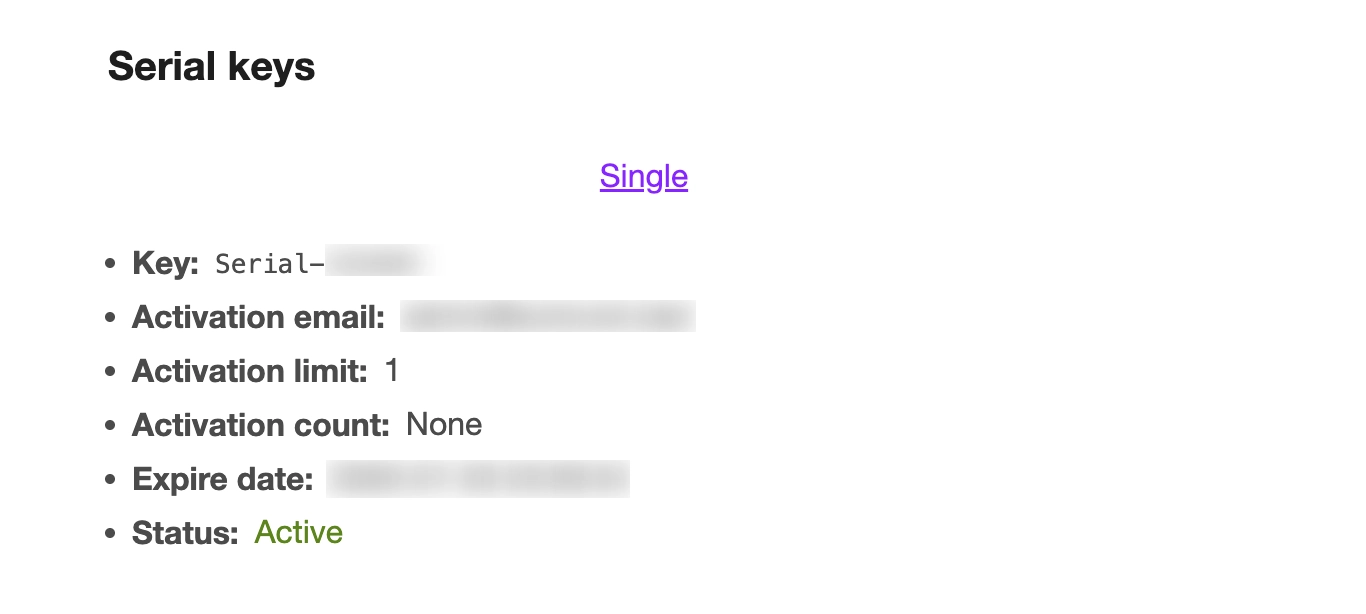
On the Customer’s My Account page – The key appears under the order in the customer’s account. Your customer can log in at any time to view it.
In the Order Confirmation Email – The key is included in the confirmation email automatically, unless you have disabled email key delivery (Pro) in the plugin settings. Check the inbox for the billing address used during the test order.
If the key does not appear in any of these three places, see the Resolving Key Delivery Issues guide for common causes and fixes.
What’s Next
Now that your product is set up and delivering keys, here are a few settings worth configuring to get the most out of WC Serial Numbers:
- Reuse Keys for Failed or Refunded Orders – Ensure unused keys are returned to your pool rather than being wasted when an order fails or is refunded.
- Revoke Keys on Refund or Cancellation – Automatically invalidate a key when the associated order is refunded or cancelled.
- Low Stock Alerts – Get notified by email when your key stock items are running low, so you never run out mid-sale.