
A small icon next to a tab label can make your product page easier to scan and more visually engaging. Product Tabs Manager includes a built-in icon library so you can assign an icon to any tab, custom or default, in just a couple of clicks.
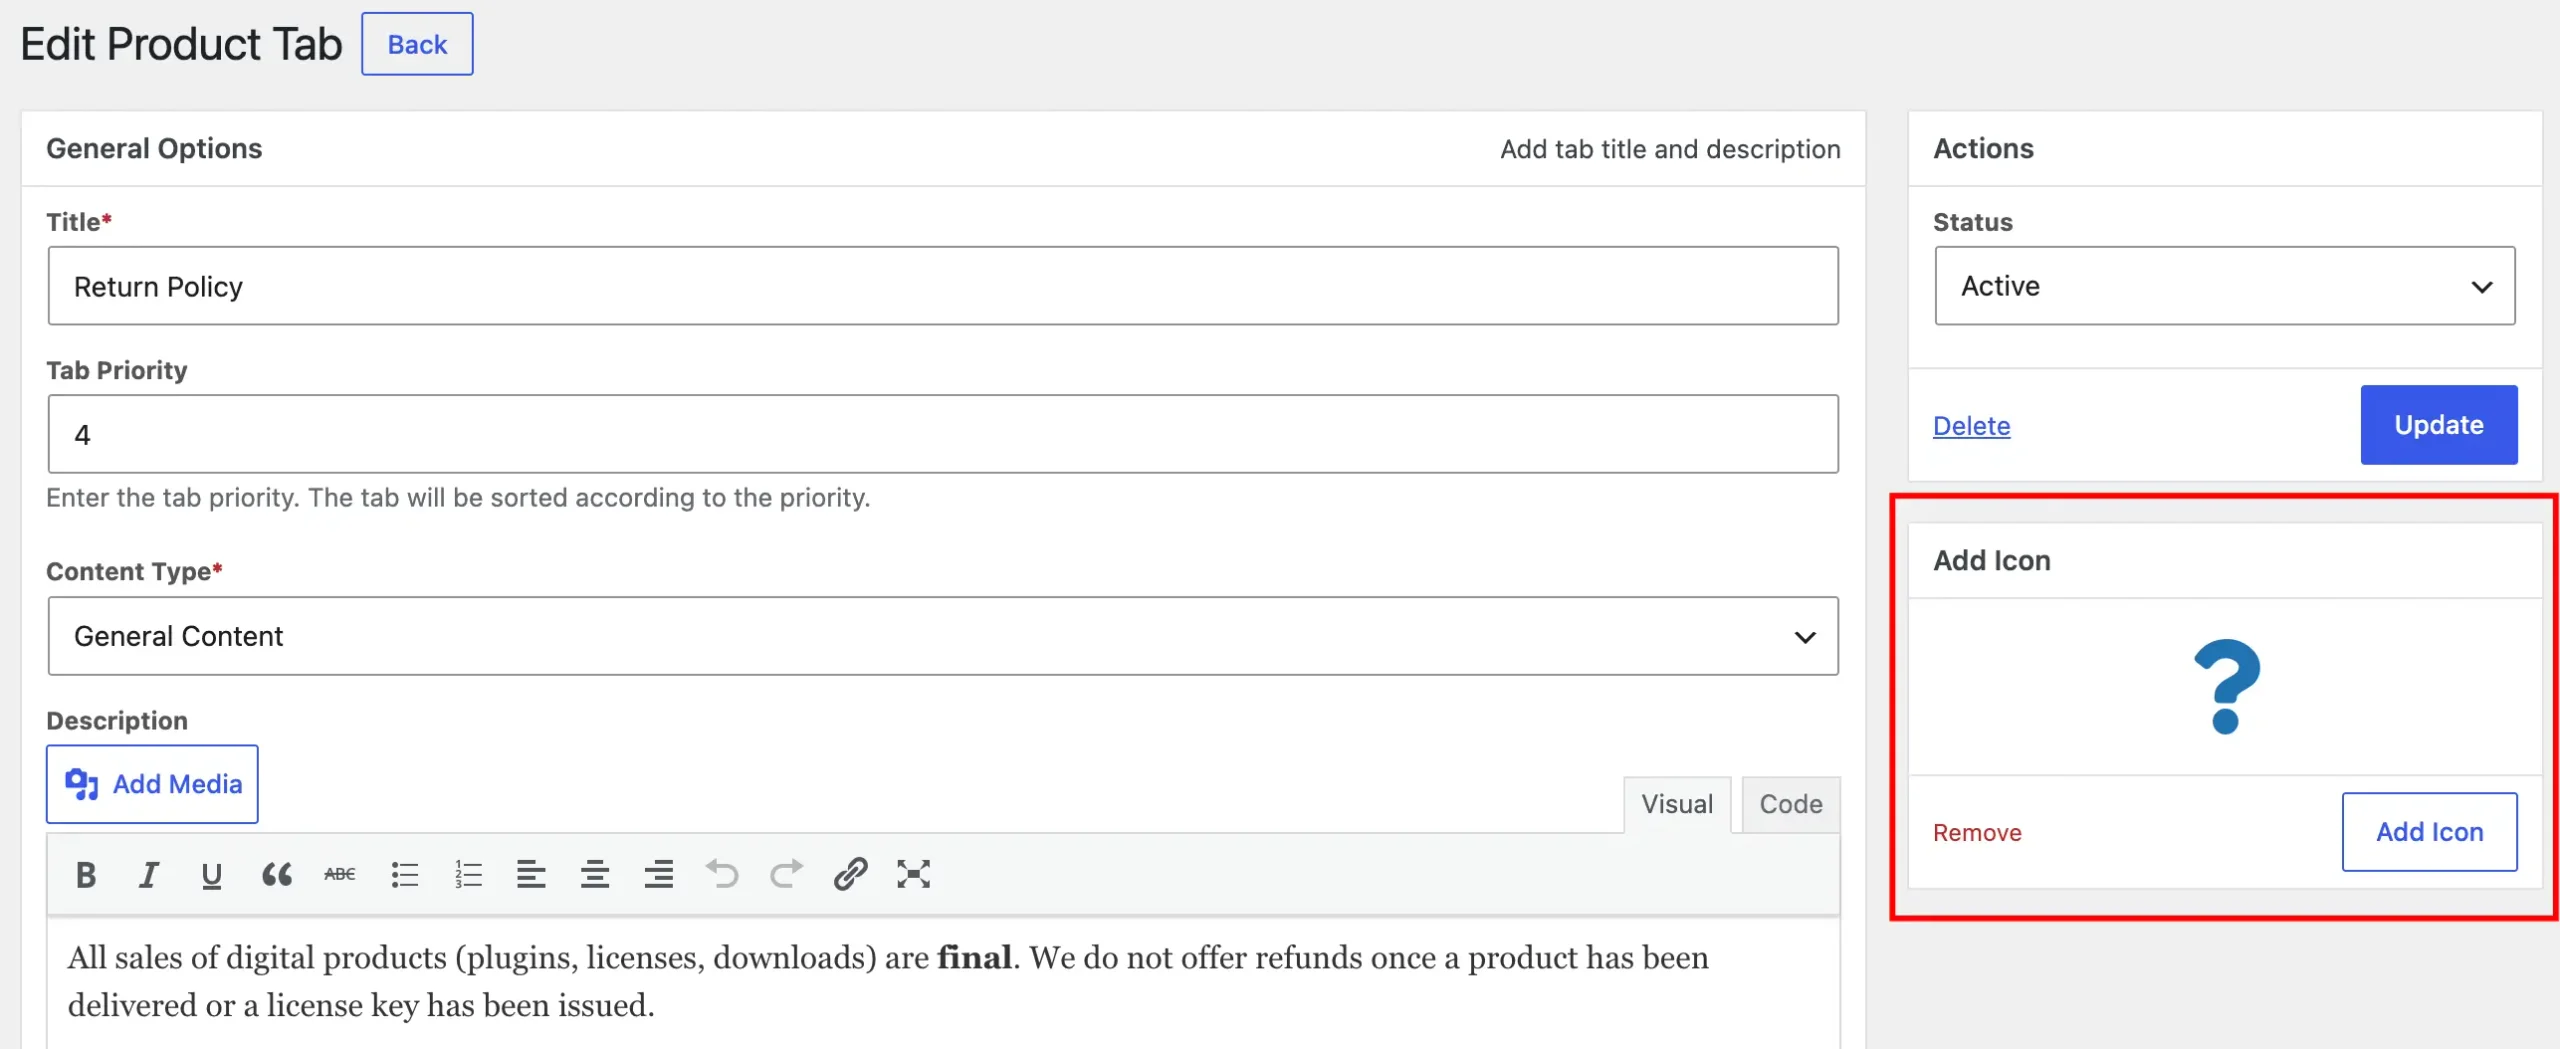
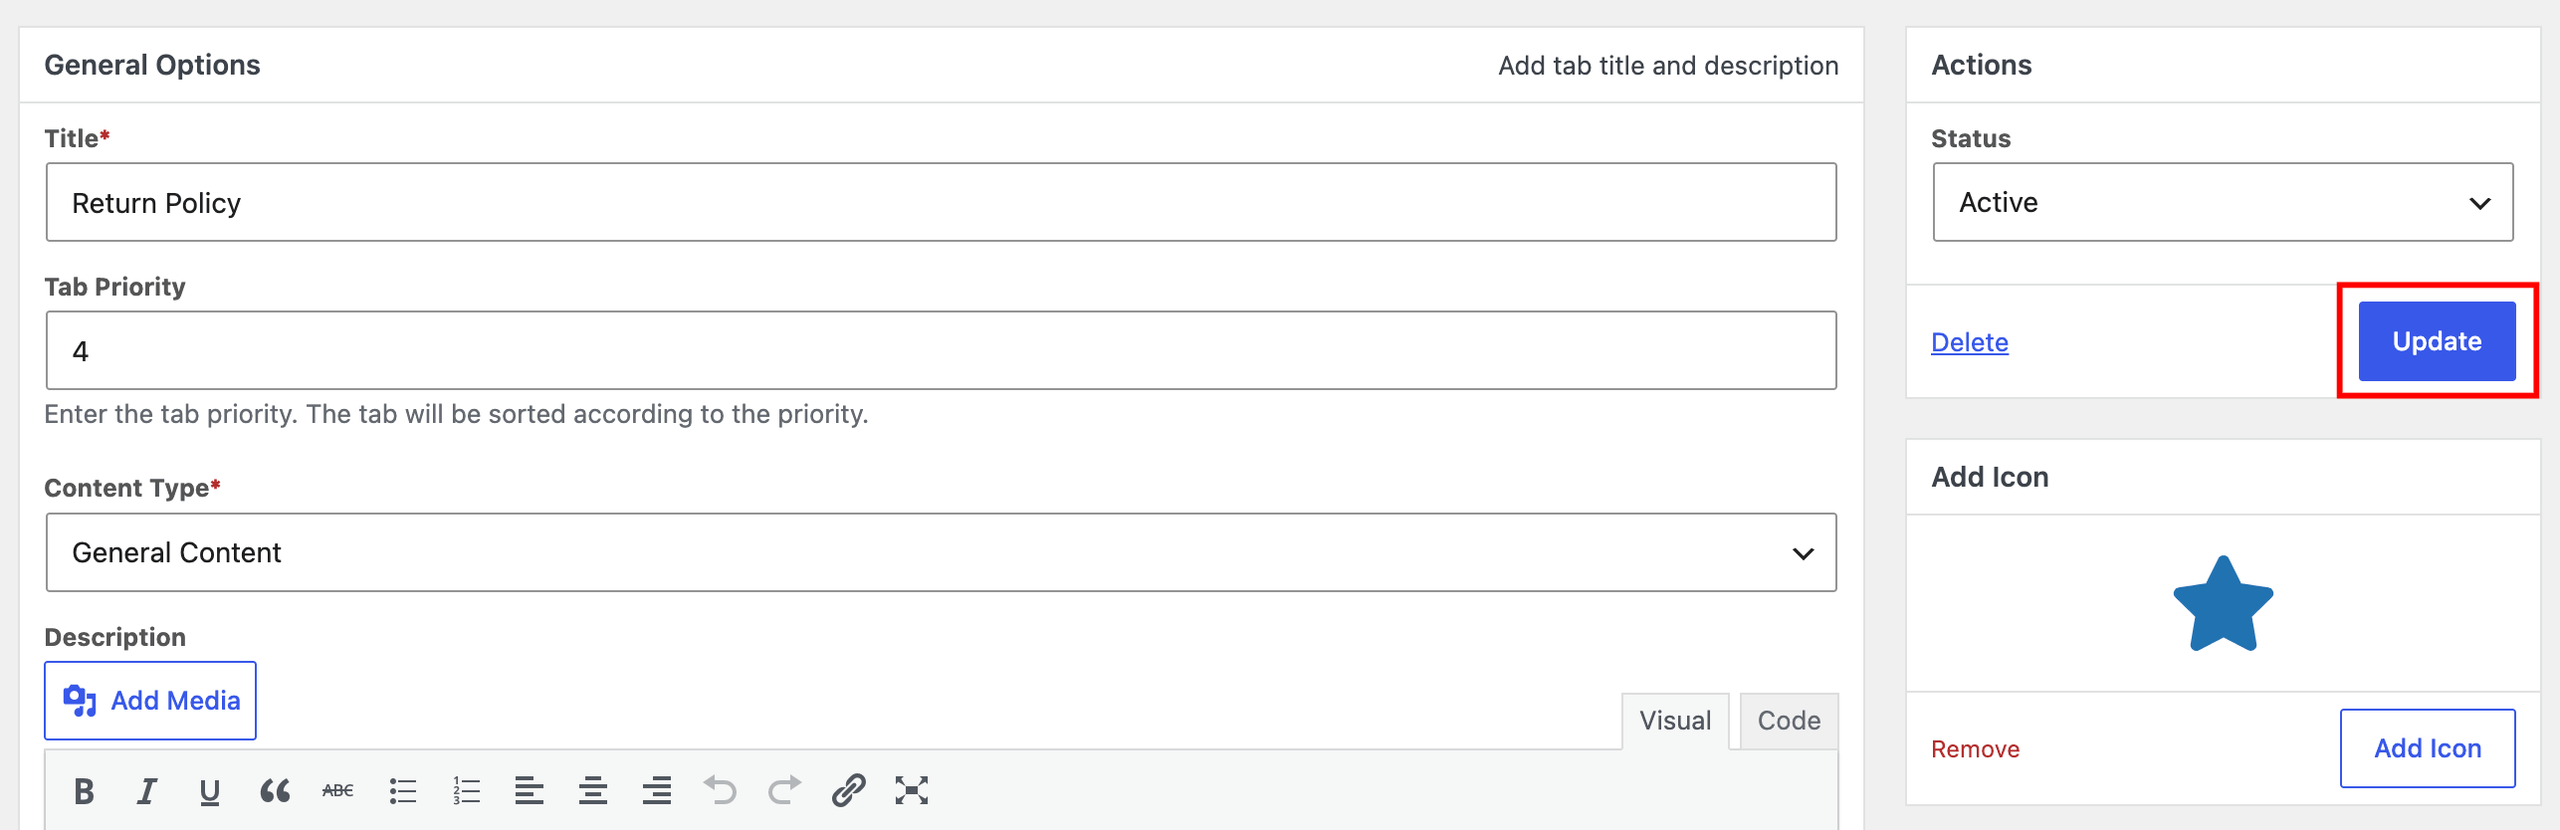
Navigate to Product Tabs > All Tabs in your WordPress admin, then either select an existing tab to edit or click Add New Tab to create one. On the tab editing screen, look for the Add Icon section in the sidebar on the right.
Choose an Icon from the Library
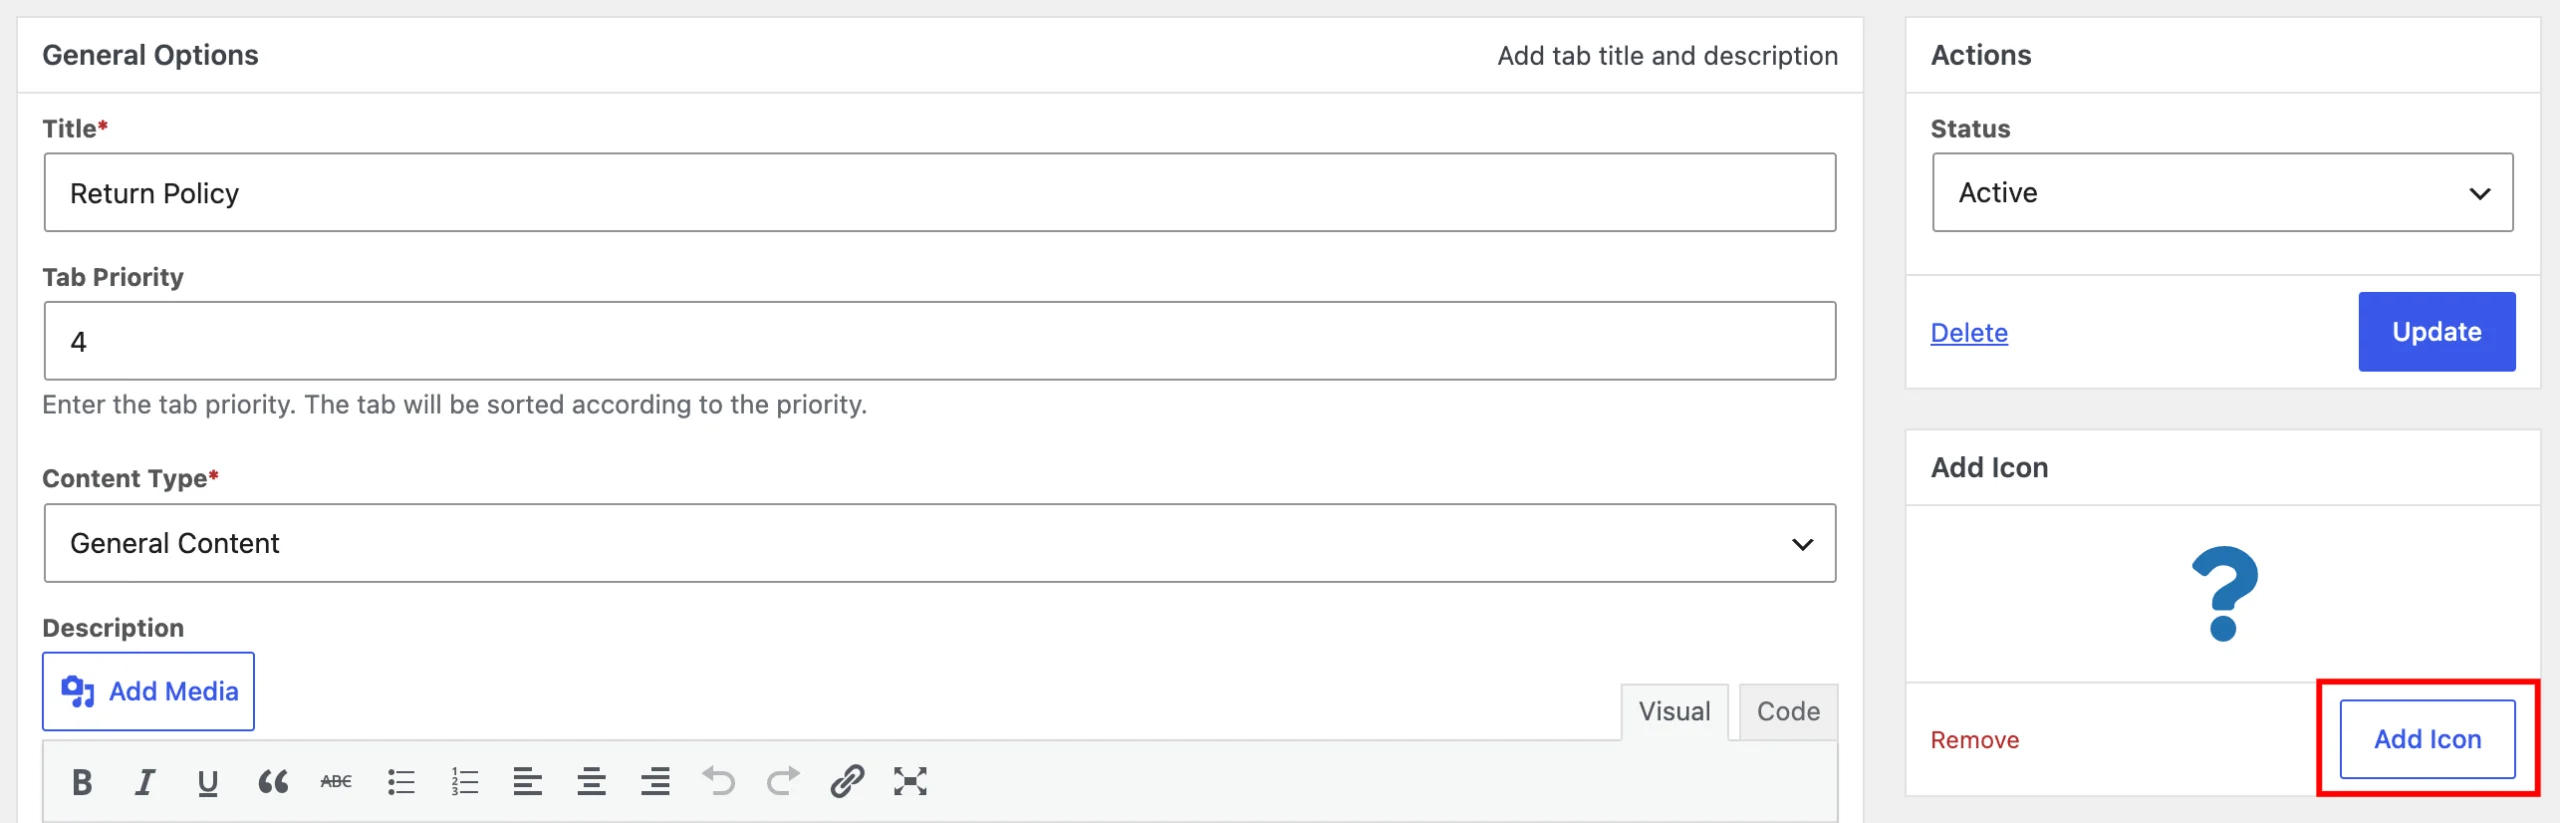
Click the Add Icon button to open the icon library.
From here, type a keyword into the search field to filter icons by name, for example “cart,” “star,” or “info.” Click the icon to select it.
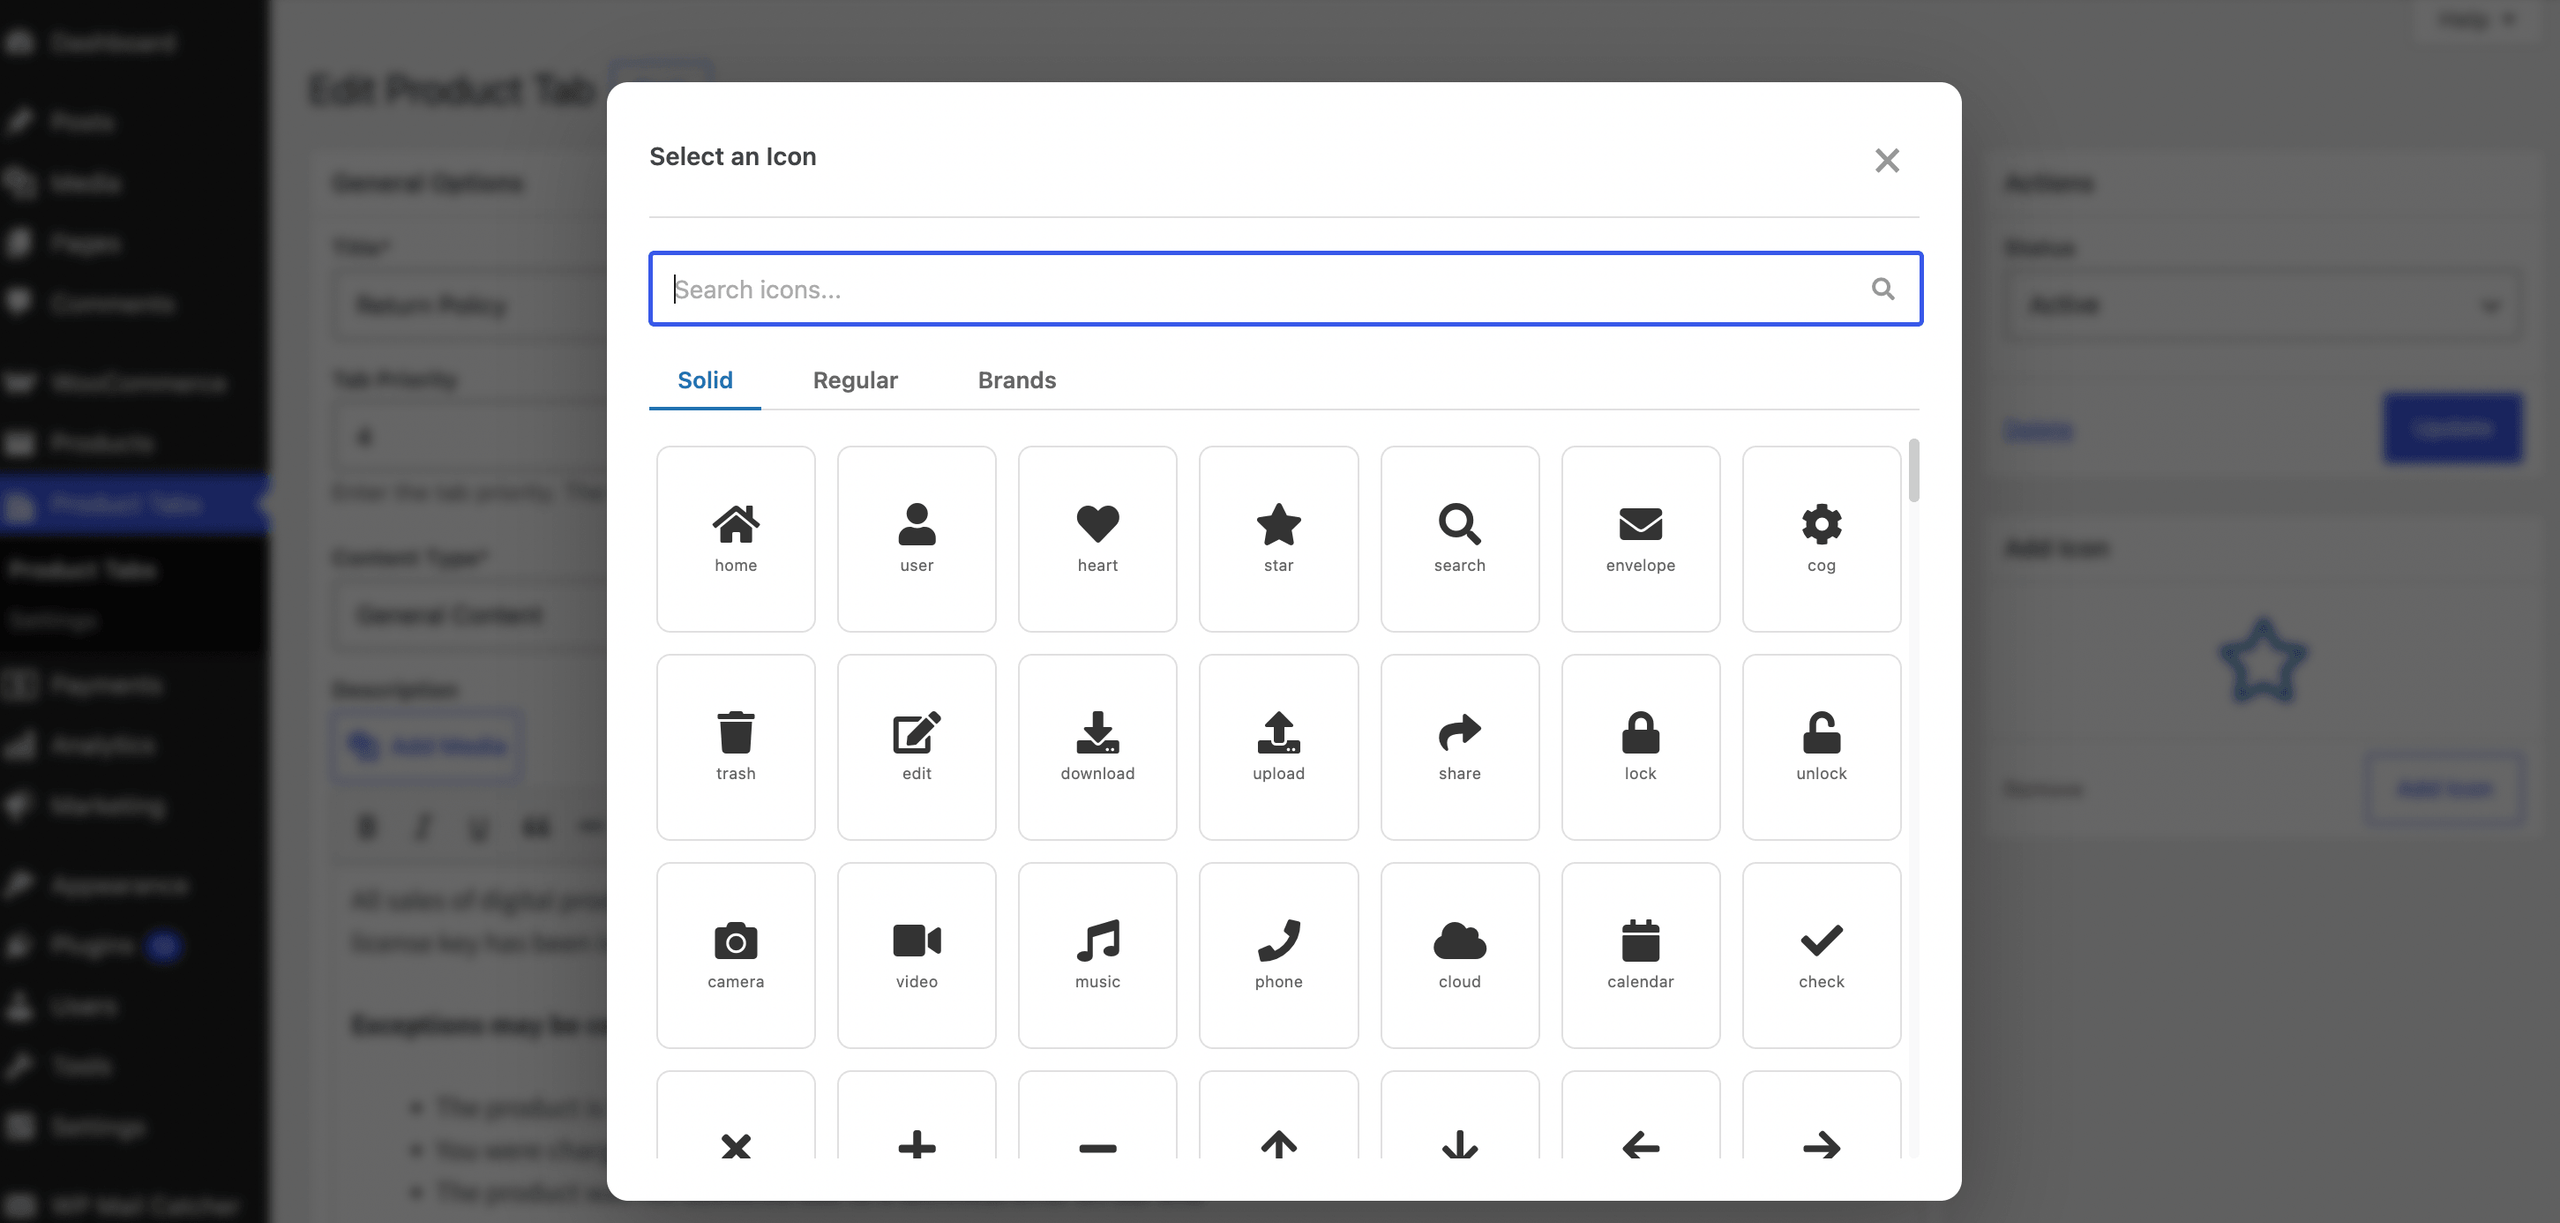
Tip: Search by the concept you’re going for, “shipping” or “truck” for delivery info, “shield” for warranty or guarantee tabs, rather than guessing an exact icon name. The library covers a wide range of common icons.
Remove an Icon
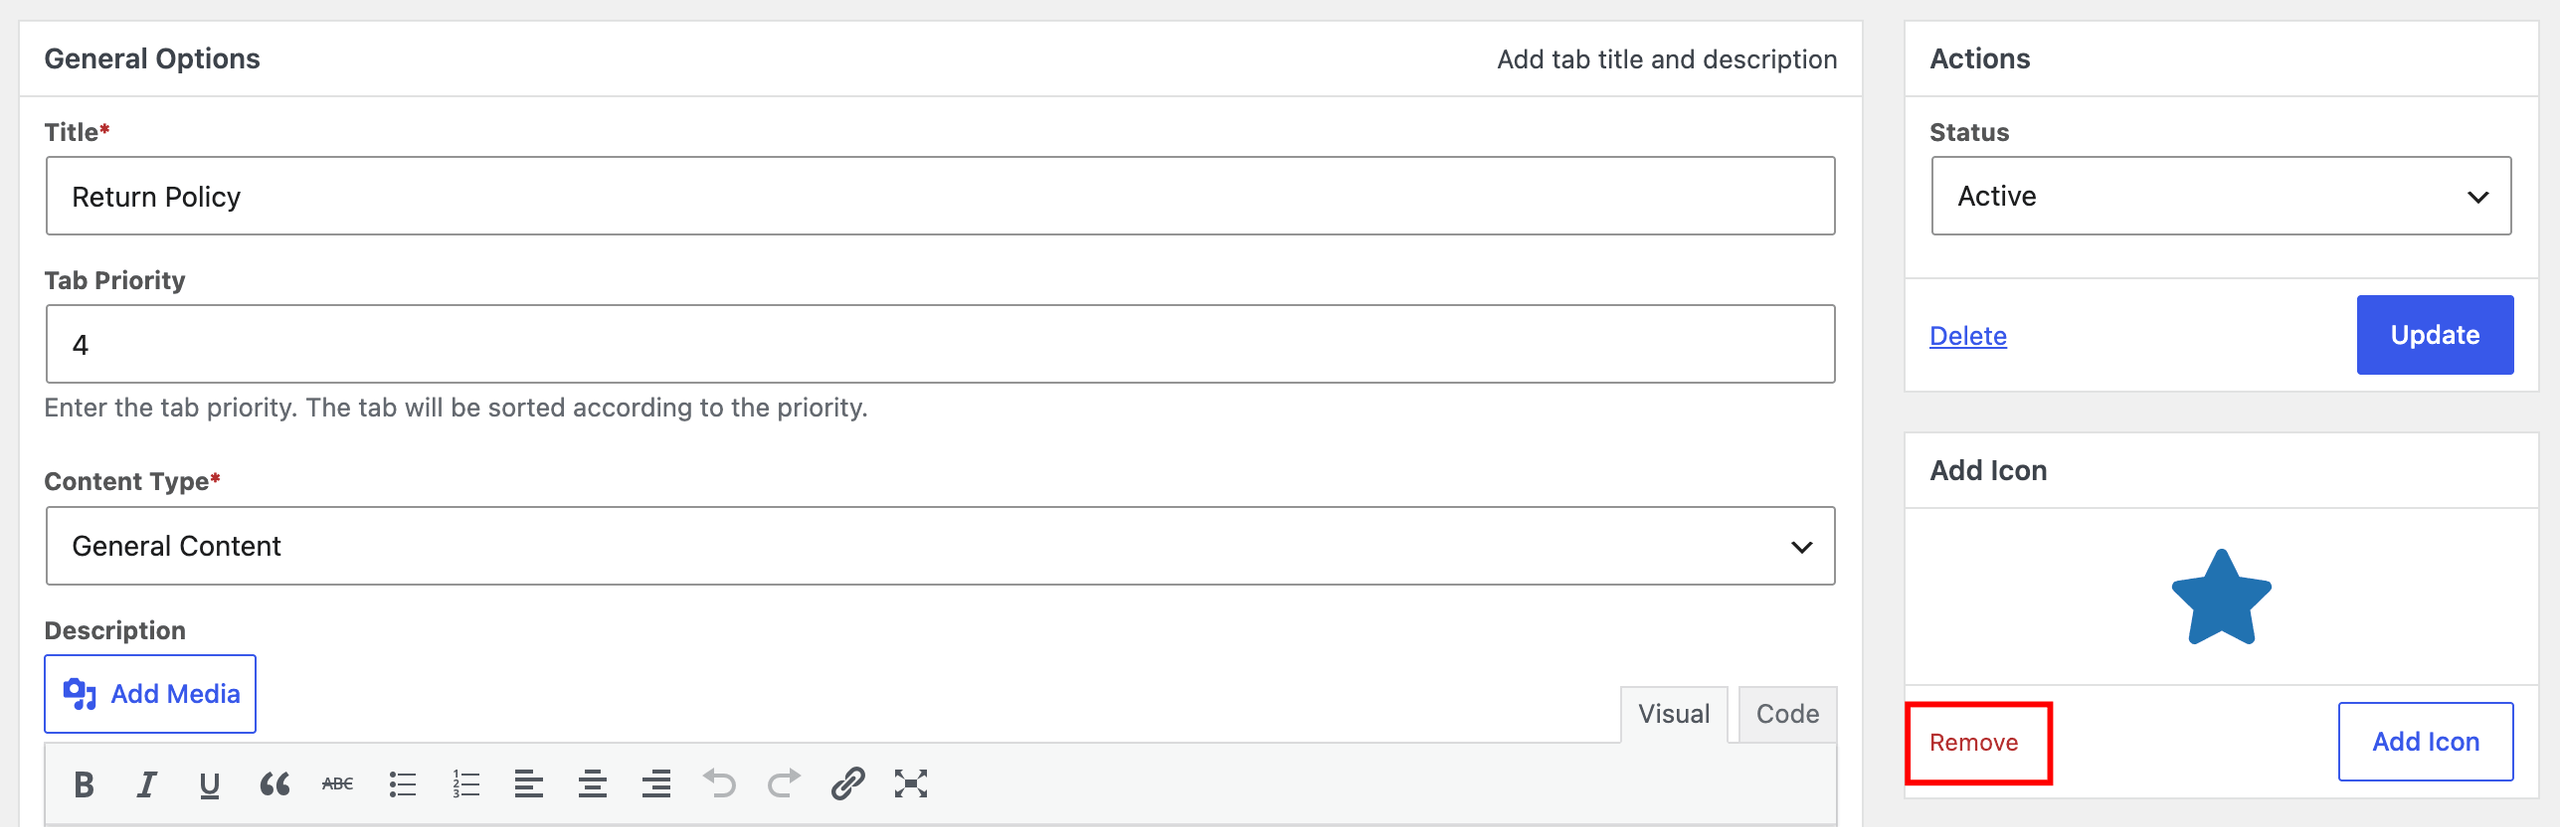
If you want to swap or remove the icon later, click the remove button next to it. The section reverts to its default Add Icon state, and you can select a new icon or leave the tab without one.
Save Your Changes
Once you’re happy with your selection, click Publish (for a new tab) or Update (for an existing one) to save your changes.
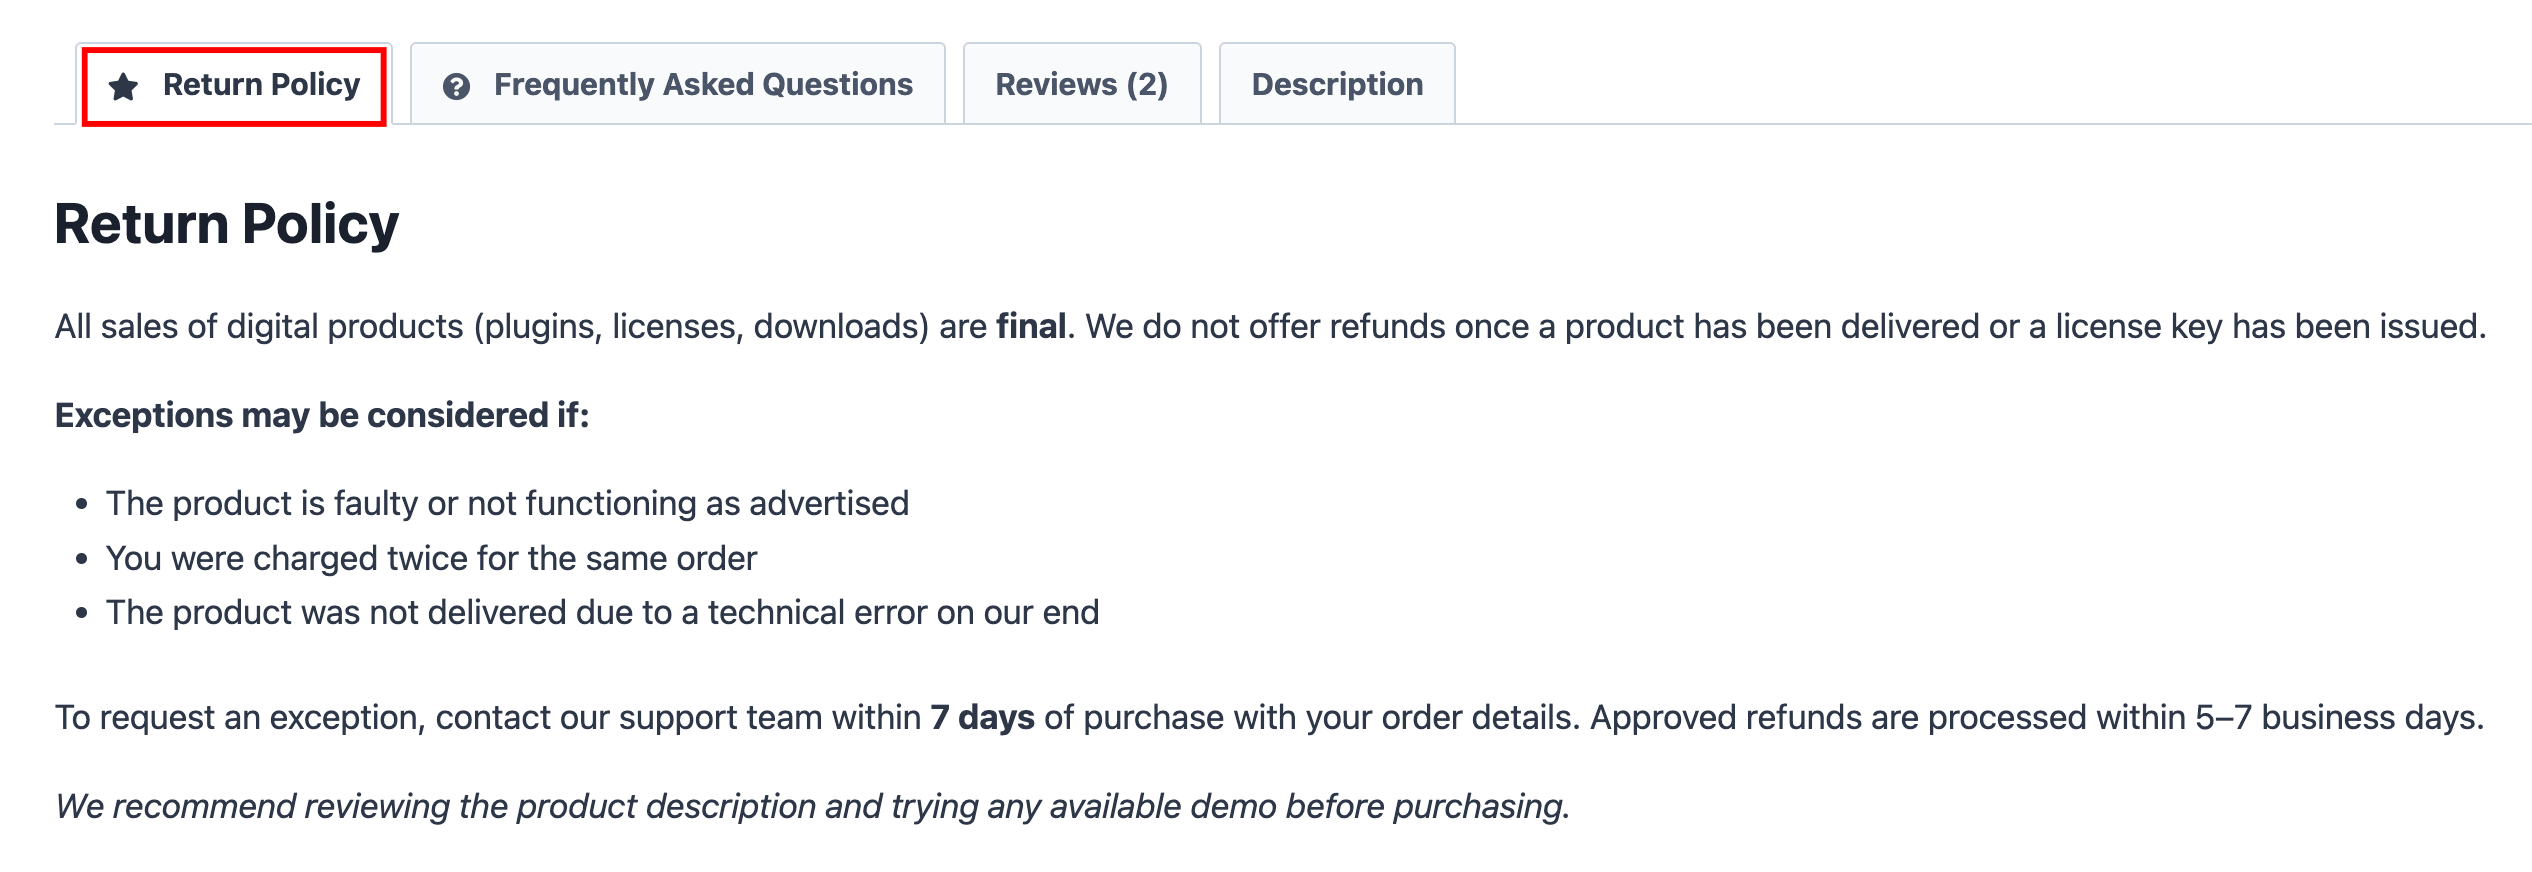
Visit the product page on your frontend to confirm the icon now appears next to the tab label.
What’s Next
Want to control which products or categories this tab shows on? See Set Tab Visibility. Setting up a new tab from scratch? Start with Add a New Custom Product Tab.