
Beyond the default Description, Additional Information, and Reviews tabs, Product Tabs Manager lets you create unlimited custom tabs, whether that’s a Sizing Guide, a Warranty Information tab, or a video showcase. This guide walks through creating your first custom tab from start to finish.
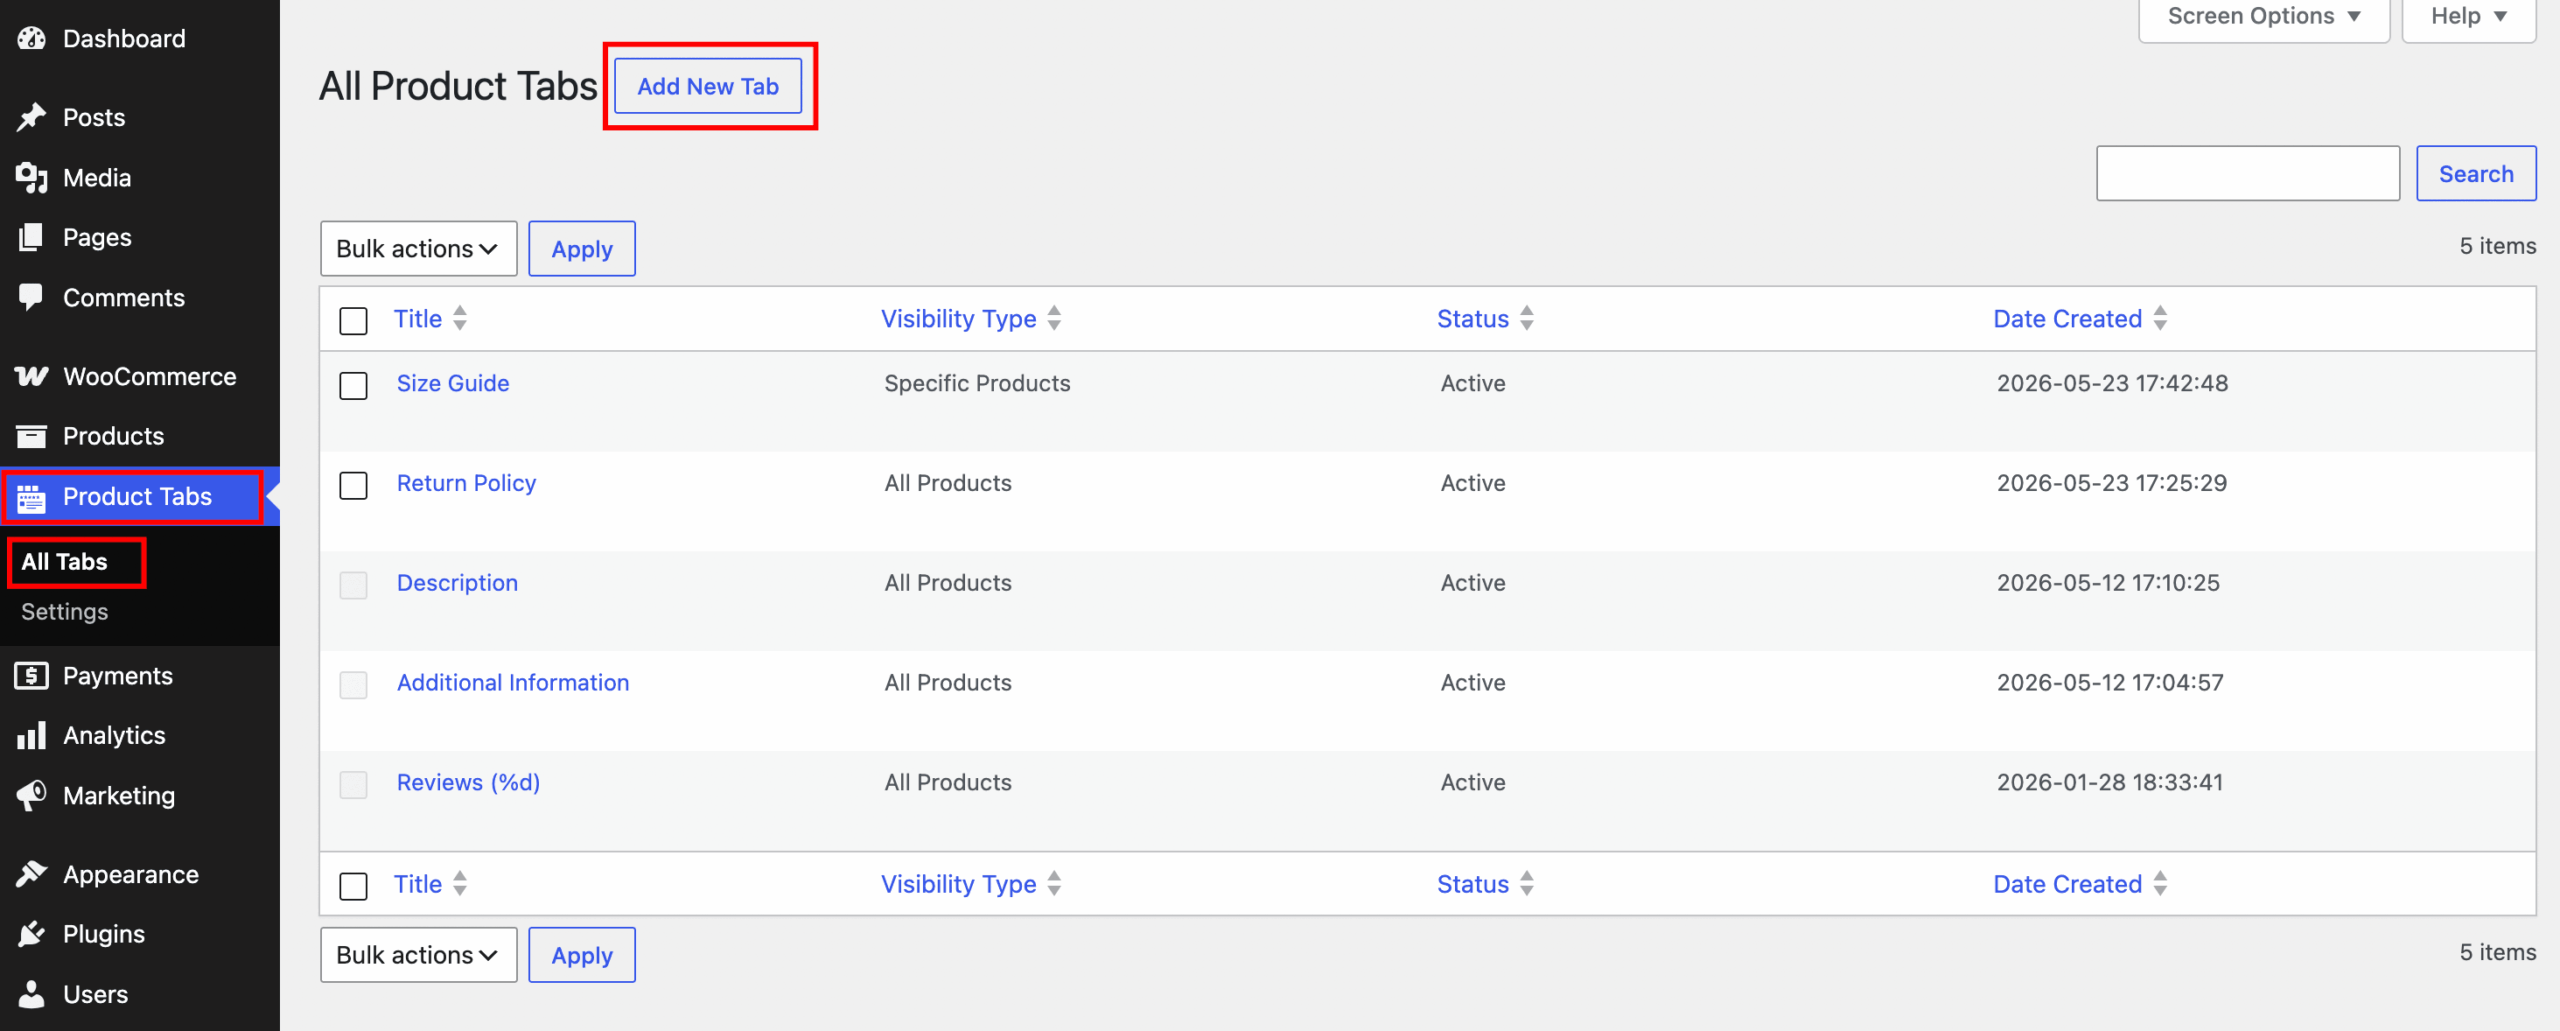
Go to Product Tabs > All Tabs > Add New Tab in your WordPress admin. This opens a new tab editor where you’ll configure everything from its title to where it appears.
Setting the General Options
Title
Give your tab a clear, customer-facing name. This is what shoppers will see as the tab label on the product page, so keep it short and descriptive, something like “Sizing Guide” or “What’s in the Box.”

Tab Priority
Enter a number to control where this tab sits relative to your other tabs. Lower numbers position the tab earlier in the tab row; higher numbers push it later. If you’re not sure what to set, start with a number higher than your default tabs so your custom tab appears after them, then adjust once you see it on the frontend.

Choosing a Content Type
Next, choose what kind of content this tab will display. Product Tabs Manager supports three content types, each suited to a different use case.

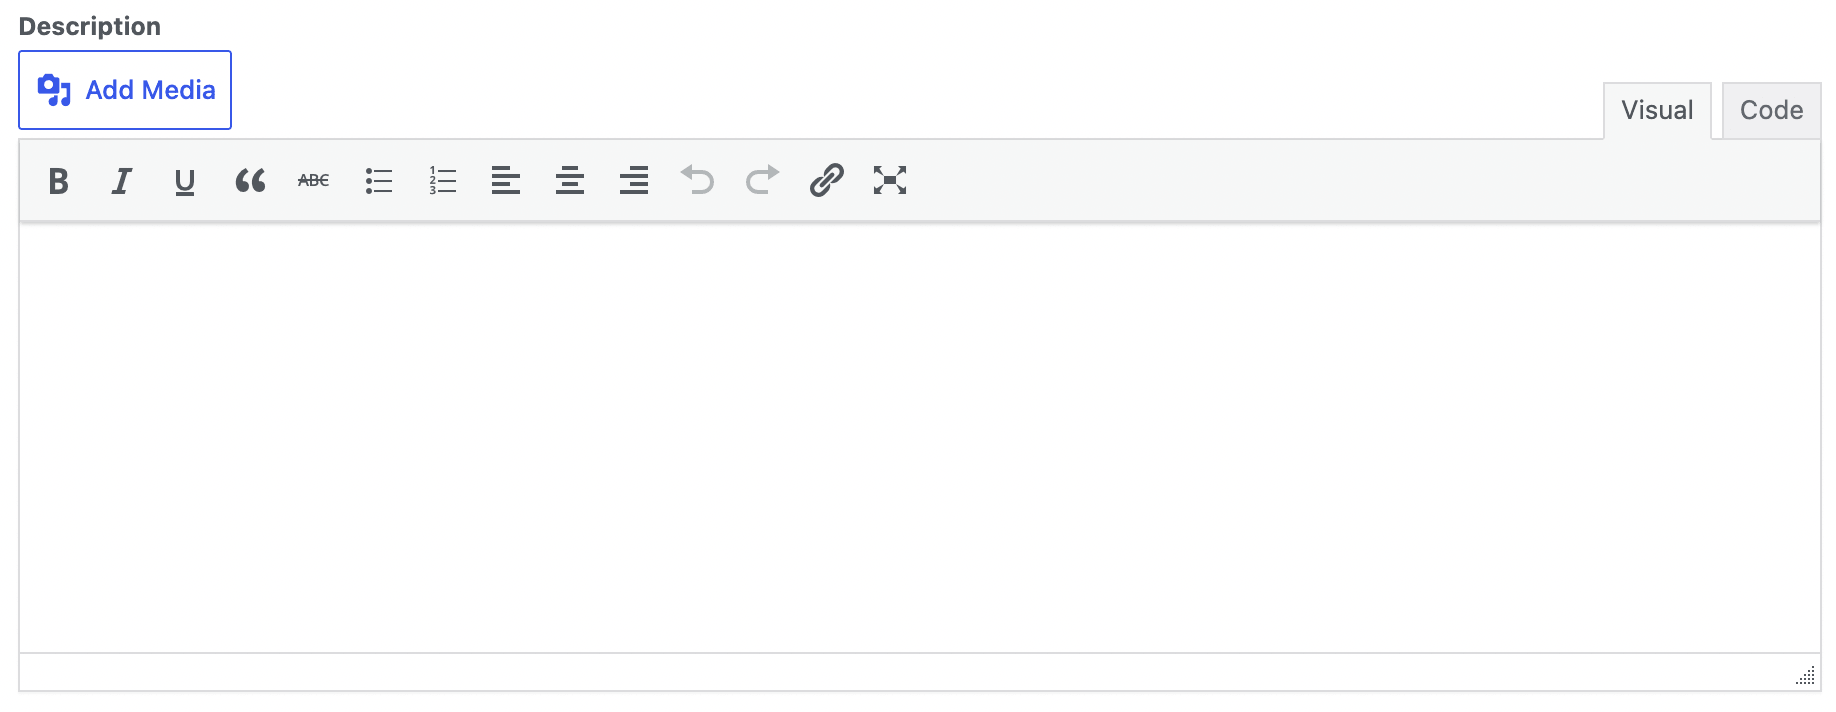
For this walkthrough, we’ll use General Content, the free option available on every plan. Add your text, embed a video, insert an image gallery, or drop in custom HTML directly into the content editor.
Setting the Font Family
Under Font Settings, choose a font family for the tab’s title and content from the available list. This lets your custom tab match your store’s branding even if it differs from your theme’s default typography.

Controlling Where the Tab Appears
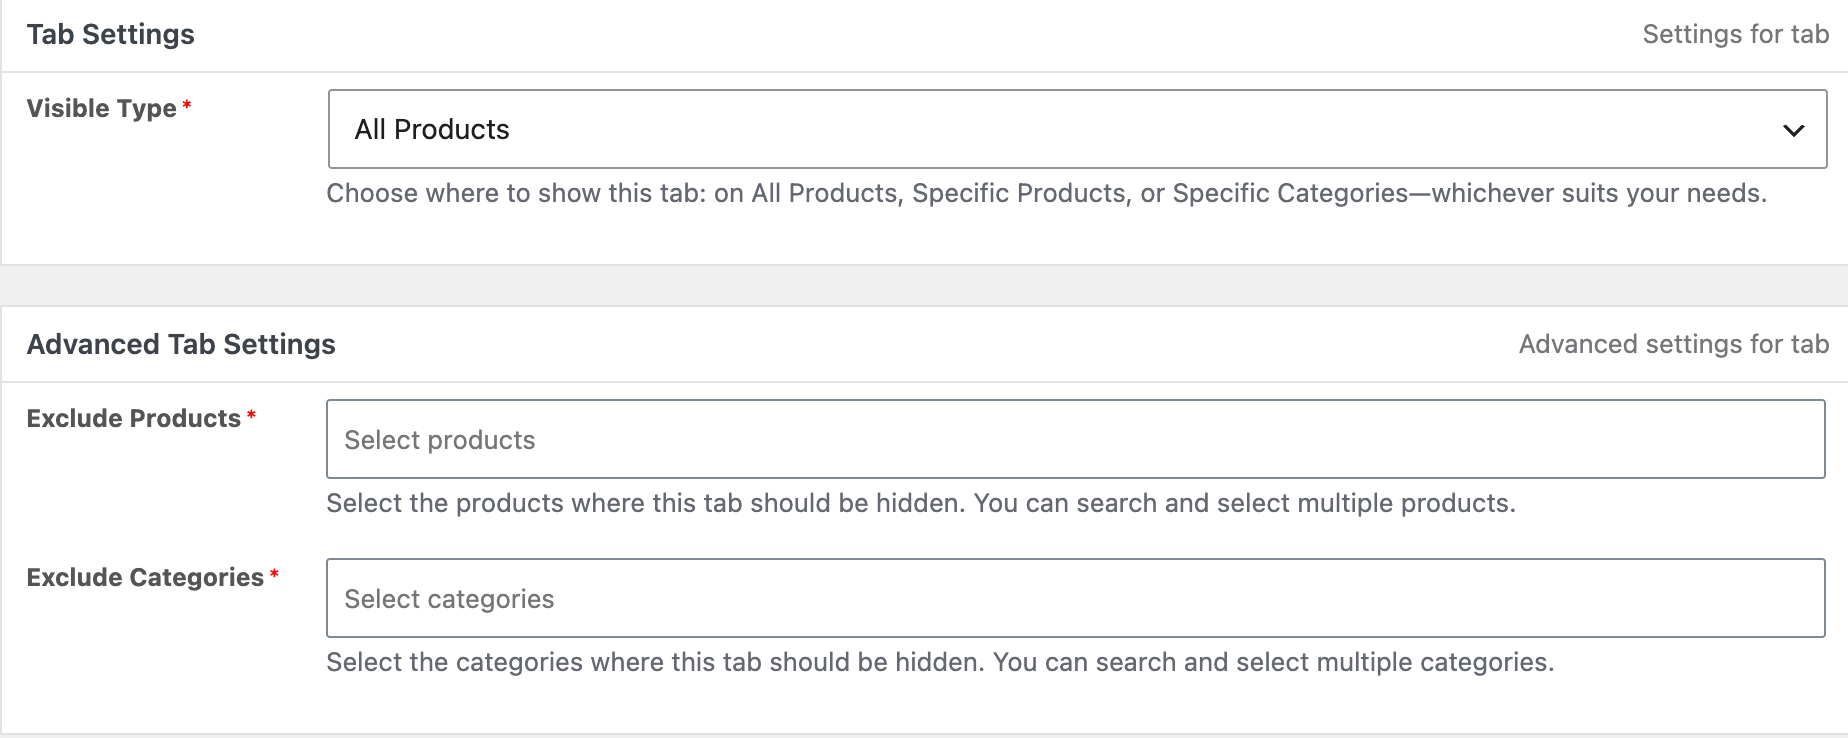
By default, a new tab isn’t limited to any particular product. Before publishing, you’ll want to decide whether it should show on all products, specific products, or specific categories, and whether any products or categories should be excluded. This is handled in the Tab Settings and Advanced Tab Settings sections. See Set Tab Visibility for the full walkthrough of these options.
Tip: If you’re on Product Tabs Manager Pro, you can also assign an icon to your tab from a 300+ icon FontAwesome picker in the Add Icon section before publishing.
Publishing and Testing
Once your title, priority, content, and visibility settings are in place, click Publish. Visit a product page where the tab should appear and confirm it shows up with the correct title, position, and content.
What’s Next
Ready to explore the other content types? See Choose a Content Type for Your Custom Tab.