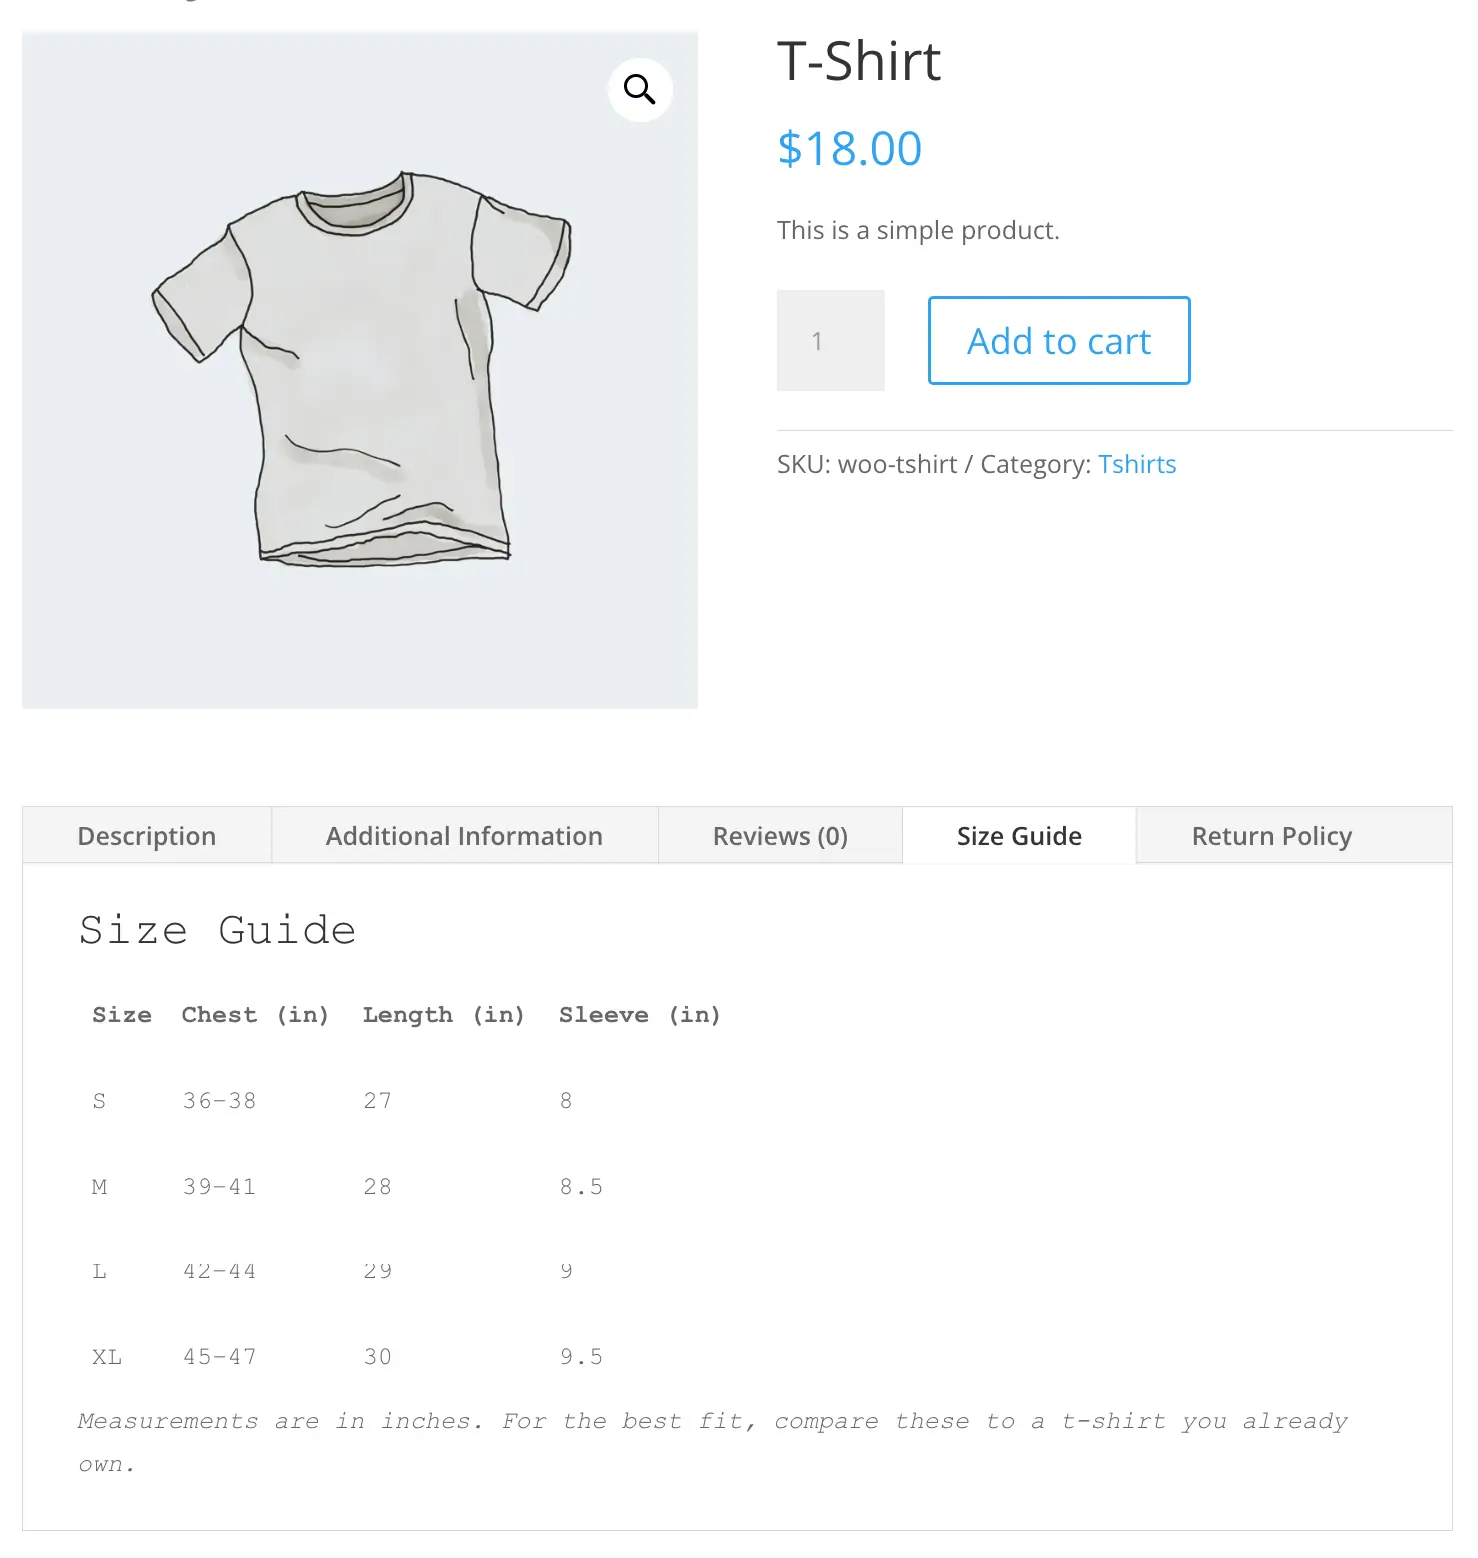
A dedicated Sizing Guide tab helps customers pick the right fit before they buy, cutting down on size-related returns. This guide walks through building one for your t-shirt products using Product Tabs Manager.
Step 1: Create the Tab
Go to Product Tabs > All Tabs > Add New Tab, then set:
- Title: Sizing Guide
- Tab Priority: a number placing it after your default tabs, for example 40
For the full walkthrough of these fields, see Add a New Custom Product Tab.
Step 2: Choose General Content
Under Content Type, select General Content. This is the type that supports custom HTML, which you’ll need for the size chart table. See Content Type for Your Custom Tab if you want to compare it against the other content types first.
Step 3: Build the Size Chart
Switch the content editor to Code mode and paste in a table like this, adjusting the sizes and measurements to match your t-shirts:
<table>
  <thead>
    <tr>
      <th>Size</th>
      <th>Chest (in)</th>
      <th>Length (in)</th>
      <th>Sleeve (in)</th>
    </tr>
  </thead>
  <tbody>
    <tr>
      <td>S</td>
      <td>36–38</td>
      <td>27</td>
      <td>8</td>
    </tr>
    <tr>
      <td>M</td>
      <td>39–41</td>
      <td>28</td>
      <td>8.5</td>
    </tr>
    <tr>
      <td>L</td>
      <td>42–44</td>
      <td>29</td>
      <td>9</td>
    </tr>
    <tr>
      <td>XL</td>
      <td>45–47</td>
      <td>30</td>
      <td>9.5</td>
    </tr>
  </tbody>
</table>

<p><em>Measurements are in inches. For the best fit, compare these to a t-shirt you already own.</em></p>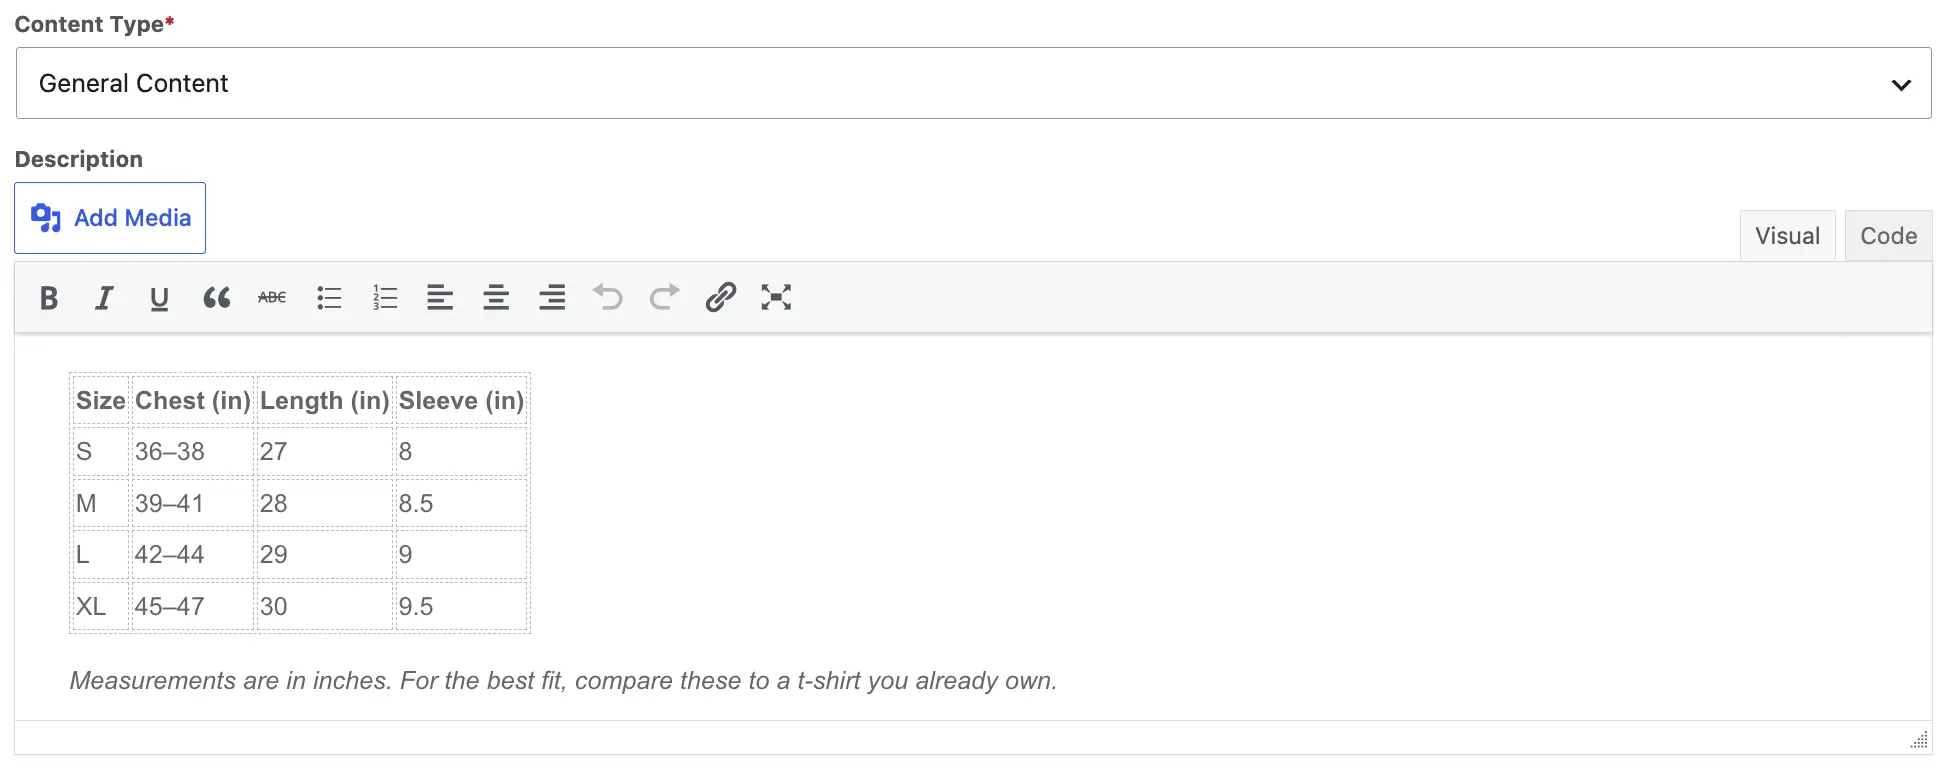
Step 4: Set Visibility to Your T-Shirt Category
Since sizing only applies to apparel, limit this tab to your t-shirt products instead of showing it store-wide. Under Tab Settings, set Visible Type to Specific Categories and select your T-Shirts category. Full details in Set Tab Visibility.
Step 5 (Optional): Add an Icon
Give the tab a ruler or measuring-tape icon so it’s easy to spot at a glance. See Customize Icons for Product Tabs for how to select one.
Step 6: Publish and Verify
Click Publish, then open a t-shirt product page and confirm the Sizing Guide tab appears with the table displaying correctly.