
Product Tabs Manager plugin by PluginEver enhances your WooCommerce store by enabling you to add custom tabs to your product page, have complete control over the tabs, and customize them to suit your specific needs. Below are step-by-step instructions for installing the plugin.
Step 1: Installing and Activating the Free Version
Option 1: Search & Install (Recommended for Most Users)
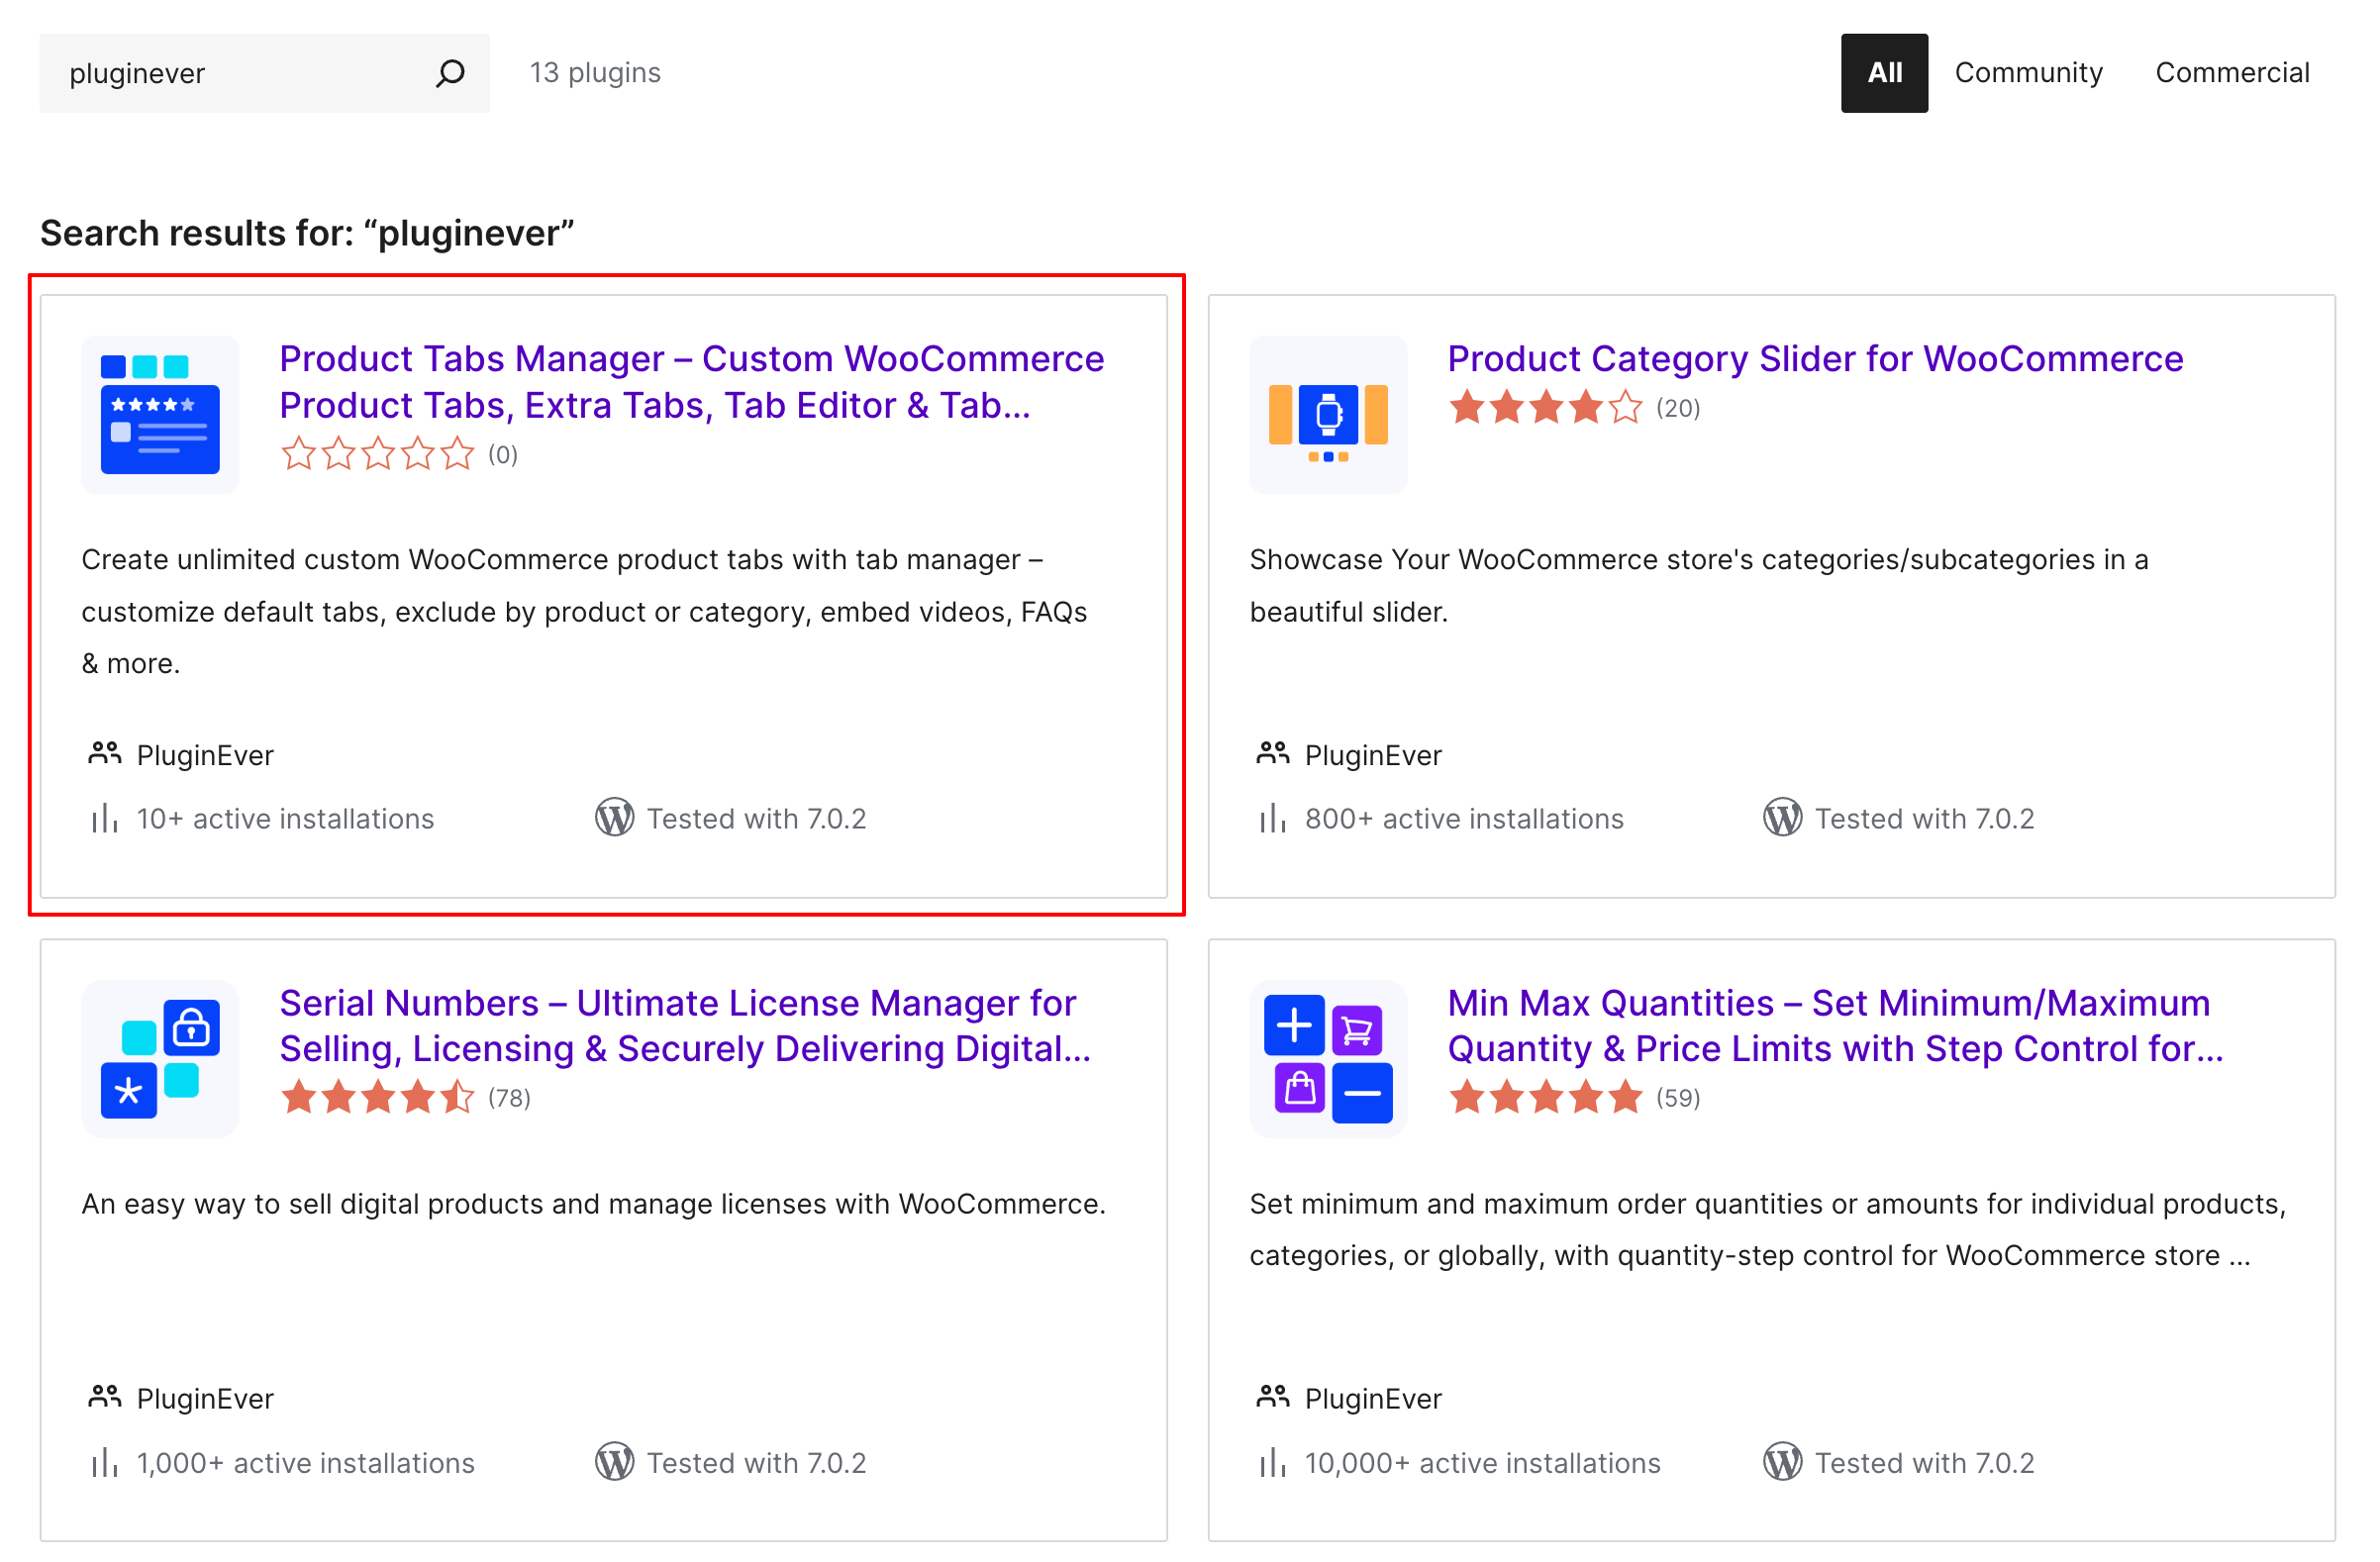
- Log in to your WordPress dashboard and navigate to Plugins > Add Plugin.
- In the search bar (top right), type Product Tabs Manager by PluginEver.
- Locate the plugin and click Install Now.
- After installation, click Activate Plugin to enable the plugin.
Option 2: Upload via WordPress Dashboard
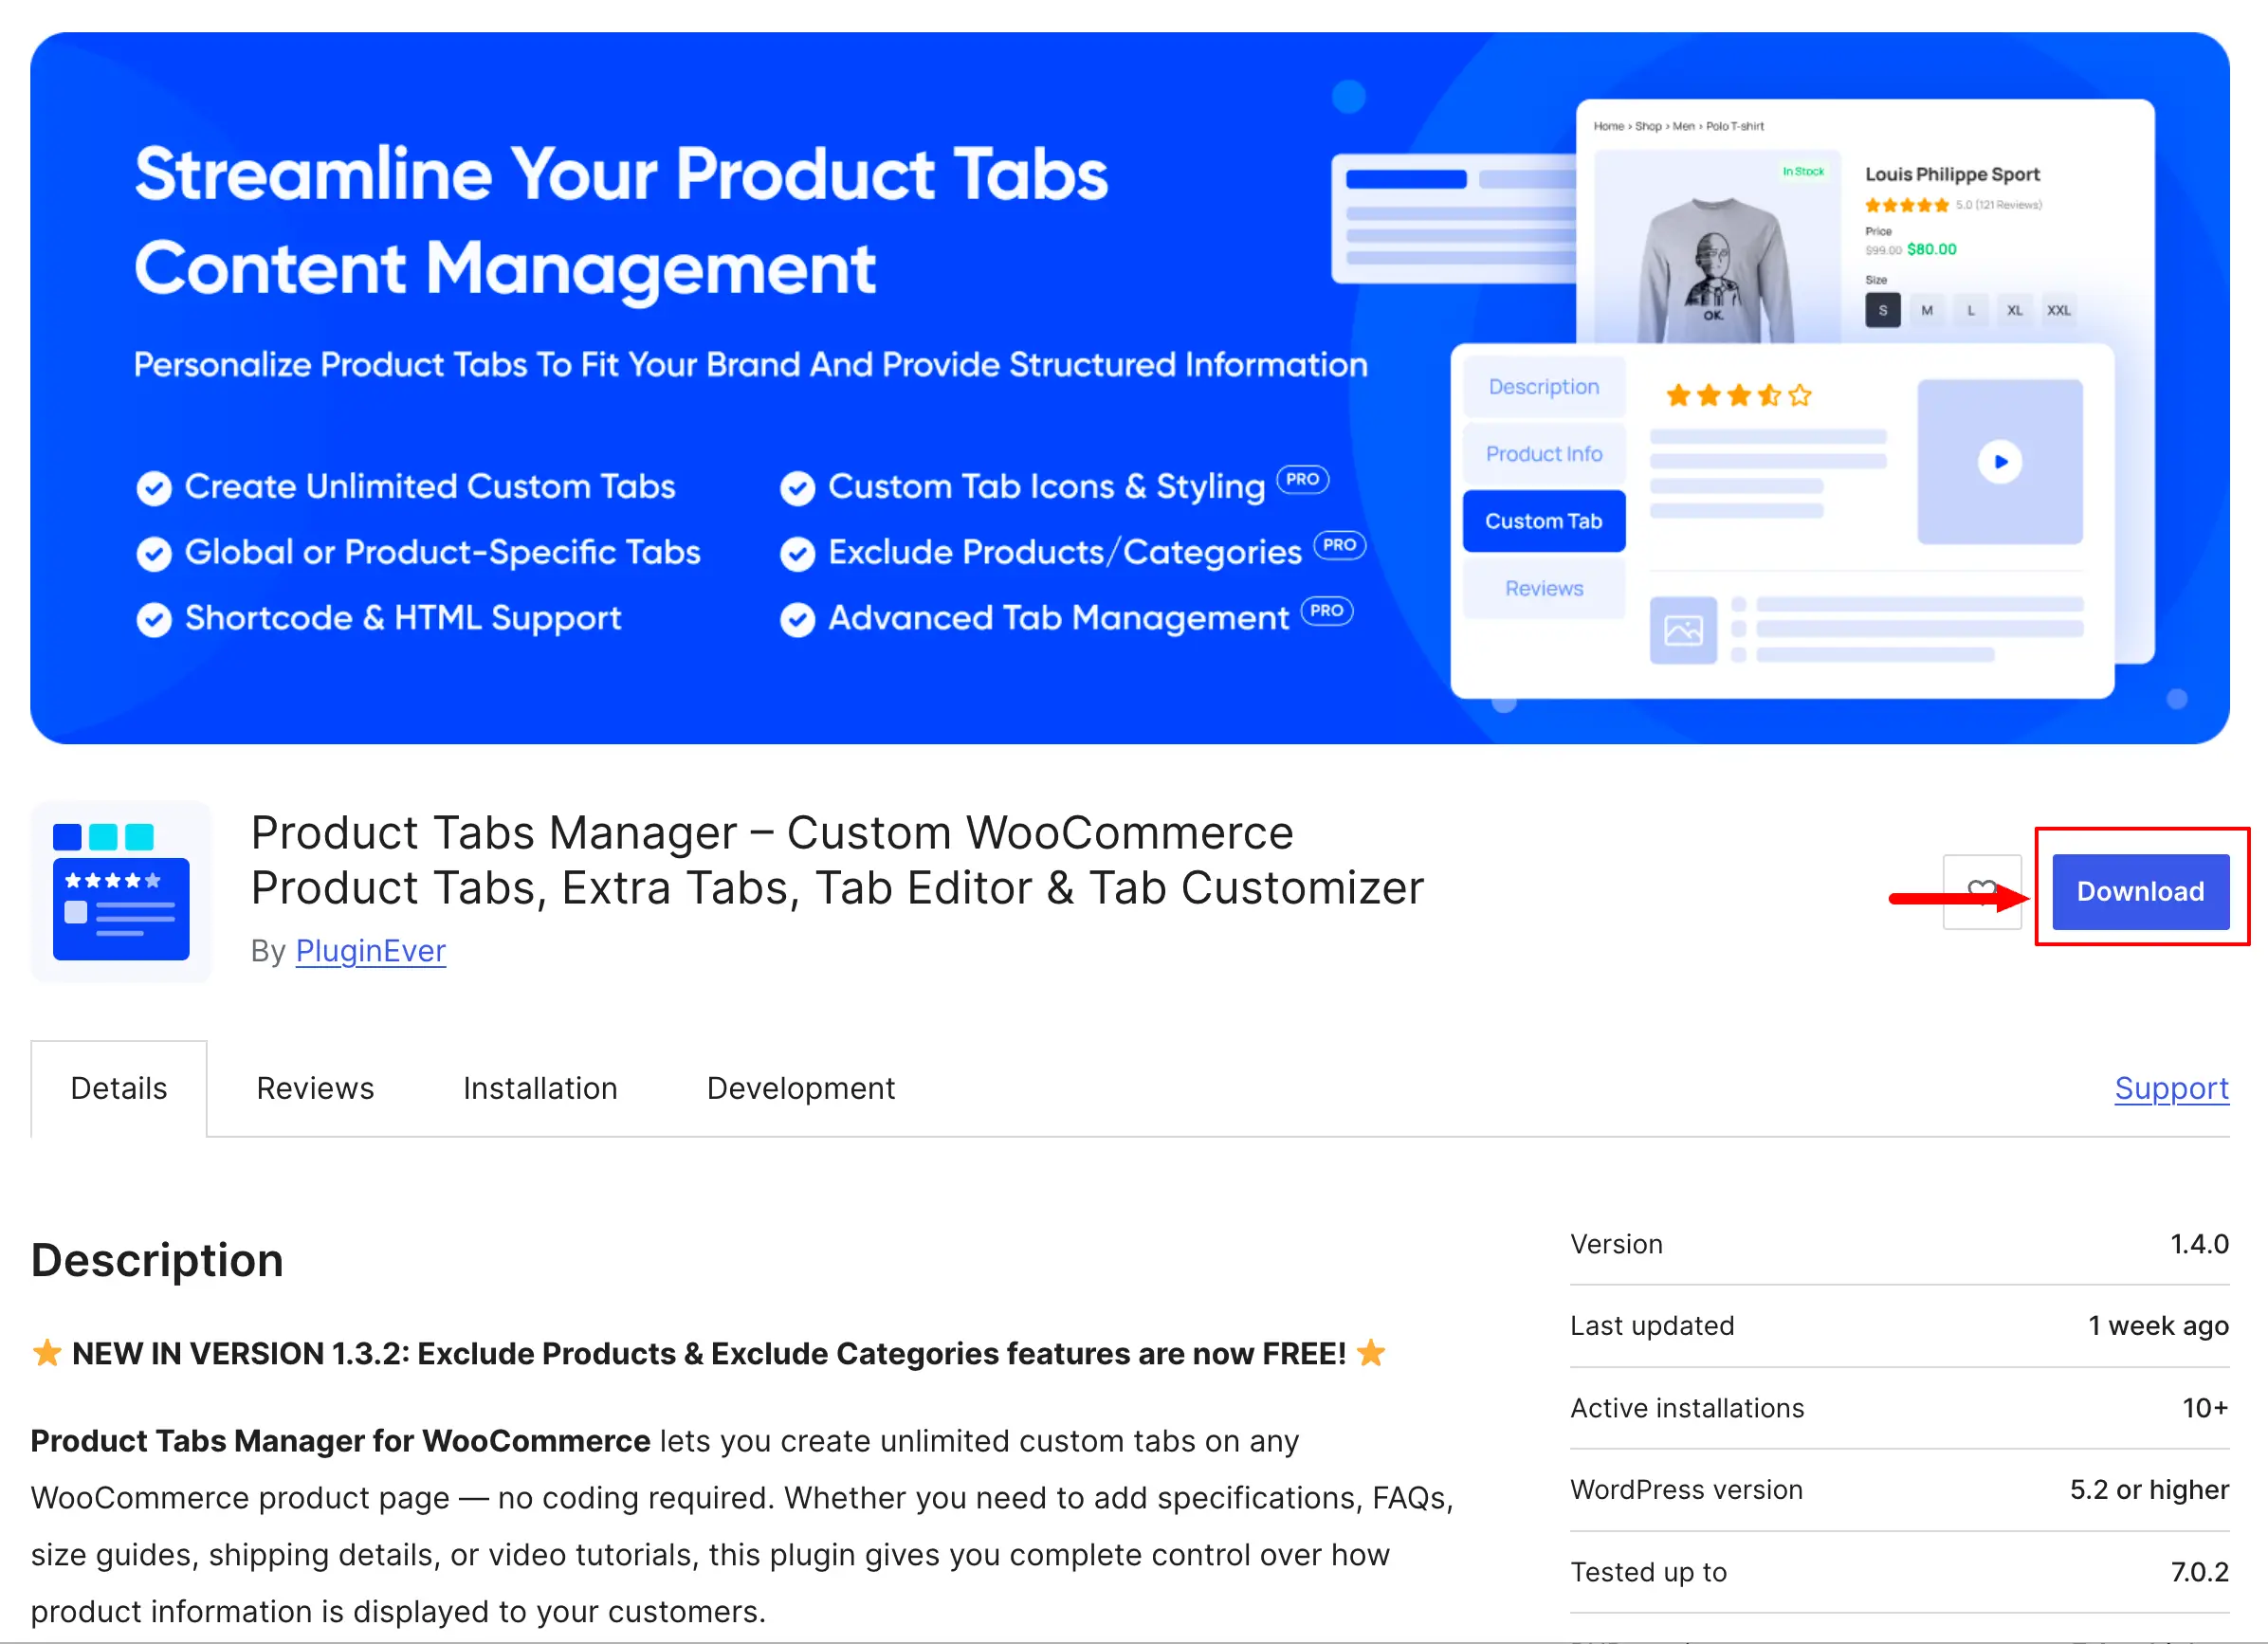
- Download the Product Tabs Manager plugin from the WordPress.org repository.
- In your WordPress dashboard, navigate to Plugins > Add Plugin > Upload Plugin.
- Click Choose File, and select the plugin ZIP file you downloaded, then, click Install Now.
- Once the installation is complete, click Activate Plugin.
Option 3: Upload via FTP (For Developers)
- Download the plugin ZIP file from the WordPress.org repository and extract it on your computer.
- Open your preferred FTP client (e.g., FileZilla) and connect to your web server.
- Navigate to your WordPress installation path
wp-content/plugins/ - Upload the extracted plugin folder (product-tabs-manager) into this directory.
- In your WordPress dashboard, go to Plugins > Installed Plugins.
- Locate the Product Tabs Manager and click Activate.
Important: Product Tabs Manager Pro works as an add-on to the free version. Do not deactivate or delete the free plugin, both the free and Pro versions need to stay installed and active together for the plugin to function correctly.
Step 2: Downloading the Premium Version
If you’ve purchased the premium version of the plugin, follow these steps to obtain your copy:
Download the Pro Plugin File
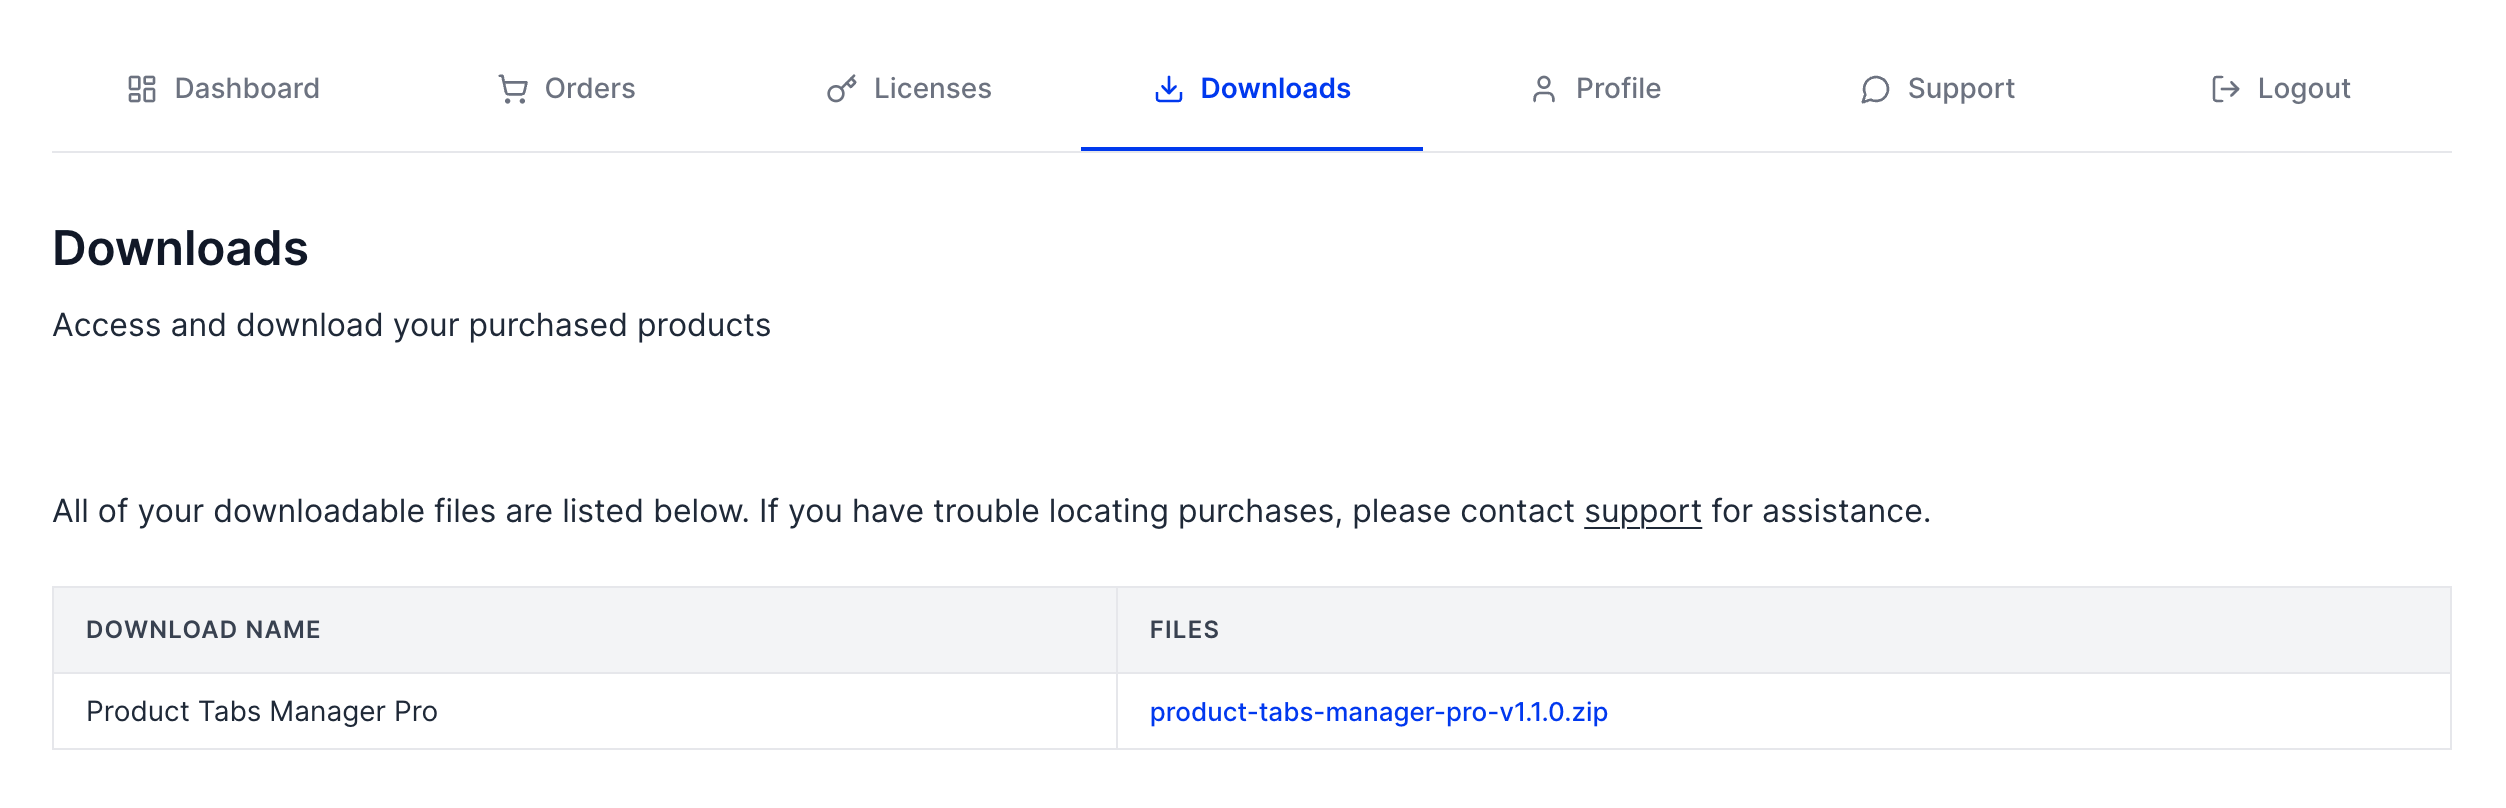
- Go to PluginEver’s official website.
- Log in to your account and navigate to Downloads.
- Click on the downloadable zip file next to your purchased plugin.
- It will download the plugin zip file to your local machine’s download folder.
You’ll also receive a download link via email after your purchase.
Installation via WordPress Admin Dashboard
- Log in to your WordPress site.
- Navigate to Plugins > Add Plugin > Upload Plugin.
- Click Choose File, and select the plugin ZIP file you downloaded and click Install Now.
- Once the installation is complete, click Activate Plugin.
Step 3: Activate the License
Once installed and activated, follow these additional steps to activate the license and enable premium features fully:
Find your license
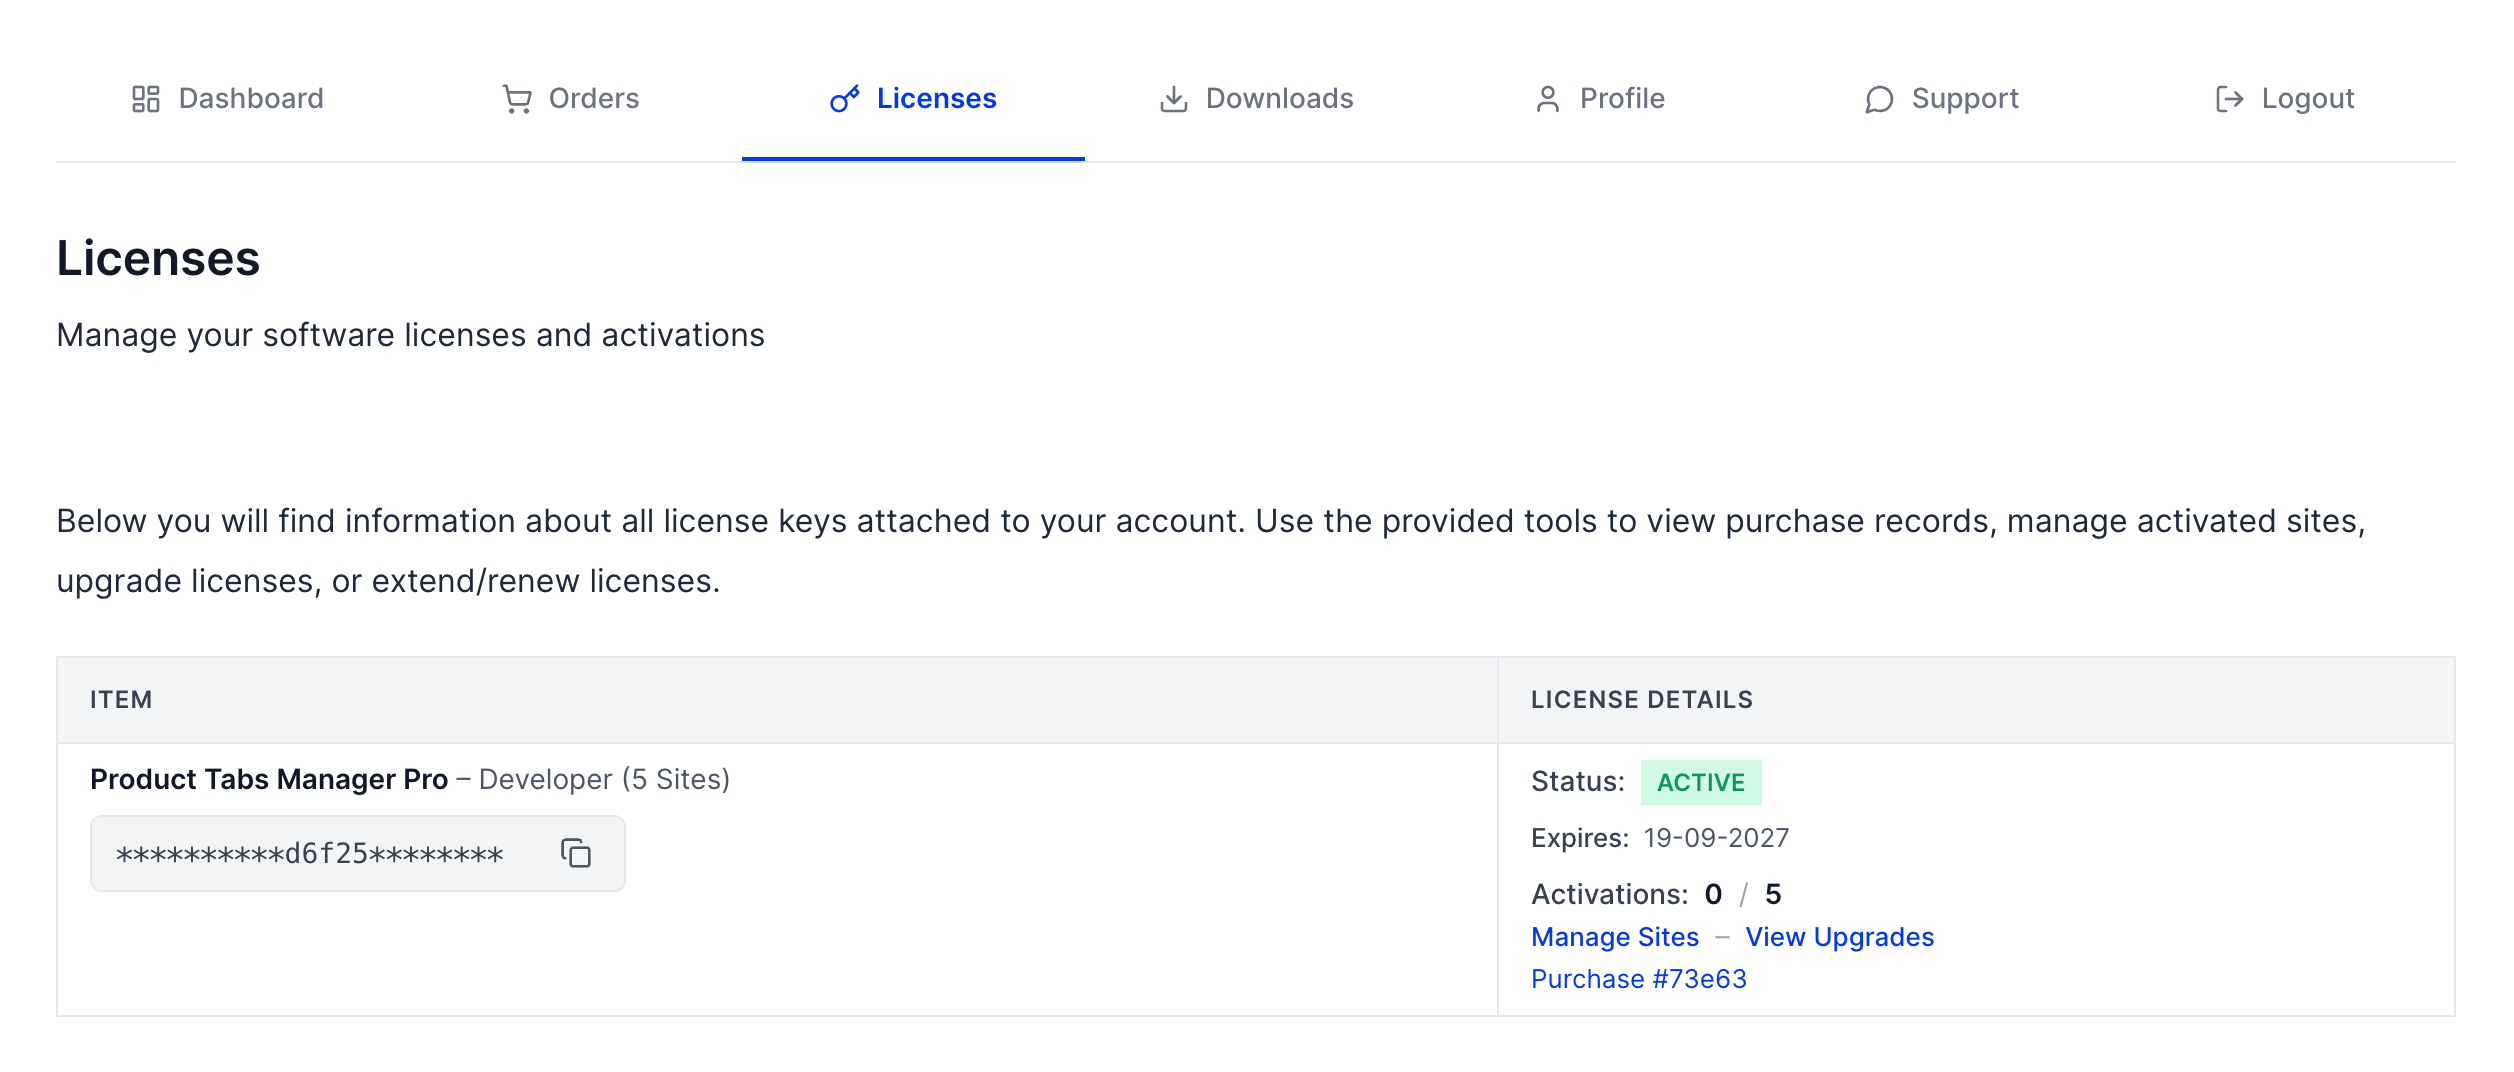
- Locate your license key by checking your order confirmation email or logging into your PluginEver account and navigating to License Keys.
- Copy the license key corresponding to the Product Tabs Manager Pro plugin.
Activate the License
A notice will appear in the dashboard of your WordPress site saying “Activate Product Tabs Manager Pro“.

To activate your license, Paste the key into the license field and click Activate.
Once activated, you’ll have full access to all premium features and updates.
Troubleshooting Tips
- Plugin not activating? Check PHP version compatibility (minimum PHP 7.4 recommended).
- Installation failed? Ensure file upload limits are not exceeded in your server configuration (e.g., upload_max_filesize, post_max_size).
- White screen after activation? Enable
WP_DEBUGin your wp-config.php to catch errors. - License not saving? Double-check that your domain matches the activation limit and that your license hasn’t expired.