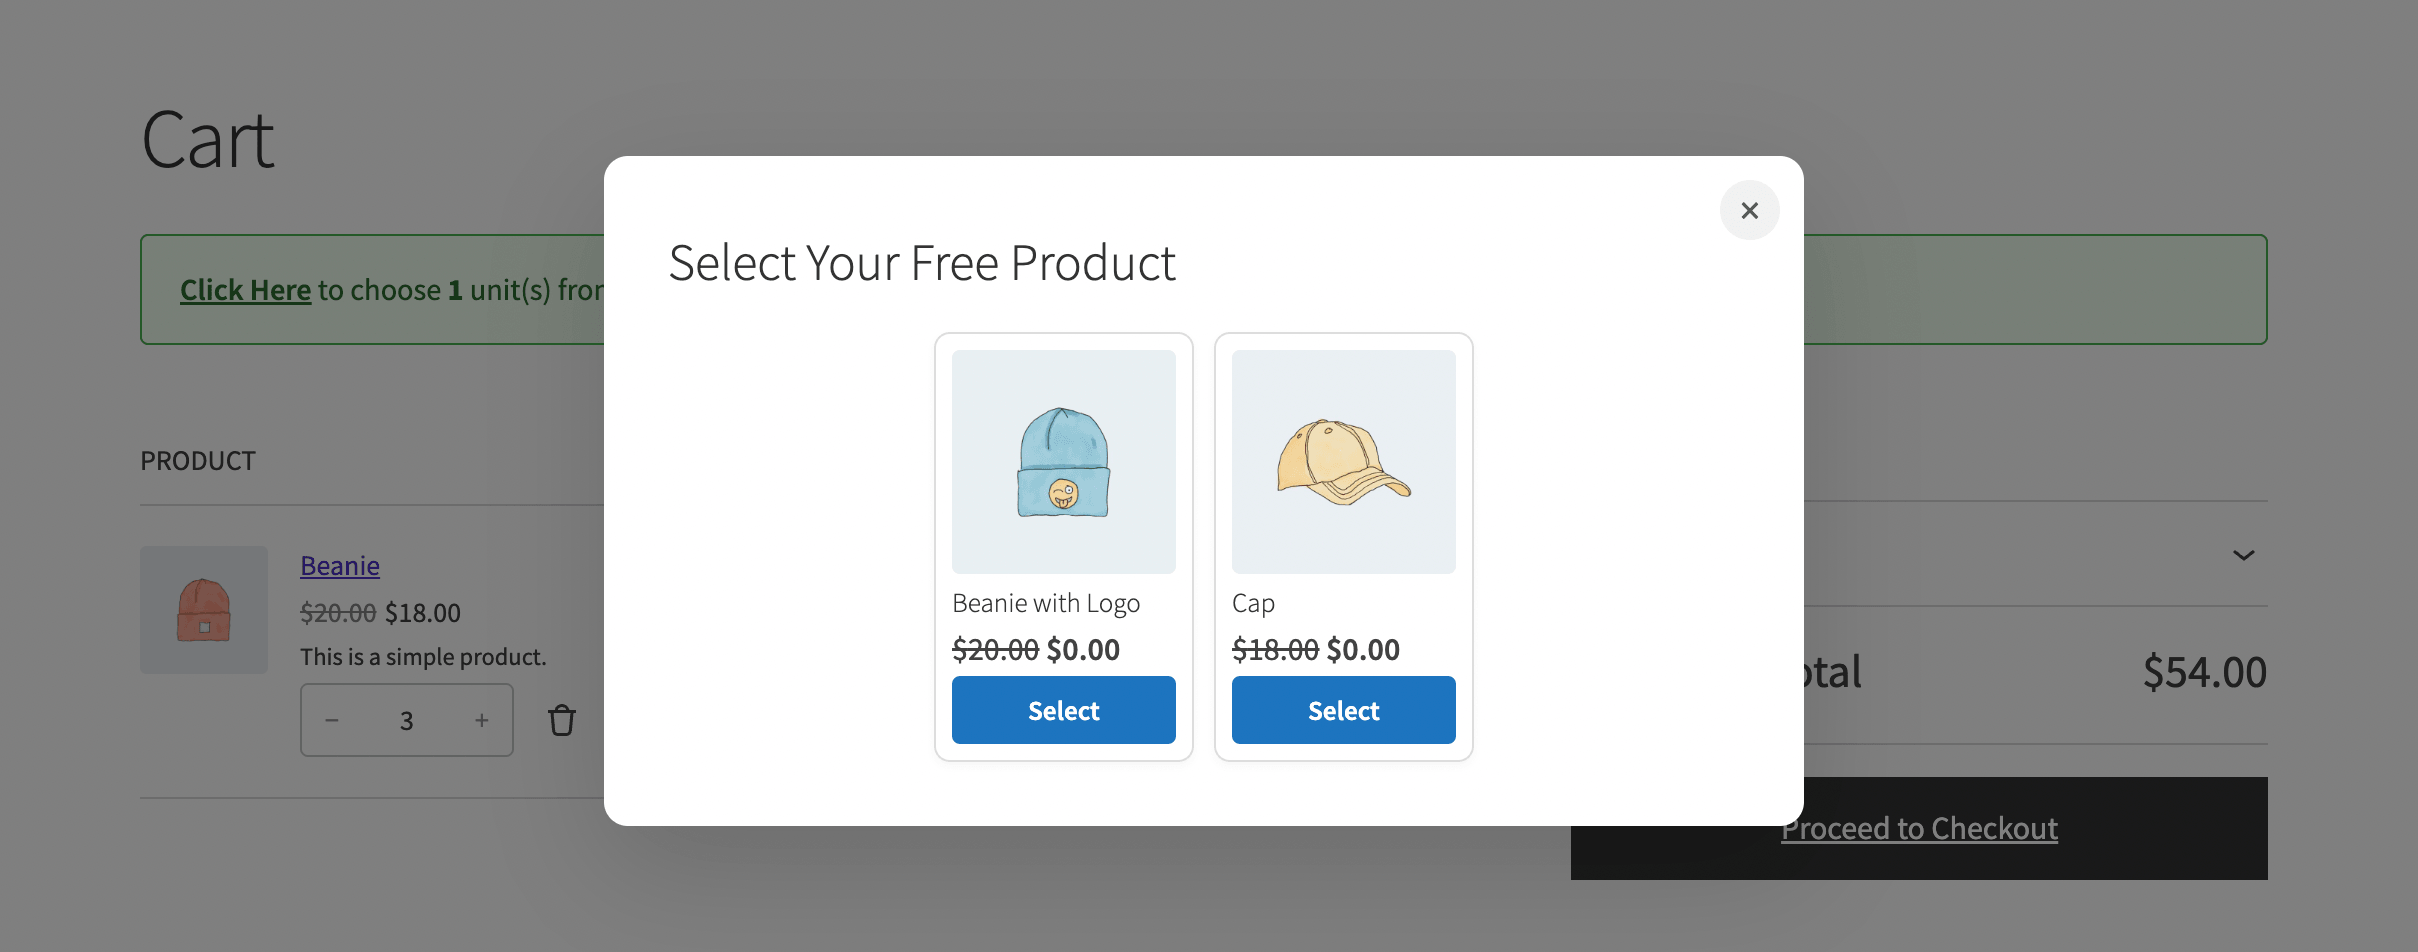
This guide walks you through configuring a BOGO offer directly on a product, from enabling the offer to choosing how the reward is set up. You’ll set the Reward Product Source to decide what the customer receives, either another unit of the same product or a free/discounted item they choose from a list, then set the quantity required to unlock it.
Once these settings are saved, BOGO for WooCommerce offers a choice of gifts whenever a customer’s cart meets your quantity rule.
Before You Begin
Make sure BOGO for WooCommerce is installed and the license is activated. The plugin’s master Enable toggle must be turned on for any product-level offer to work.
Step 1: Find and Open the Product You Want to Configure
Go to Products from your WordPress admin menu and open the product that will trigger the offer.
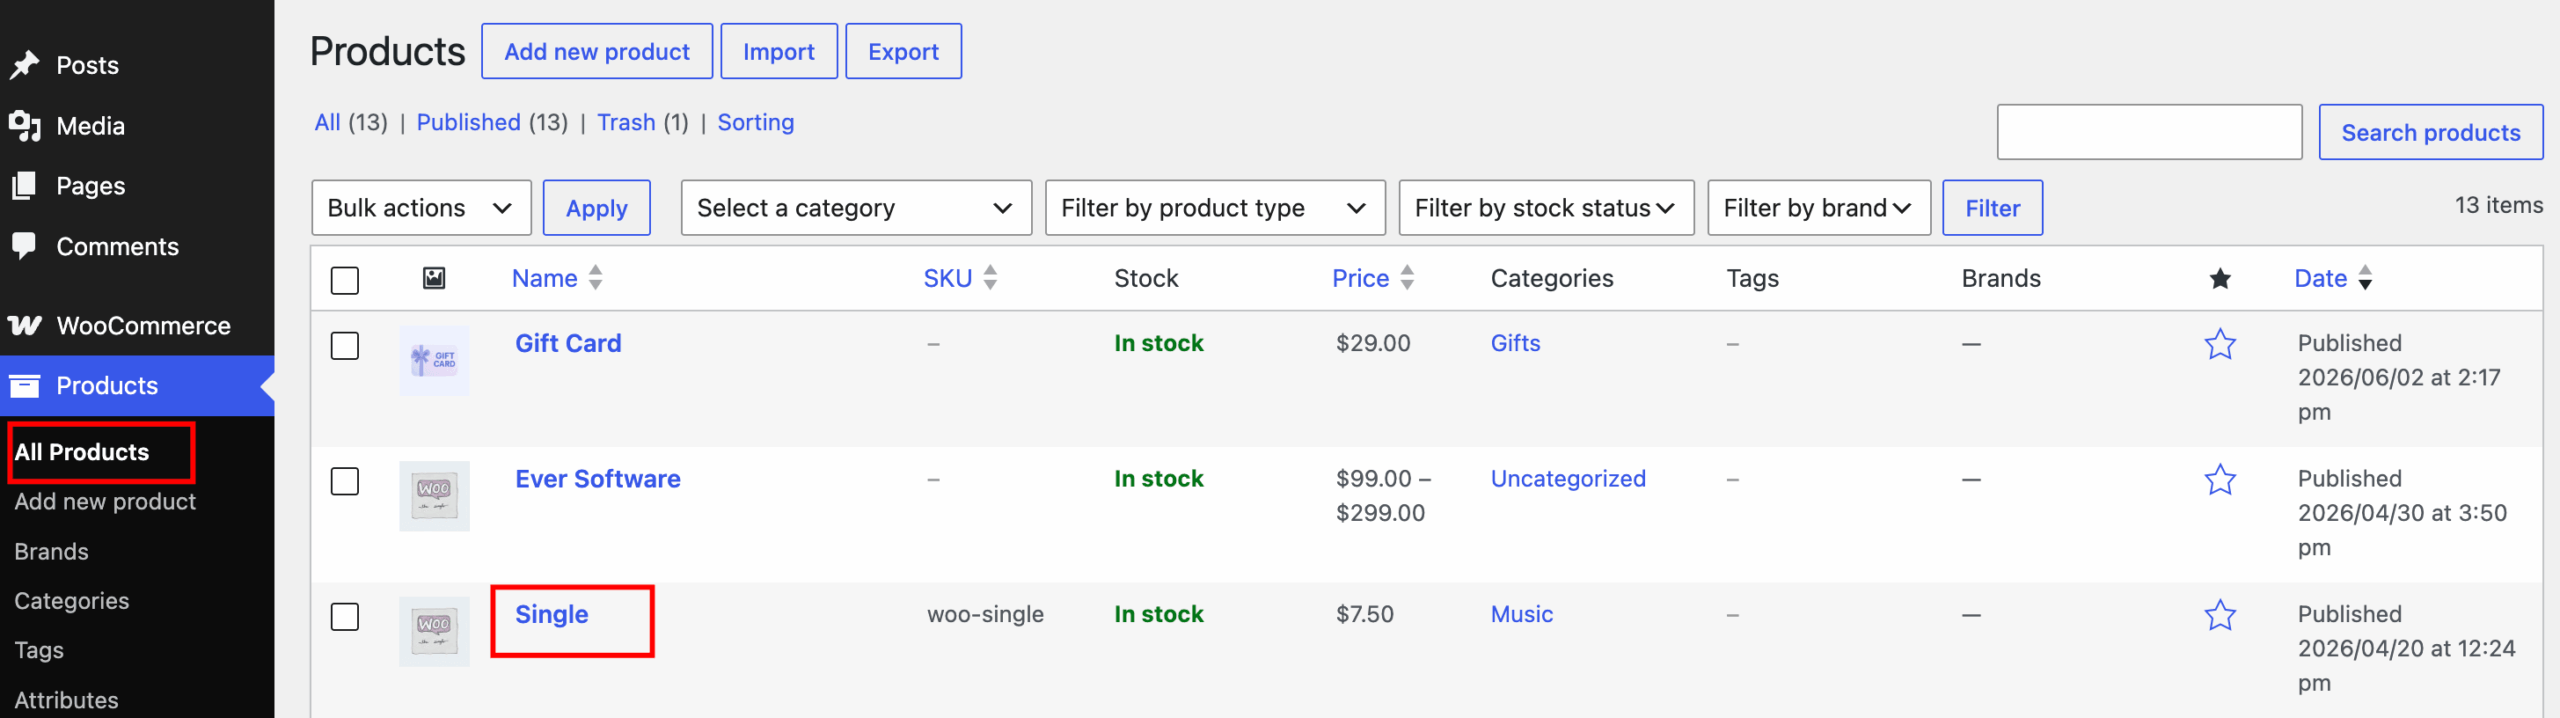
Note: These steps configure the offer at the product level, which applies to both simple products and variable products as a whole. If the product has variations and you want to set a BOGO offer on a specific variation instead, for example, only on one size or color, see Configure a Variation-Level BOGO Offer instead.
Step 2: Open the BOGO Options Tab
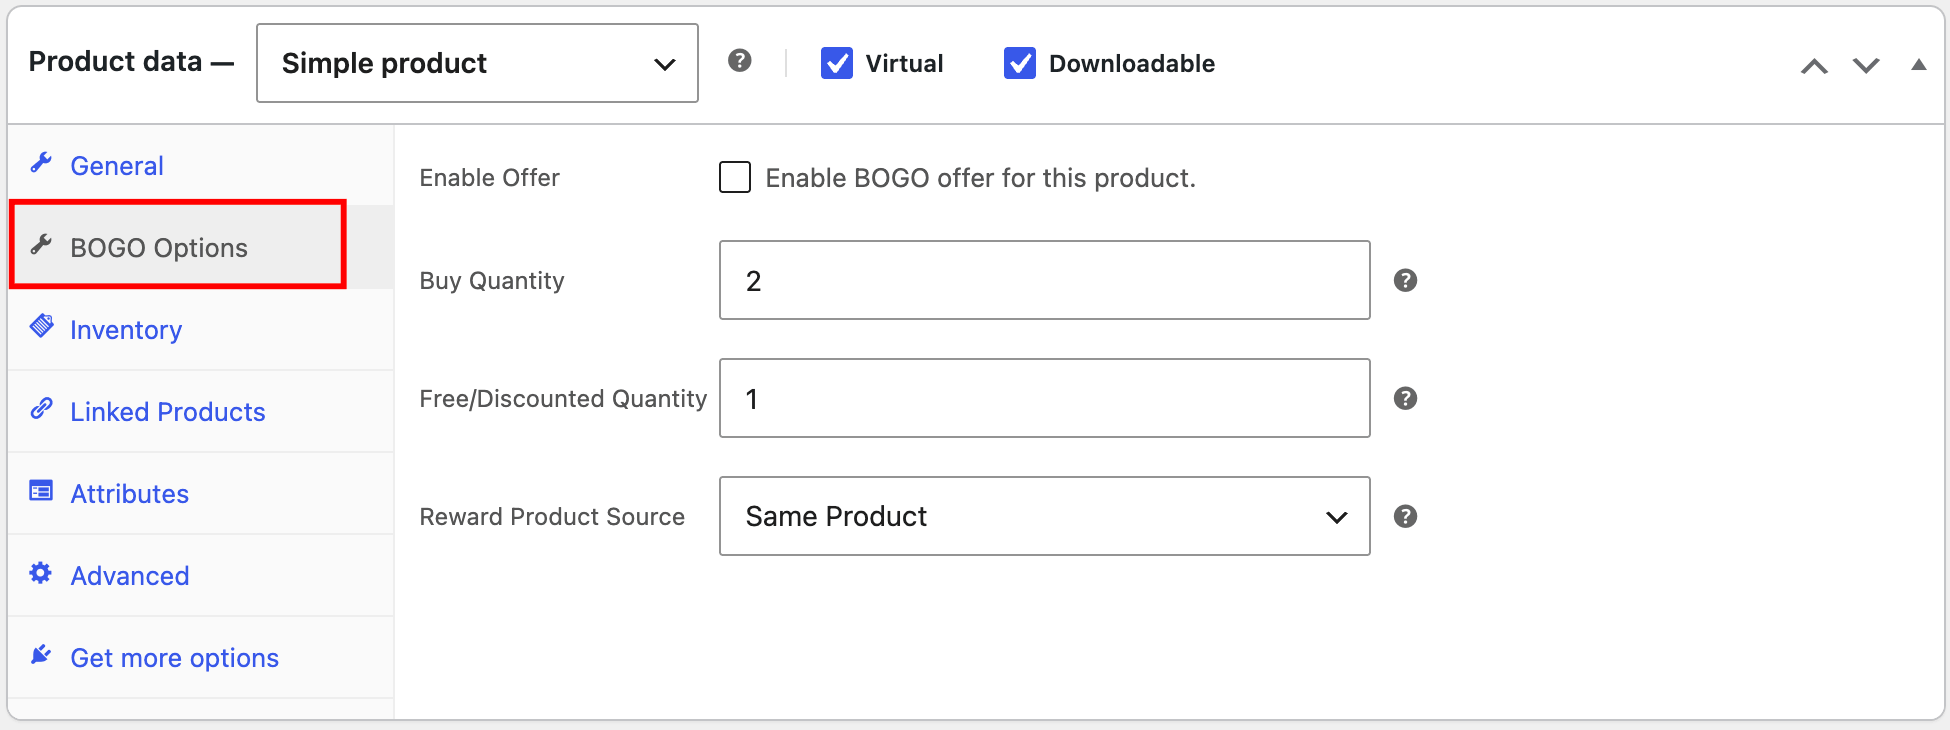
Scroll down to the Product Data section and click the BOGO Options tab.
Step 3: Enable the Offer
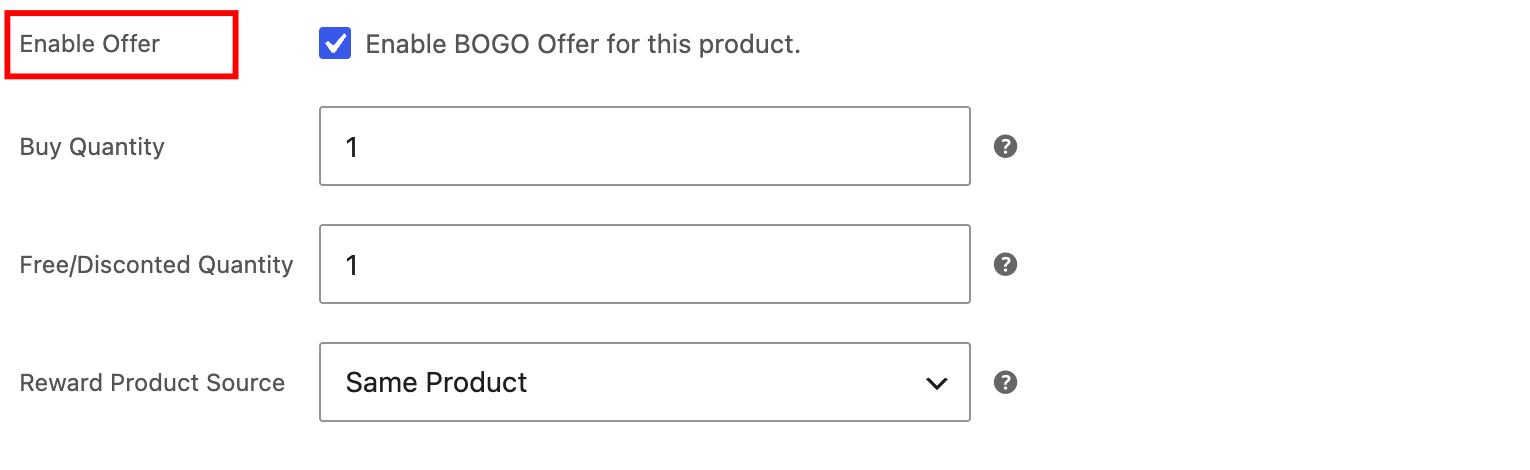
Check Enable Offer. Until this box is checked, the plugin won’t apply any offer for this product, regardless of your general settings.
Step 4: Set the Quantity To Buy
Set the Buy Quantity field to define how many units of the source product a customer needs to purchase before the gift selection unlocks.
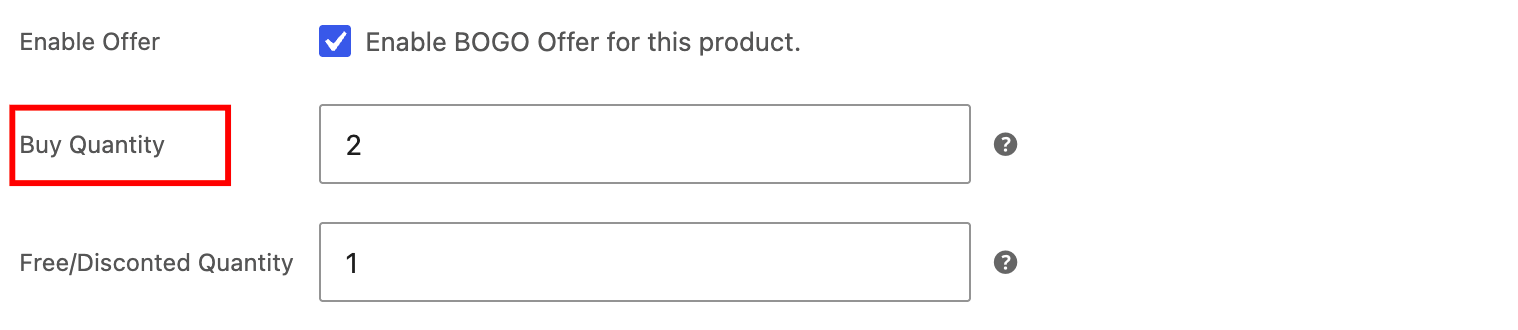
- For a classic “Buy 1 Get 1,” set this to 1.
- For a bulk offer like “Buy 5 Get 1,” set this to 5.
Step 5: Set the Free/Discounted Quantity
Set the Free/Discounted Quantity field to define how many additional units the customer receives for free. This offer type doesn’t support a partial discount; the quantity you set here is given entirely free, not at a reduced price.
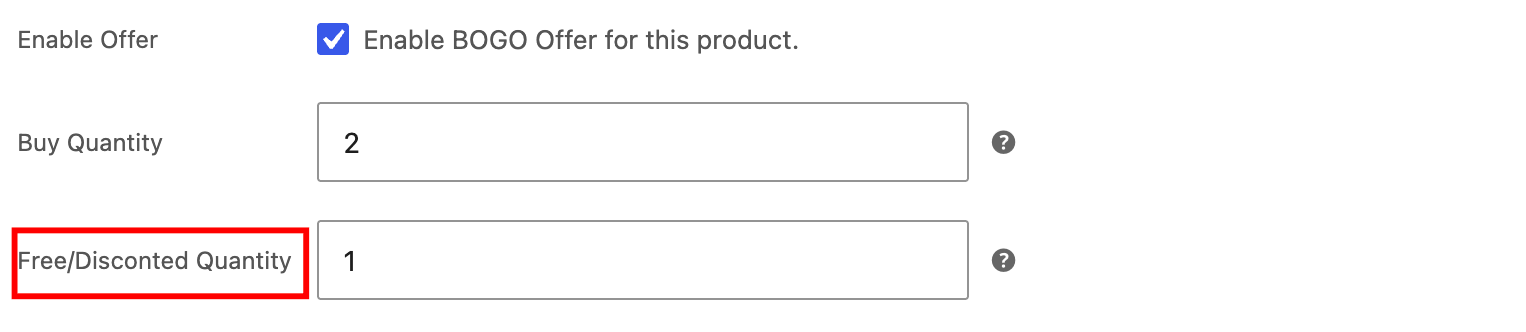
- For a classic “Buy 1 Get 1,” set this to 1.
- For a bulk offer like “Buy 5 Get 2,” set this to 2.
Step 6: Choose Your Reward Product Source
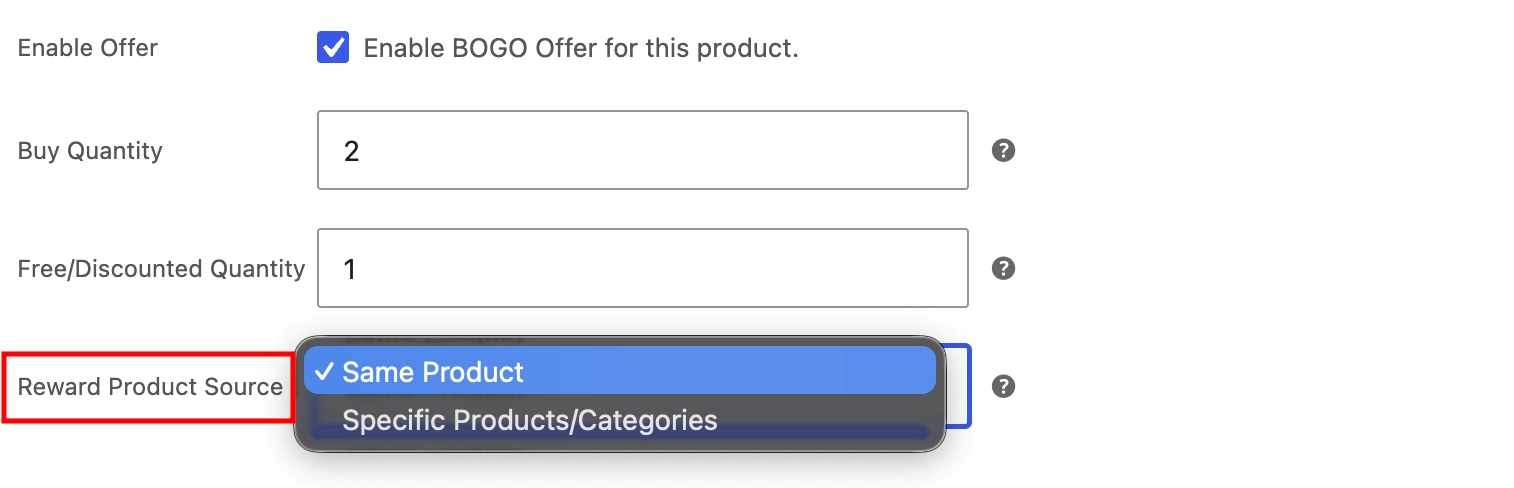
The Reward Product Source field is where you decide what the customer receives. Select the option that fits your promotion:
Same Product
Choose this if you want the reward to be another unit of the item the customer is already buying, like a classic “Buy 1 Get 1 Free” deal.
Since Buy Quantity and Free/Discounted Quantity are both configurable, you’re not limited to a single structure, “Buy 1 Get 1 Free,” “Buy 2 Get 1 Free,” and “Buy 2 Get 2 Free” are all valid combinations depending on the values you set in Steps 4 and 5. This is the simplest offer to configure since there’s no separate gift list to manage, and it works especially well for clearing overstocked inventory.

For the full walkthrough of this setup, see Set Up a Buy X Get X Free Offer.
Specific Products/Categories (Customer Choice)
Choose this if you want to offer one or more different items as the reward. Selecting this option reveals the Eligible Reward Products and Eligible Reward Categories fields, where you can search for and add the items or categories you want to make available as gifts.
Unlike Same Product, gifts here aren’t added to the cart automatically. Instead, the customer sees the eligible products on the product page and picks which ones they want, up to the quantity set in Free/Discounted Quantity. As with Same Product, Buy Quantity and Free/Discounted Quantity are both configurable, so any combination works, “Buy 1 Get 1,” “Buy 2 Get 1,” “Buy 3 Get 2,” and so on.
Pricing is also flexible here through the Pricing Method field: the selected gifts can be completely free, discounted by a percentage, or set to an exact fixed price, whichever fits your promotion.
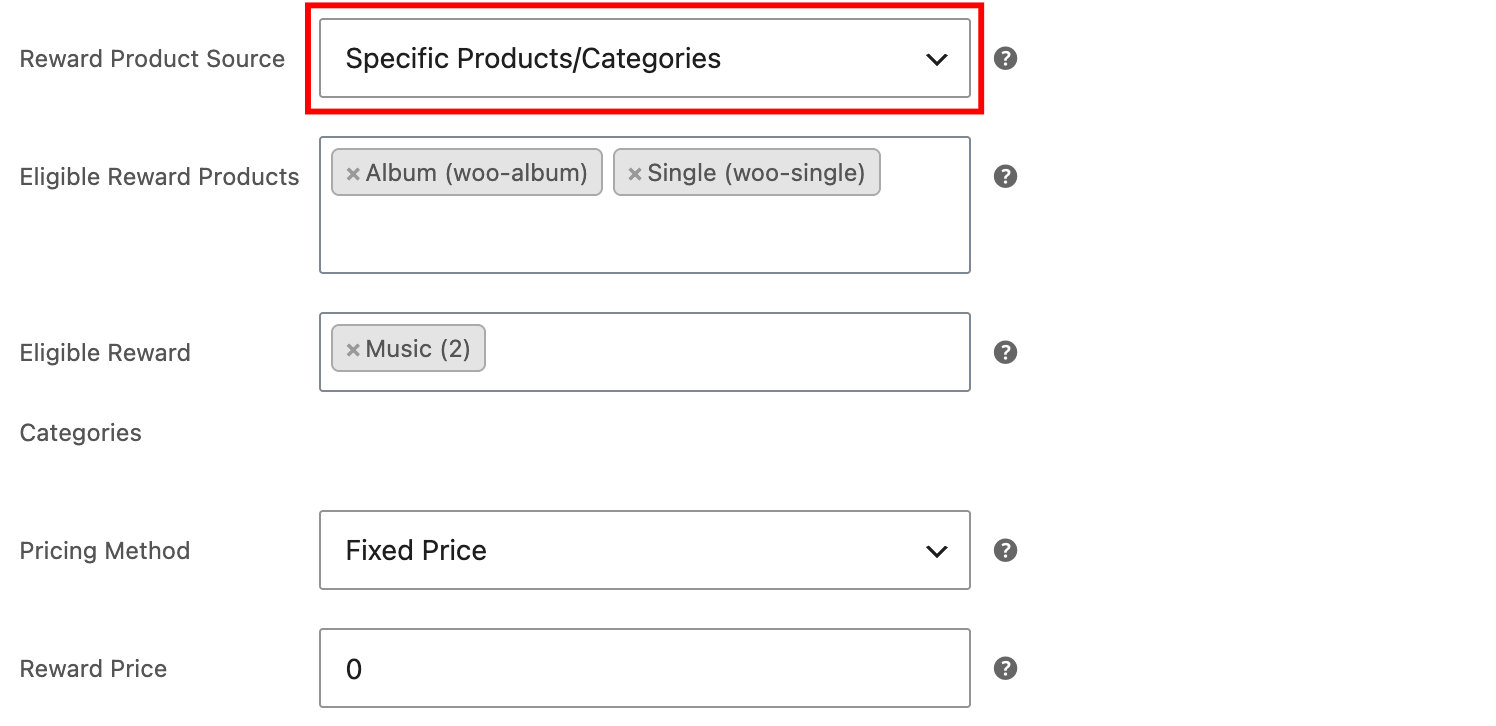
For the full walkthrough of this setup, see Set Up a Buy X Get Y Offer.
Step 7: Save the Product
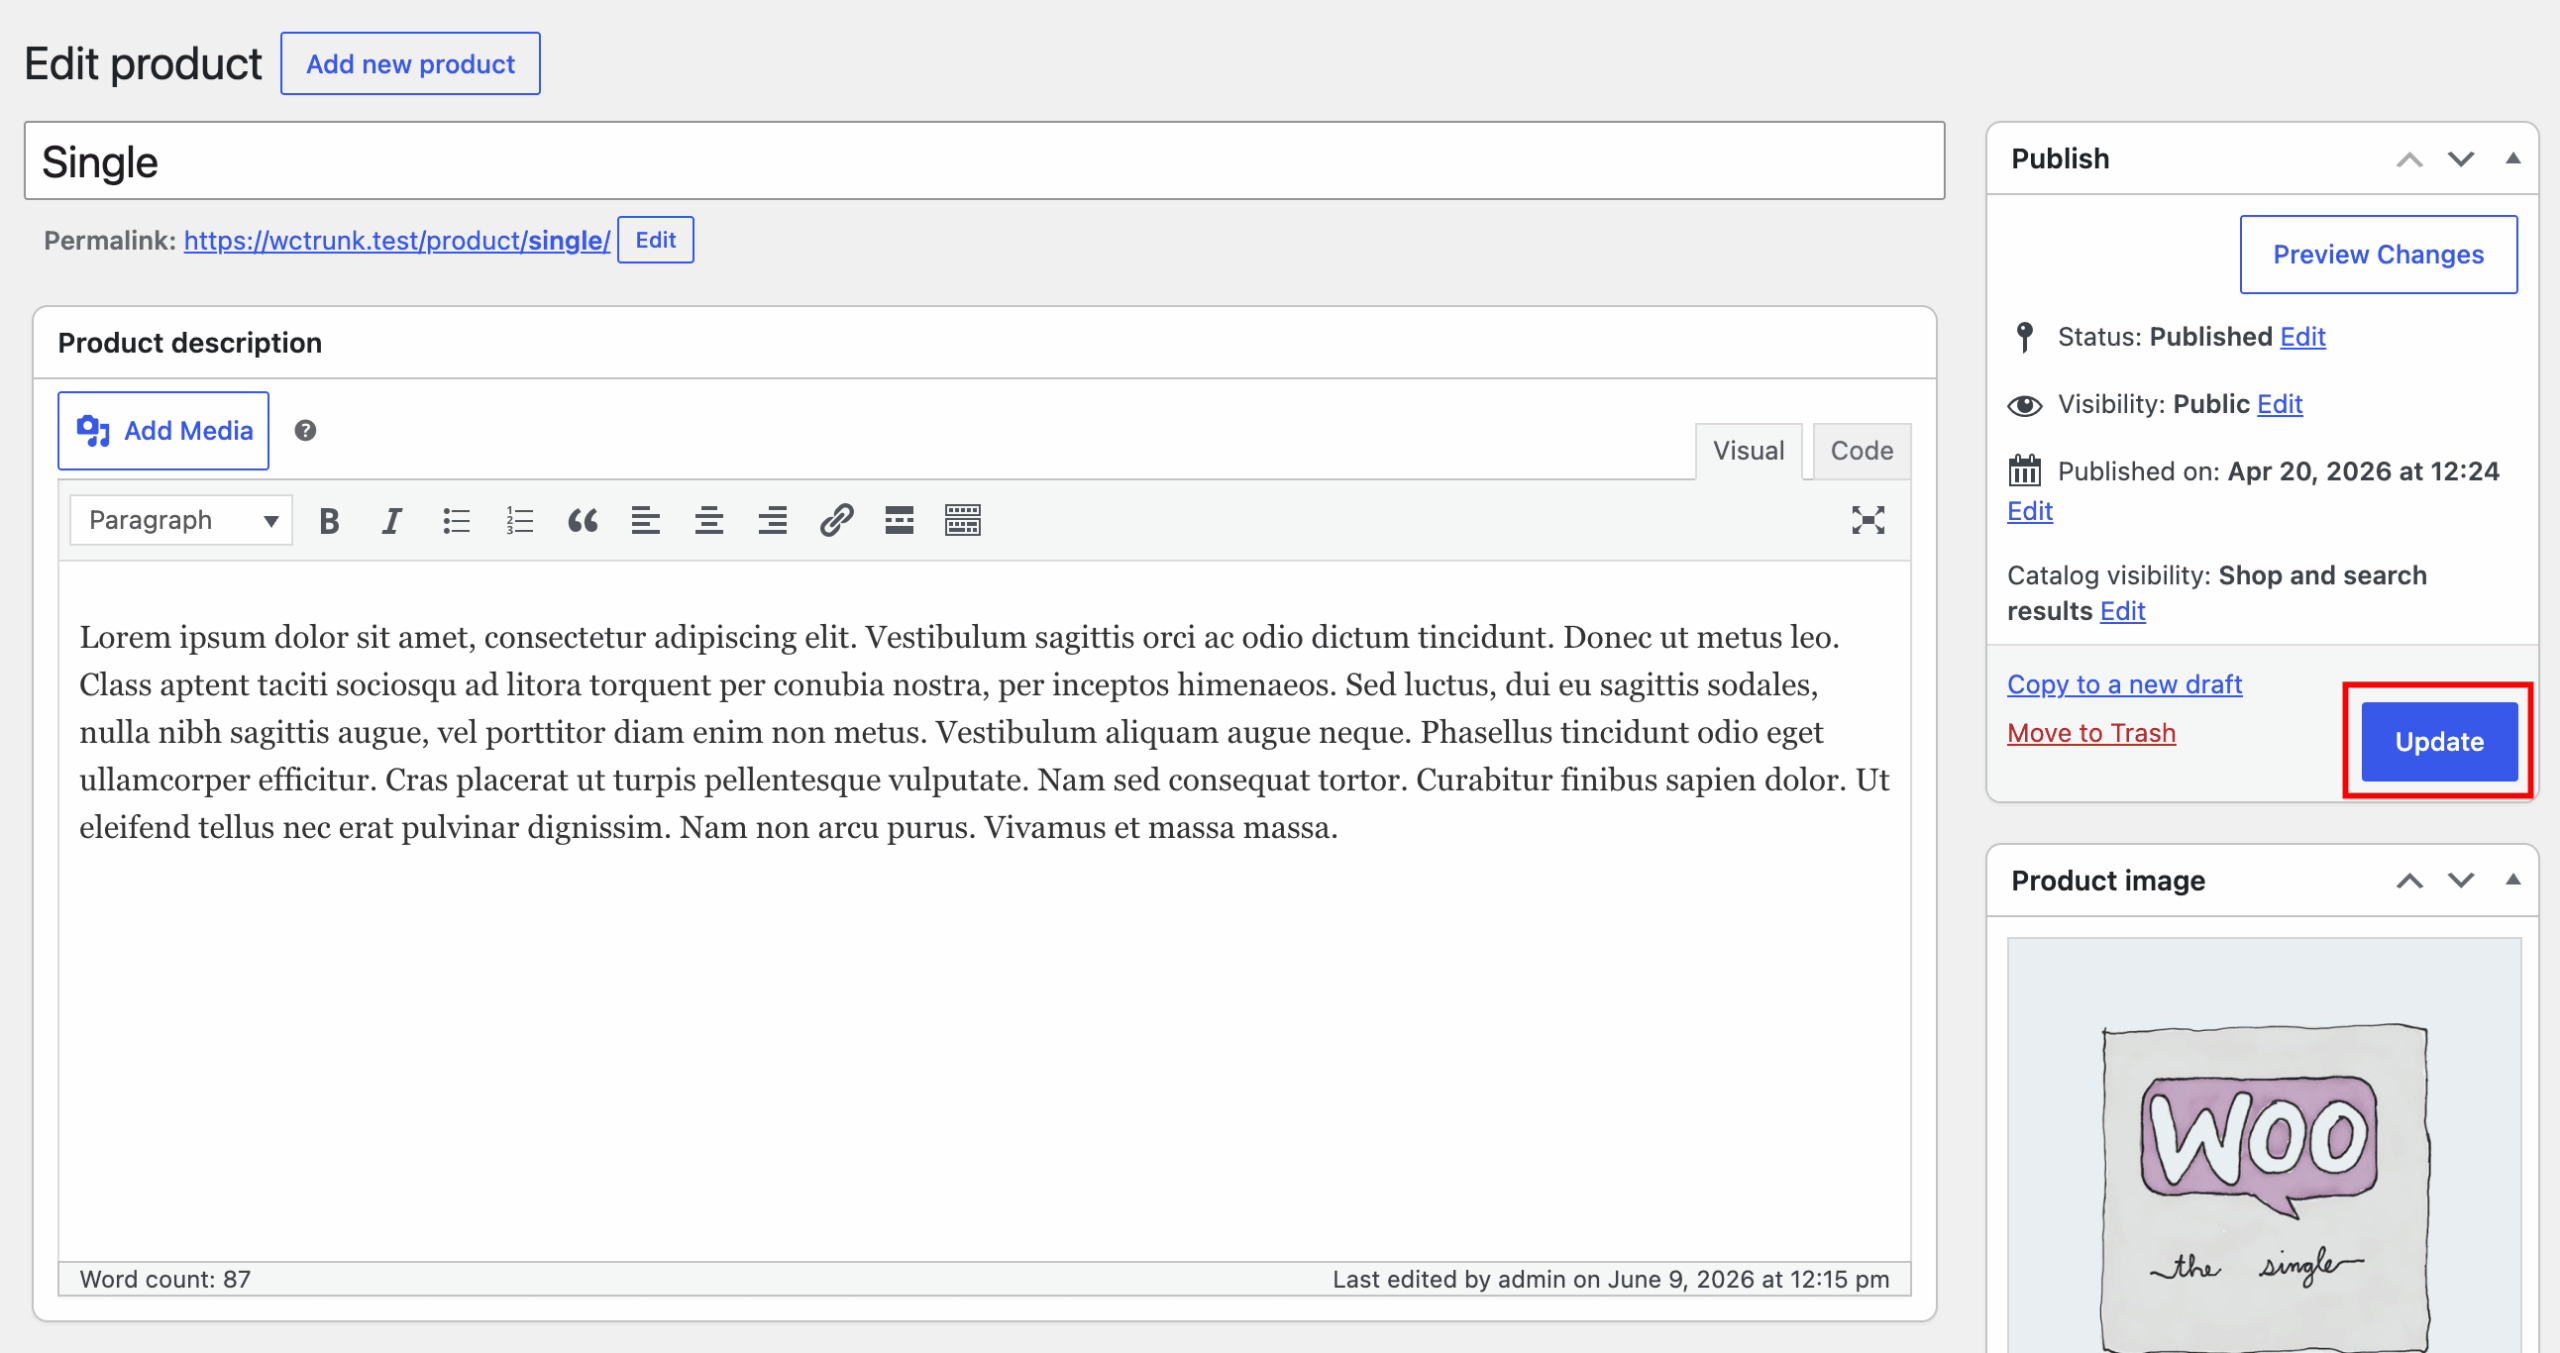
Click Update to save your BOGO configuration.
Step 8: Add the BOGO Cart Notice Block to Your Cart Page
If you’re using the block-based Cart page, open it in the WordPress block editor via WooCommerce > Settings > Cart, or by editing the Cart page directly from Pages. Click the + icon to add a new block, search for BOGO Cart Notice, and insert it wherever you’d like it to appear, typically above or below the cart items table.
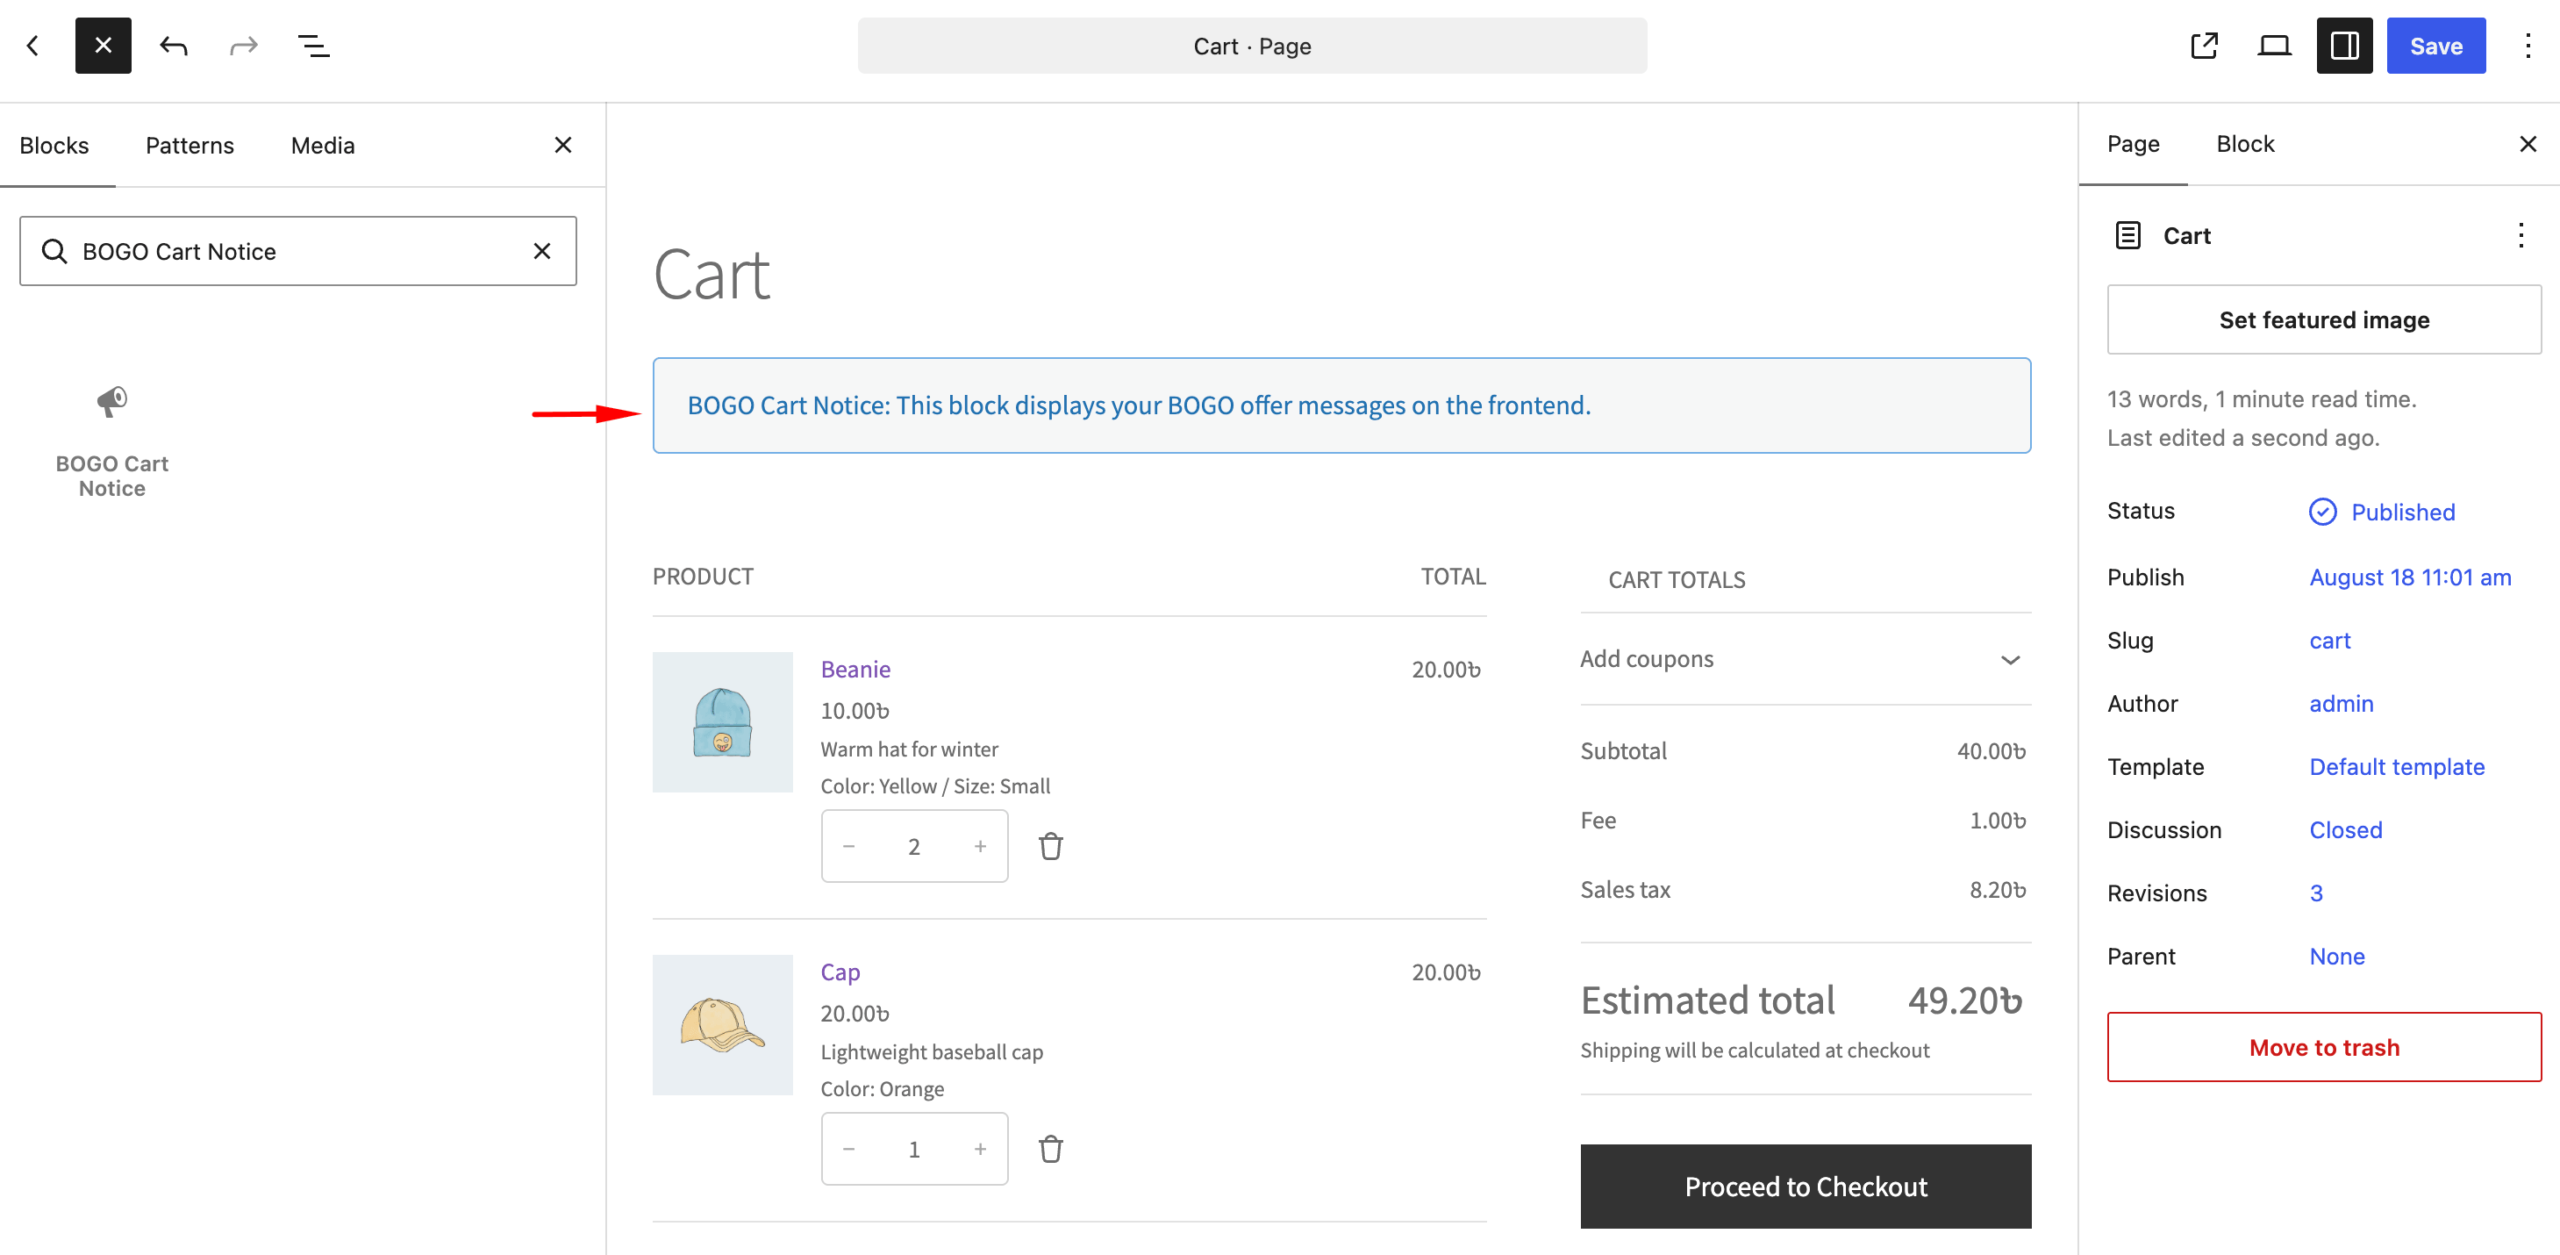
Save the page, then visit your store’s cart page to confirm the notice appears correctly after you add a qualifying product.
Step 9: Test the Offer
Open your store’s frontend and navigate to the product page. Add the required quantity to your cart.
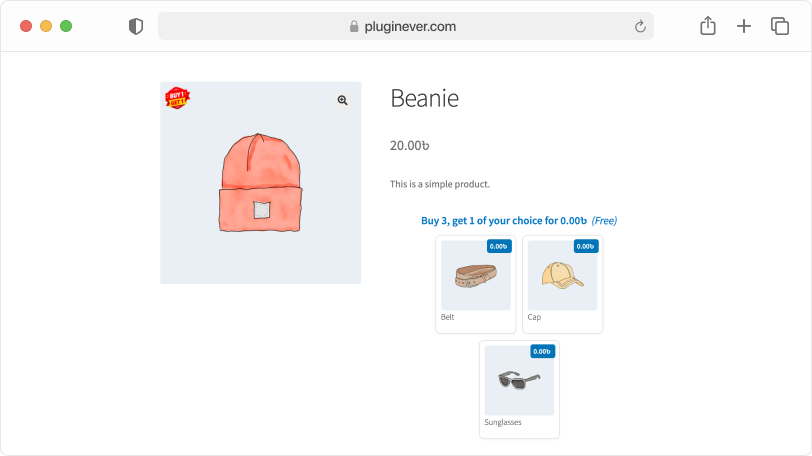
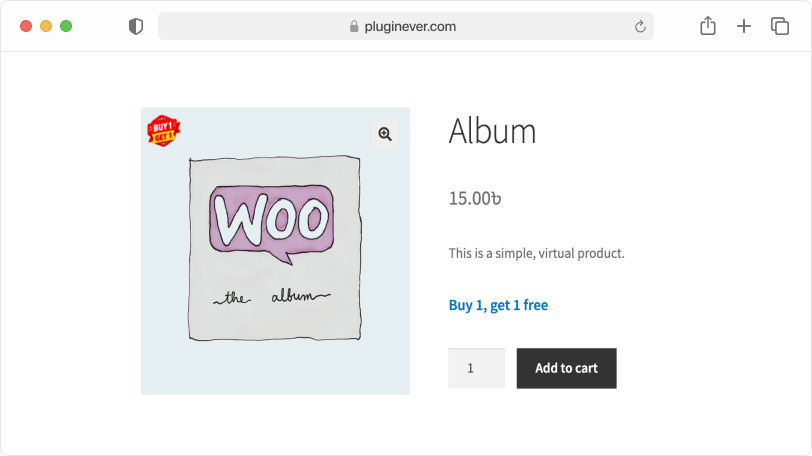
Proceed to the cart and confirm the reward was applied as expected:
- If you configured Same Product, confirm the extra unit(s) were added automatically at no additional cost.
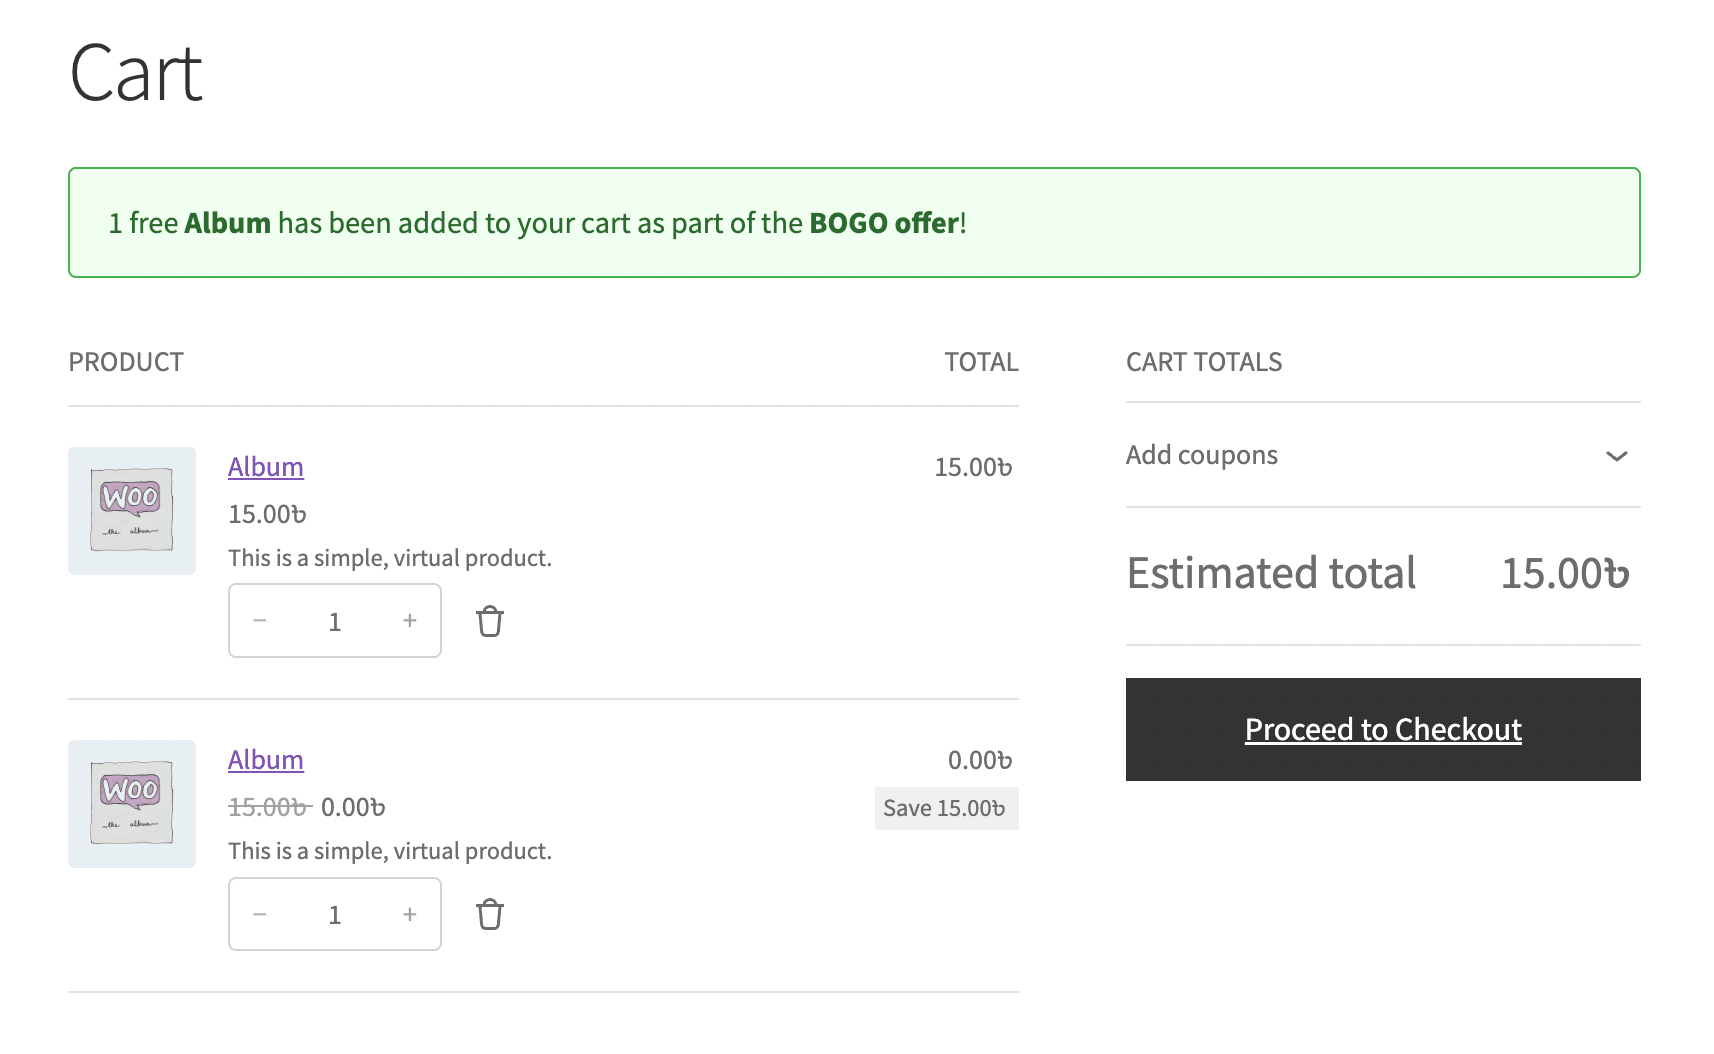
- If you configured Specific Products/Categories, confirm you can select the eligible gift products from Cart Notice.