After you have successfully set the event details, you can add extra information in the WooCommerce’s default Tabs section. This allows you to provide more context or instructions for your attendees.
Step 1: Enable Additional Details
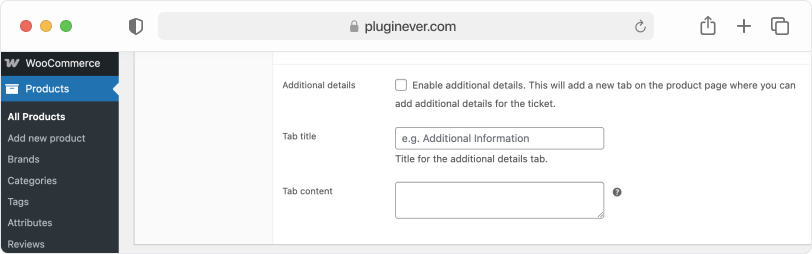
In the Product Data section of your ticket product, check the Additional Details option to enable it.
Step 2: Set Tab Title and Content
Tab Title
Enter the name of the tab that will appear on the product page (e.g., “Event Info” or “Additional Info”).
Tab Content
Add the information you want your attendees to see, such as instructions, guidelines, or policies. You can use text, images, or short HTML formatting.
Step 3: Next Steps
Once you have configured the additional details tab, you can customize email notifications for your ticket orders. Follow the steps in Configure Email Notifications for Ticket Orders to set up automated emails for your attendees.