This guide walks you through installing a free PluginEver plugin on your WordPress site. All free plugins are hosted on WordPress.org and can be installed directly from your WordPress admin dashboard in just a few minutes.
All PluginEver plugins are WooCommerce extensions. WooCommerce must be installed and active on your site before installing any PluginEver plugin. You can install WooCommerce for free from WordPress.org.
Step 1: Install the Plugin
Choose the installation method that suits you. For most users, Option A (Search) is the quickest.
Option A – Search from the Admin Dashboard (Recommended)
This is the fastest method. No downloading required – WordPress fetches and installs the plugin directly.
- Log in to your WordPress site and go to your admin dashboard.
- Navigate to Plugins → Add New.
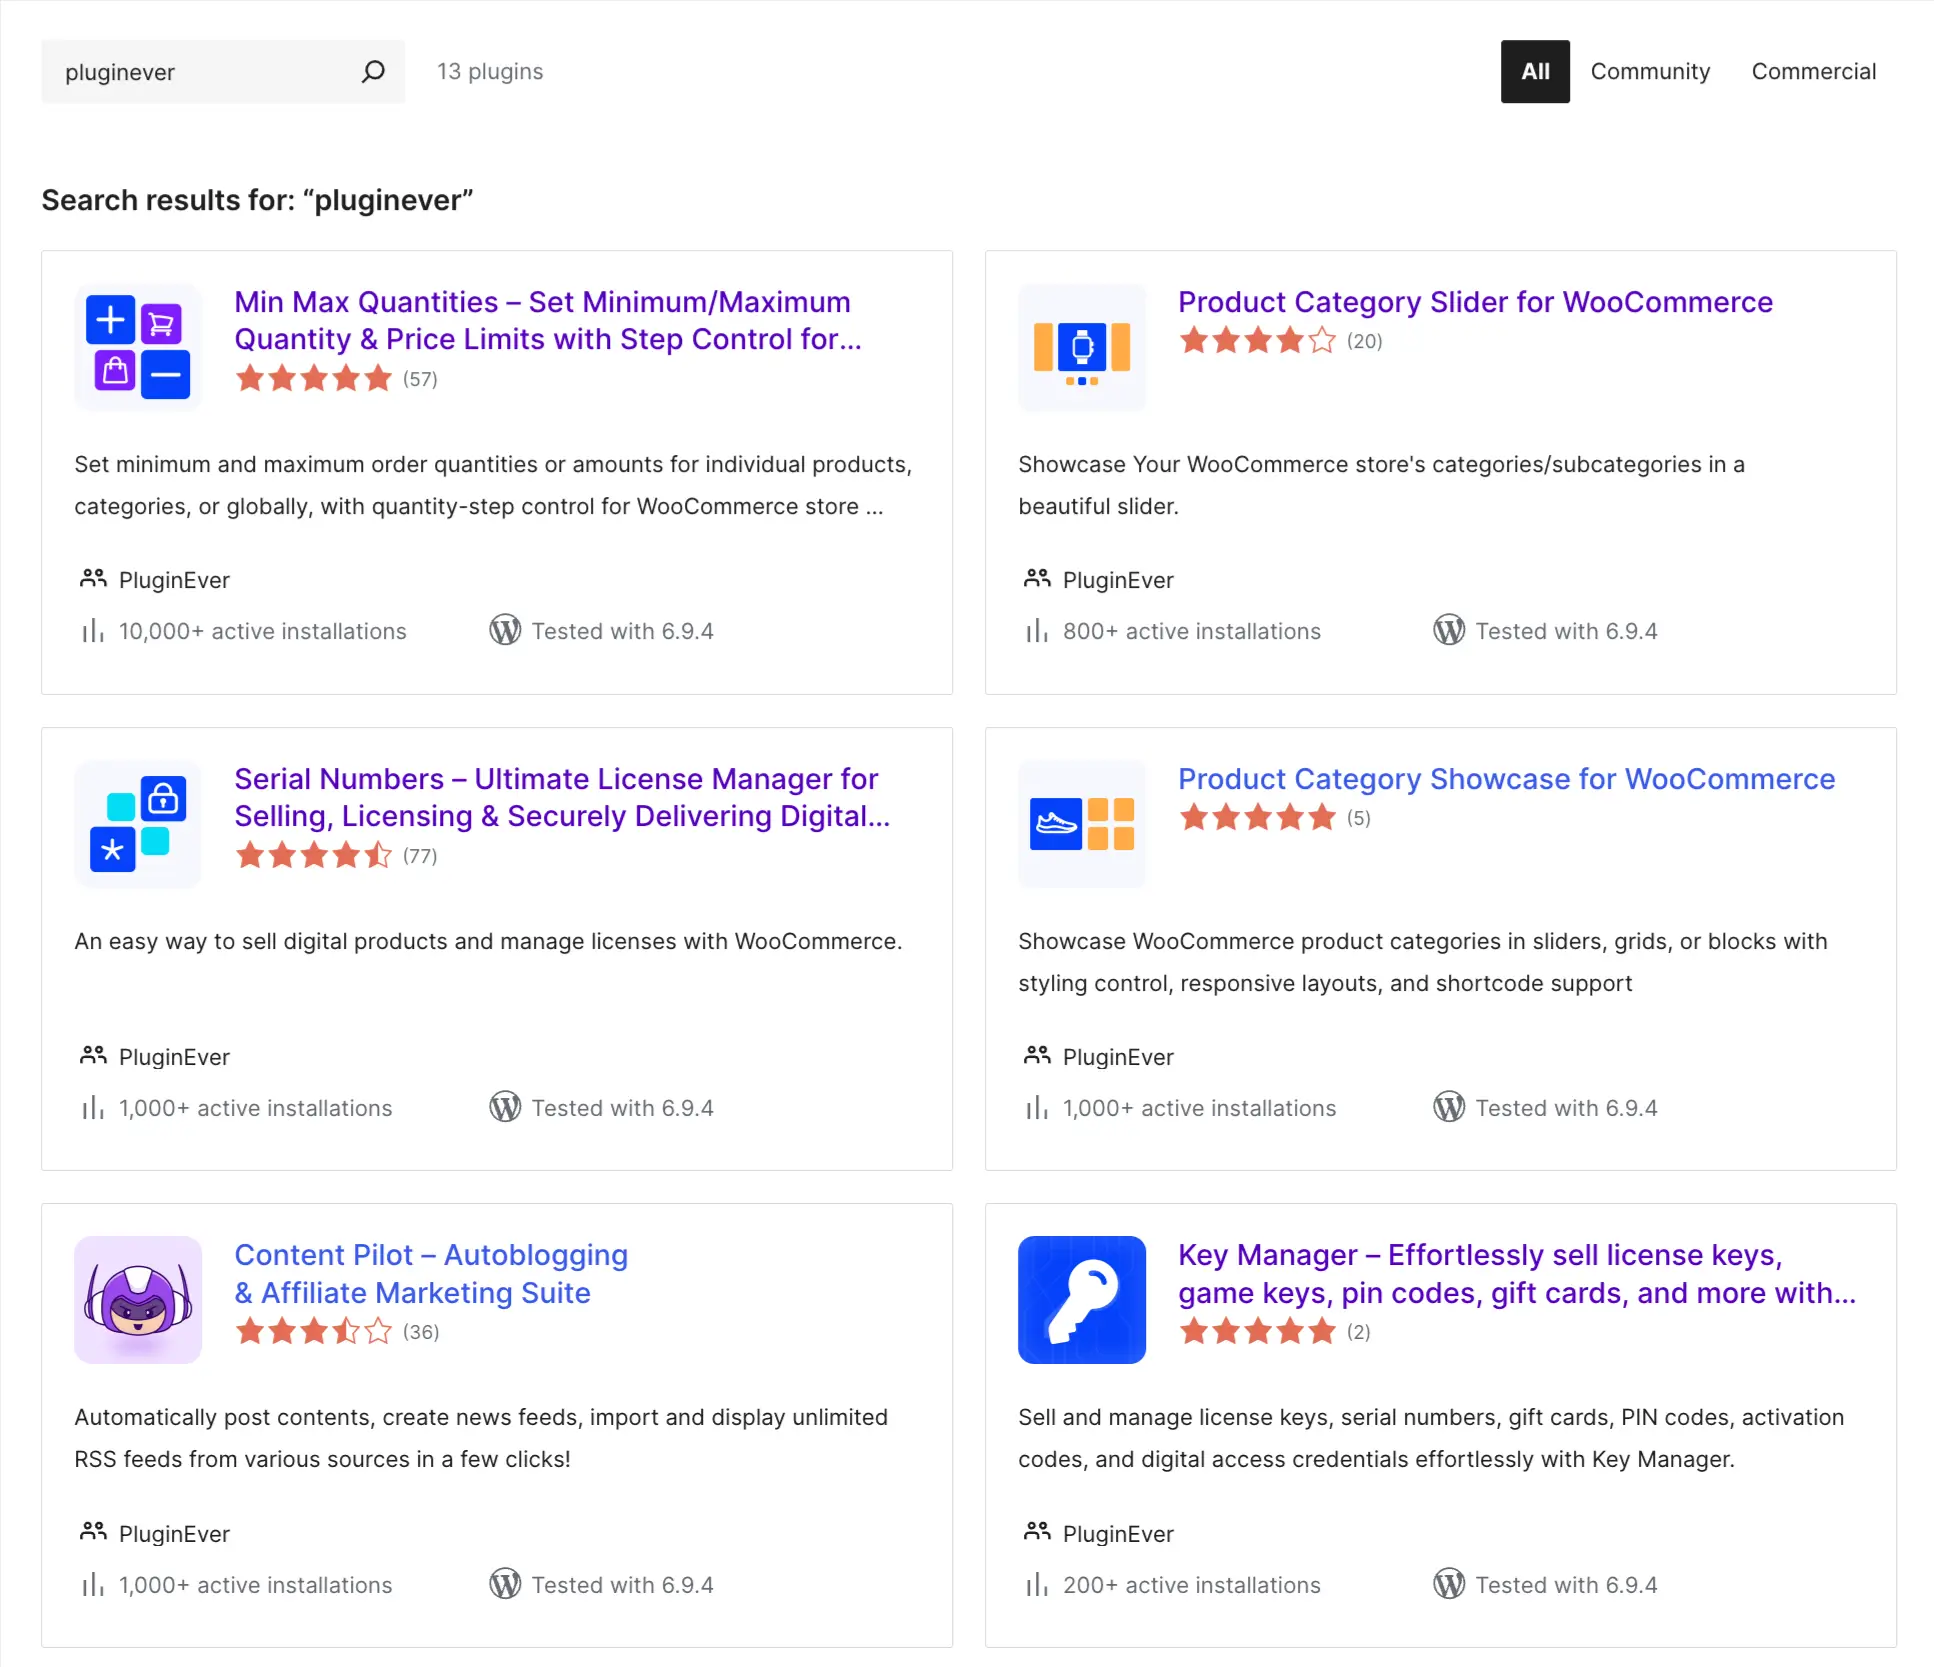
- In the search bar (top right of the page), type the exact name of the plugin you want to install. (Check out PluginEver’s free plugins)
- When the plugin appears in the results, click Install Now.
- Once installation completes, click Activate. The plugin is now installed and running on your site.
Option B – Upload a ZIP File via Admin Dashboard
Use this method if you have already downloaded the plugin ZIP file from WordPress.org.
First, download the plugin ZIP file:
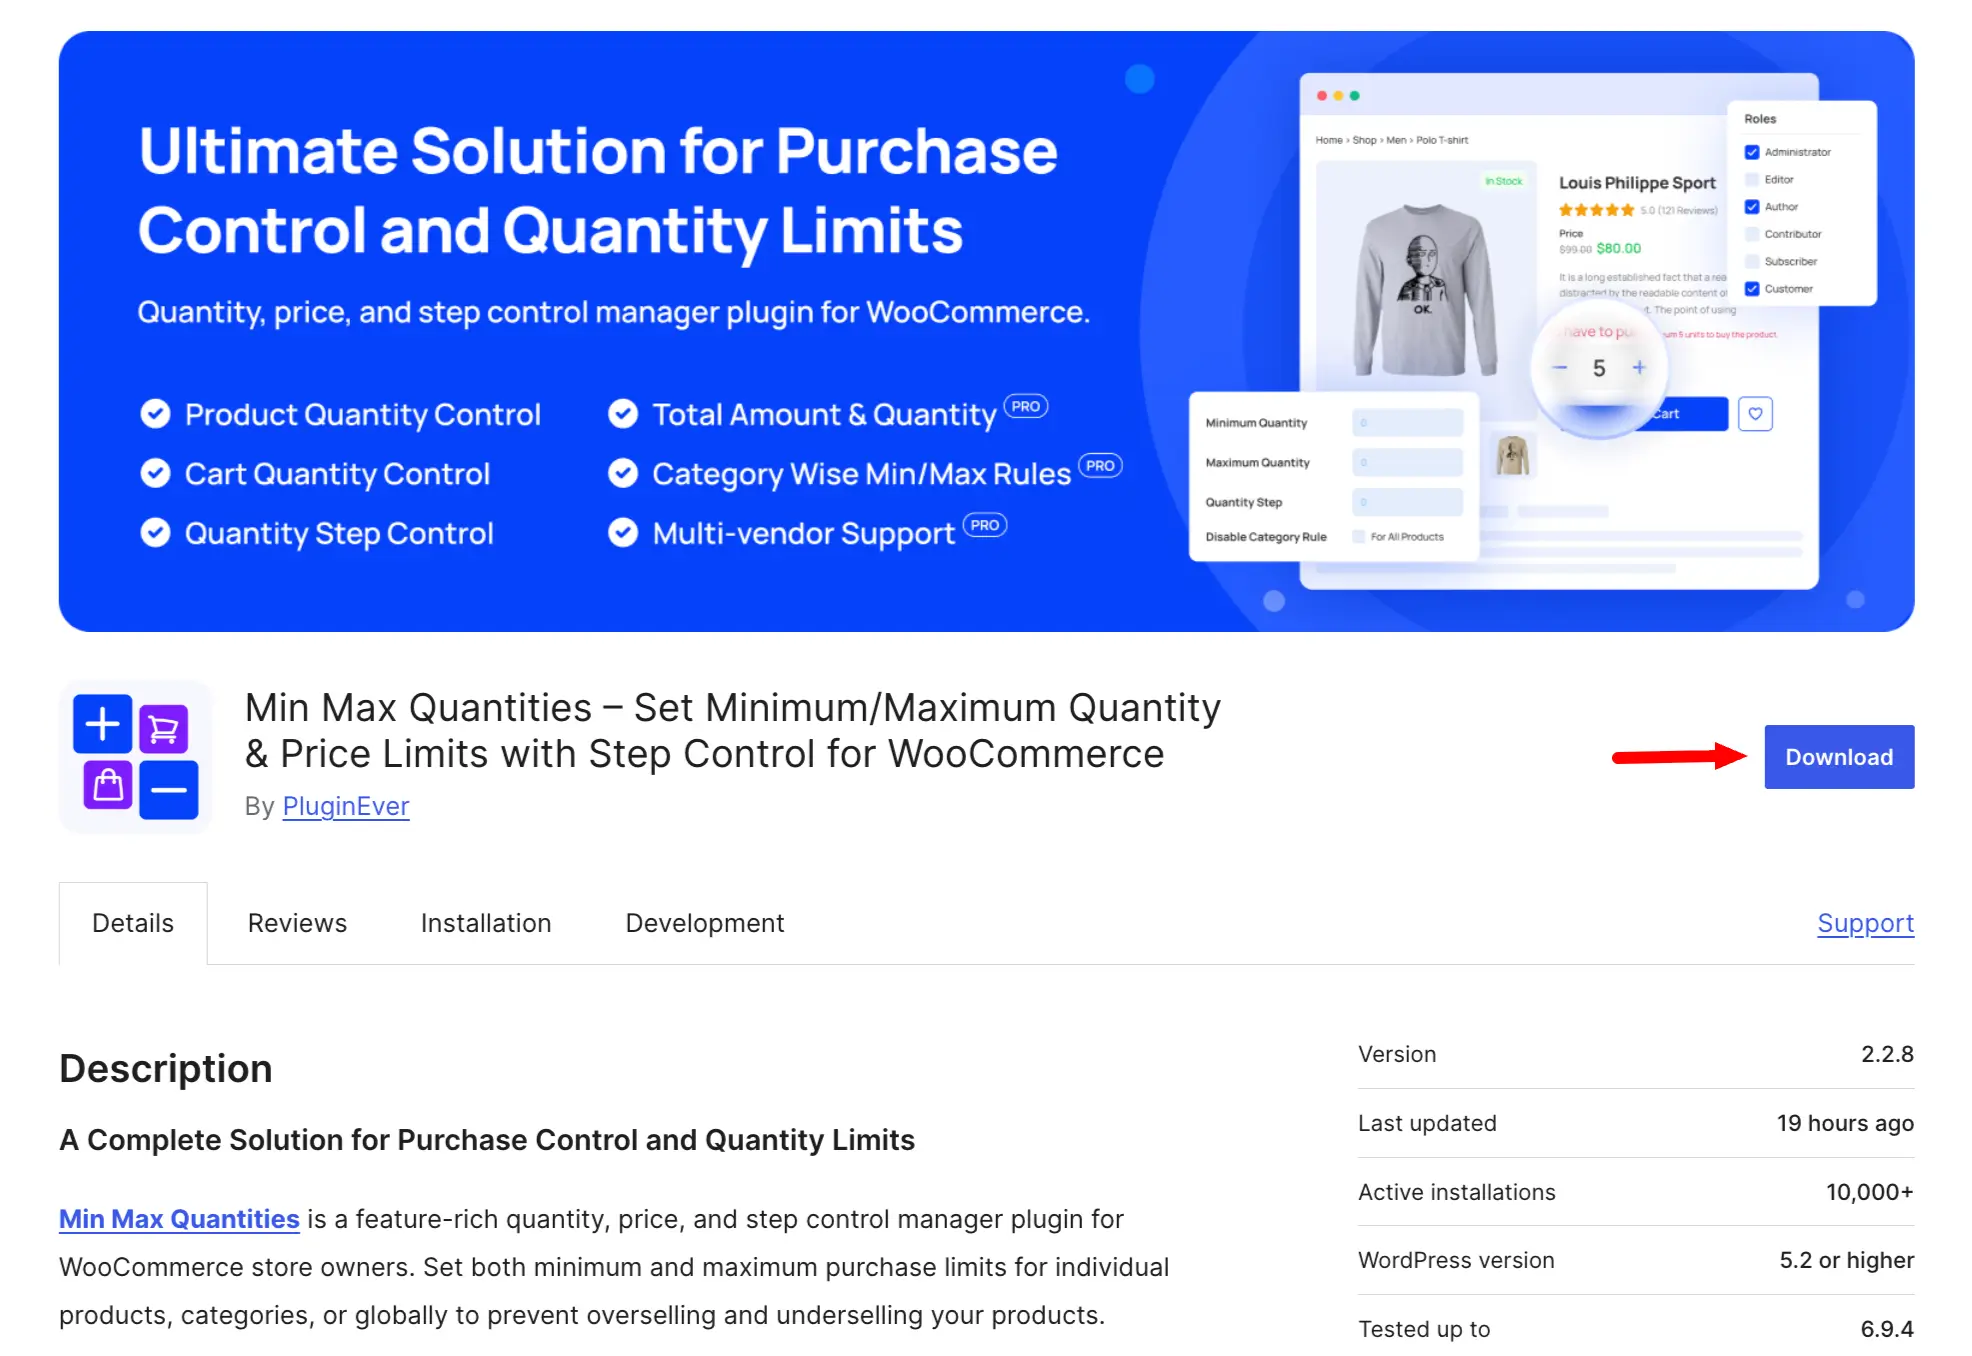
- Go to wordpress.org/plugins and search for the plugin. (e.g., WC Min Max Quantities)
- On the plugin page, click Download to save the .zip file to your computer.
Then, upload and activate it:
- Log in to your WordPress admin dashboard.
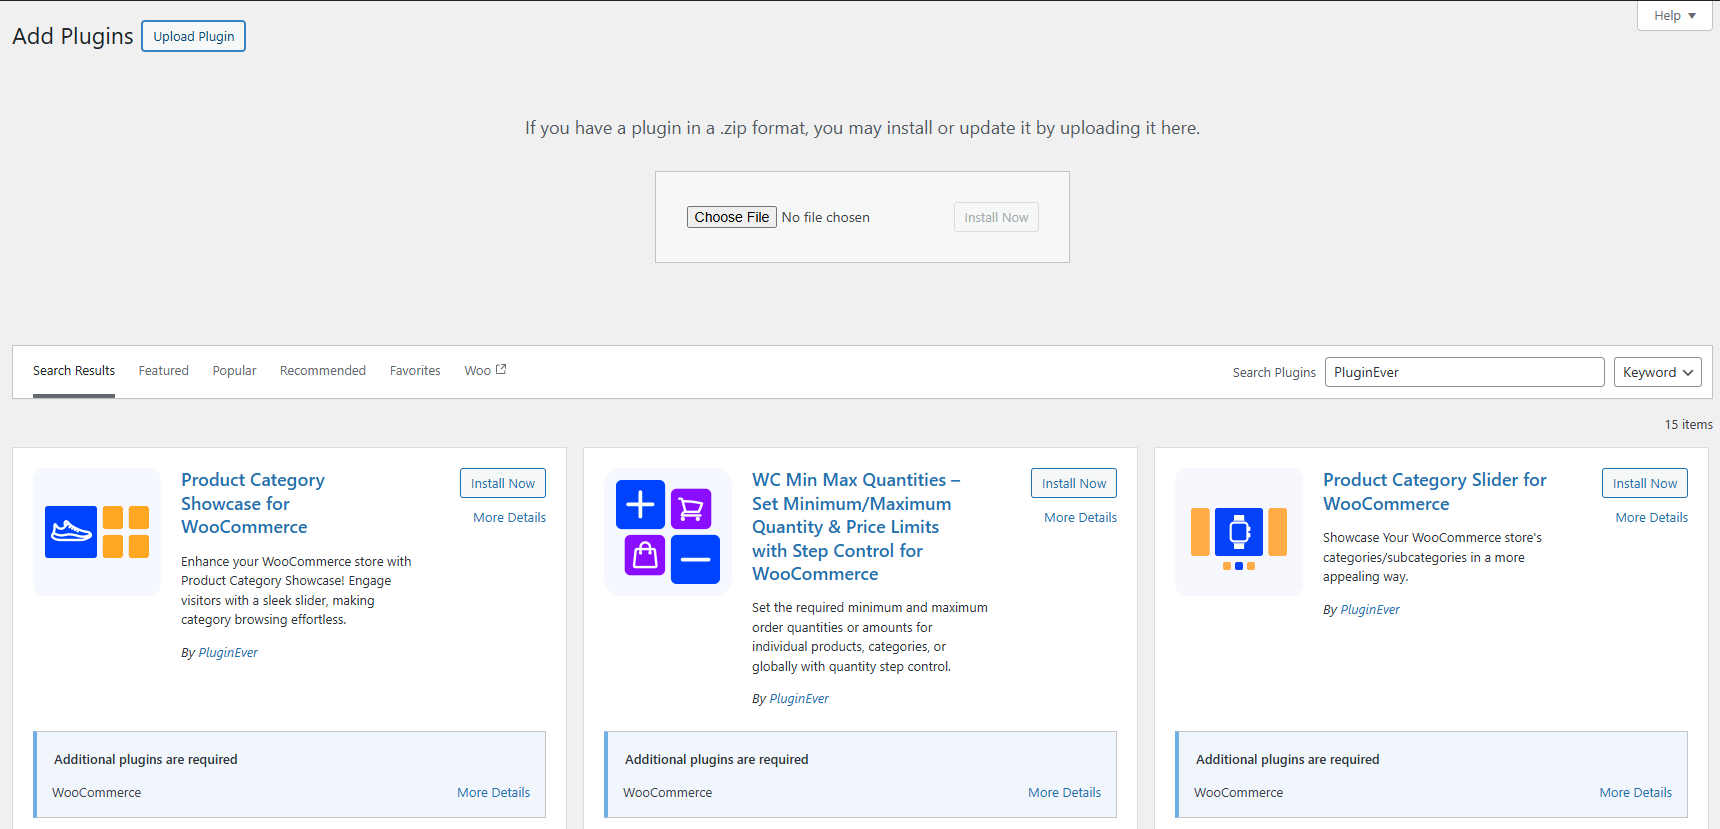
- Go to Plugins → Add New → Upload Plugin.
- Click Choose File and select the downloaded .zip file.
- Click Install Now. WordPress will upload and unpack the plugin automatically.
- Once installation completes, click Activate Plugin.
Option C – FTP Upload (For Developers)
Use this method if you prefer direct server access or if the admin upload method times out on large files.
- Download the plugin ZIP file from WordPress.org and unzip it on your computer.
- Connect to your server using an FTP client (such as FileZilla).
- Navigate to
wp-content/plugins/on your server. - Upload the unzipped plugin folder into the plugins/ directory.
- In your WordPress admin, go to Plugins → Installed Plugins, find the plugin, and click Activate.
Step 2: Confirm the Plugin is Active
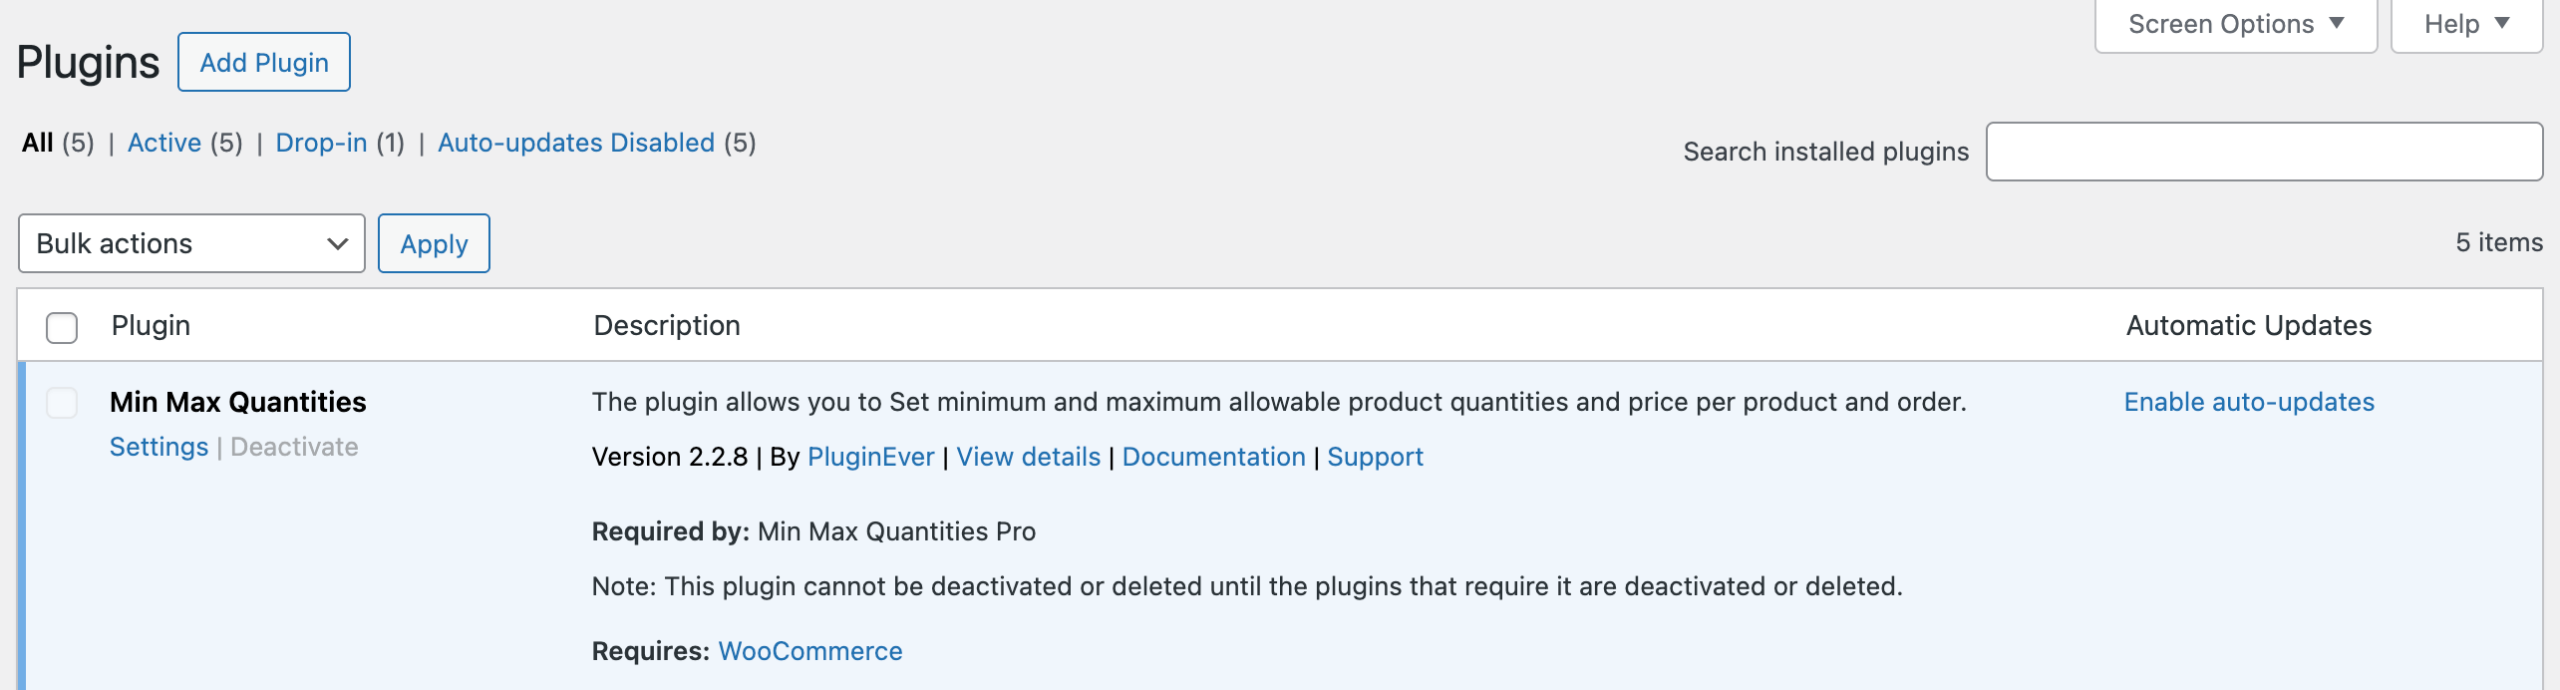
After activating, go to Plugins → Installed Plugins and confirm that the plugin is listed and its status is active (the row will be highlighted). You should also see the plugin’s menu item appear in the left-hand WordPress navigation.
Upgrading to Pro? Keep the free version installed and active – it is required for the premium version to work. See the Installing a Premium Plugin guide to continue.
Troubleshooting
| The plugin does not appear in search results | Make sure you are searching with the exact plugin name. If it still does not appear, use Option B and download the ZIP file directly from WordPress.org. |
| The plugin upload fails or times out | Your server’s upload file size limit or PHP execution timeout may be too low. Try installing via FTP (Option C above) instead, which bypasses these restrictions. |
| The plugin does not appear after FTP upload | Make sure you uploaded the unzipped folder, not the ZIP file itself, into wp-content/plugins/. Refresh the Installed Plugins page once the upload is complete. |
| The plugin is installed but not working correctly | Check the following: – Confirm WooCommerce is installed and active. PluginEver plugins will not function without it. – Confirm you are running a supported version of WordPress and PHP. – Try deactivating other plugins temporarily to check for conflicts. |
| Still stuck? | Contact the PluginEver support team at pluginever.com/support. |