Add and style borders around variation swatches to make them stand out or match your store’s design. Control border width, style, and color for a polished look.
Access Border Settings
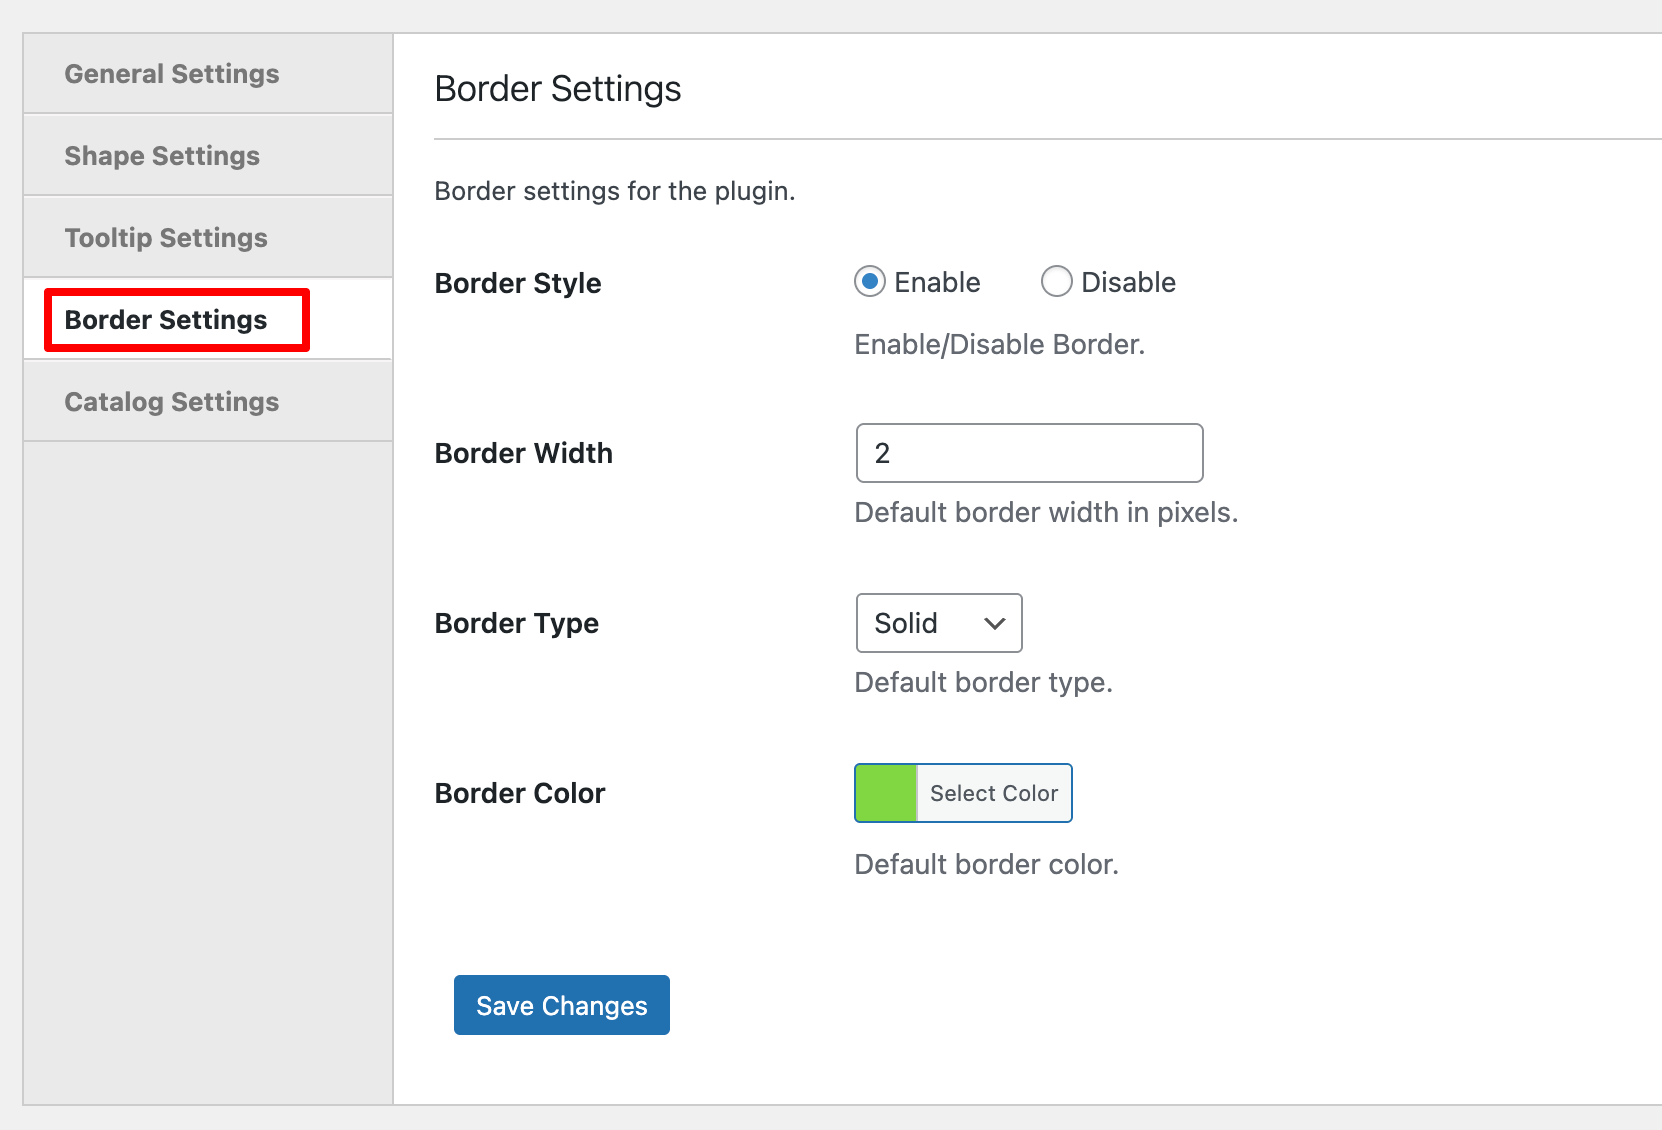
Navigate to Products > Variation Swatches in your WordPress dashboard and click the Border Settings tab.
Configuration Options
Border Style
Enable or disable borders for all product variation swatches. When enabled, borders appear around each swatch option.
Border Width
Set the thickness of borders in pixels. Thinner borders (1-2px) are subtle, while thicker borders (3-5px) make swatches more prominent.
Border Type

Choose the visual style of borders:
- Solid – Continuous, clean border line
- Dashed – Broken line with gaps, modern look
- Dotted – Series of dots, playful style
- Double – Two parallel lines, elegant appearance
Border Color
Set the border color to complement or contrast with your swatches. Click Select Color to choose a color that enhances visibility and matches your brand.
Save Changes
Click Save Changes to apply your border settings across all variation swatches.
Next Step
After customizing swatch borders, proceed to configure catalog settings to control how swatches appear on shop and archive pages.