This guide walks you through the basic process of creating a category showcase and implementing it on your website using shortcodes. You’ll learn the fundamental workflow that applies to all layout types.
Previous: Preparing Category Images ← Make sure your category images are set up first.
Creating a New Showcase
Step 1: Access the Showcase Creator
- Navigate to WC Showcases in your WordPress admin menu.
- Click Add New Showcase.
Step 2: Basic Setup
- Enter a Title: Give your showcase a descriptive name (e.g., “Homepage Category Slider” or “Shop Categories Grid”)
- Select Layout Type: Choose from three options: Slider, Block, and Grid.
Step 3: Quick Configuration
For your first showcase, you can use these basic settings:
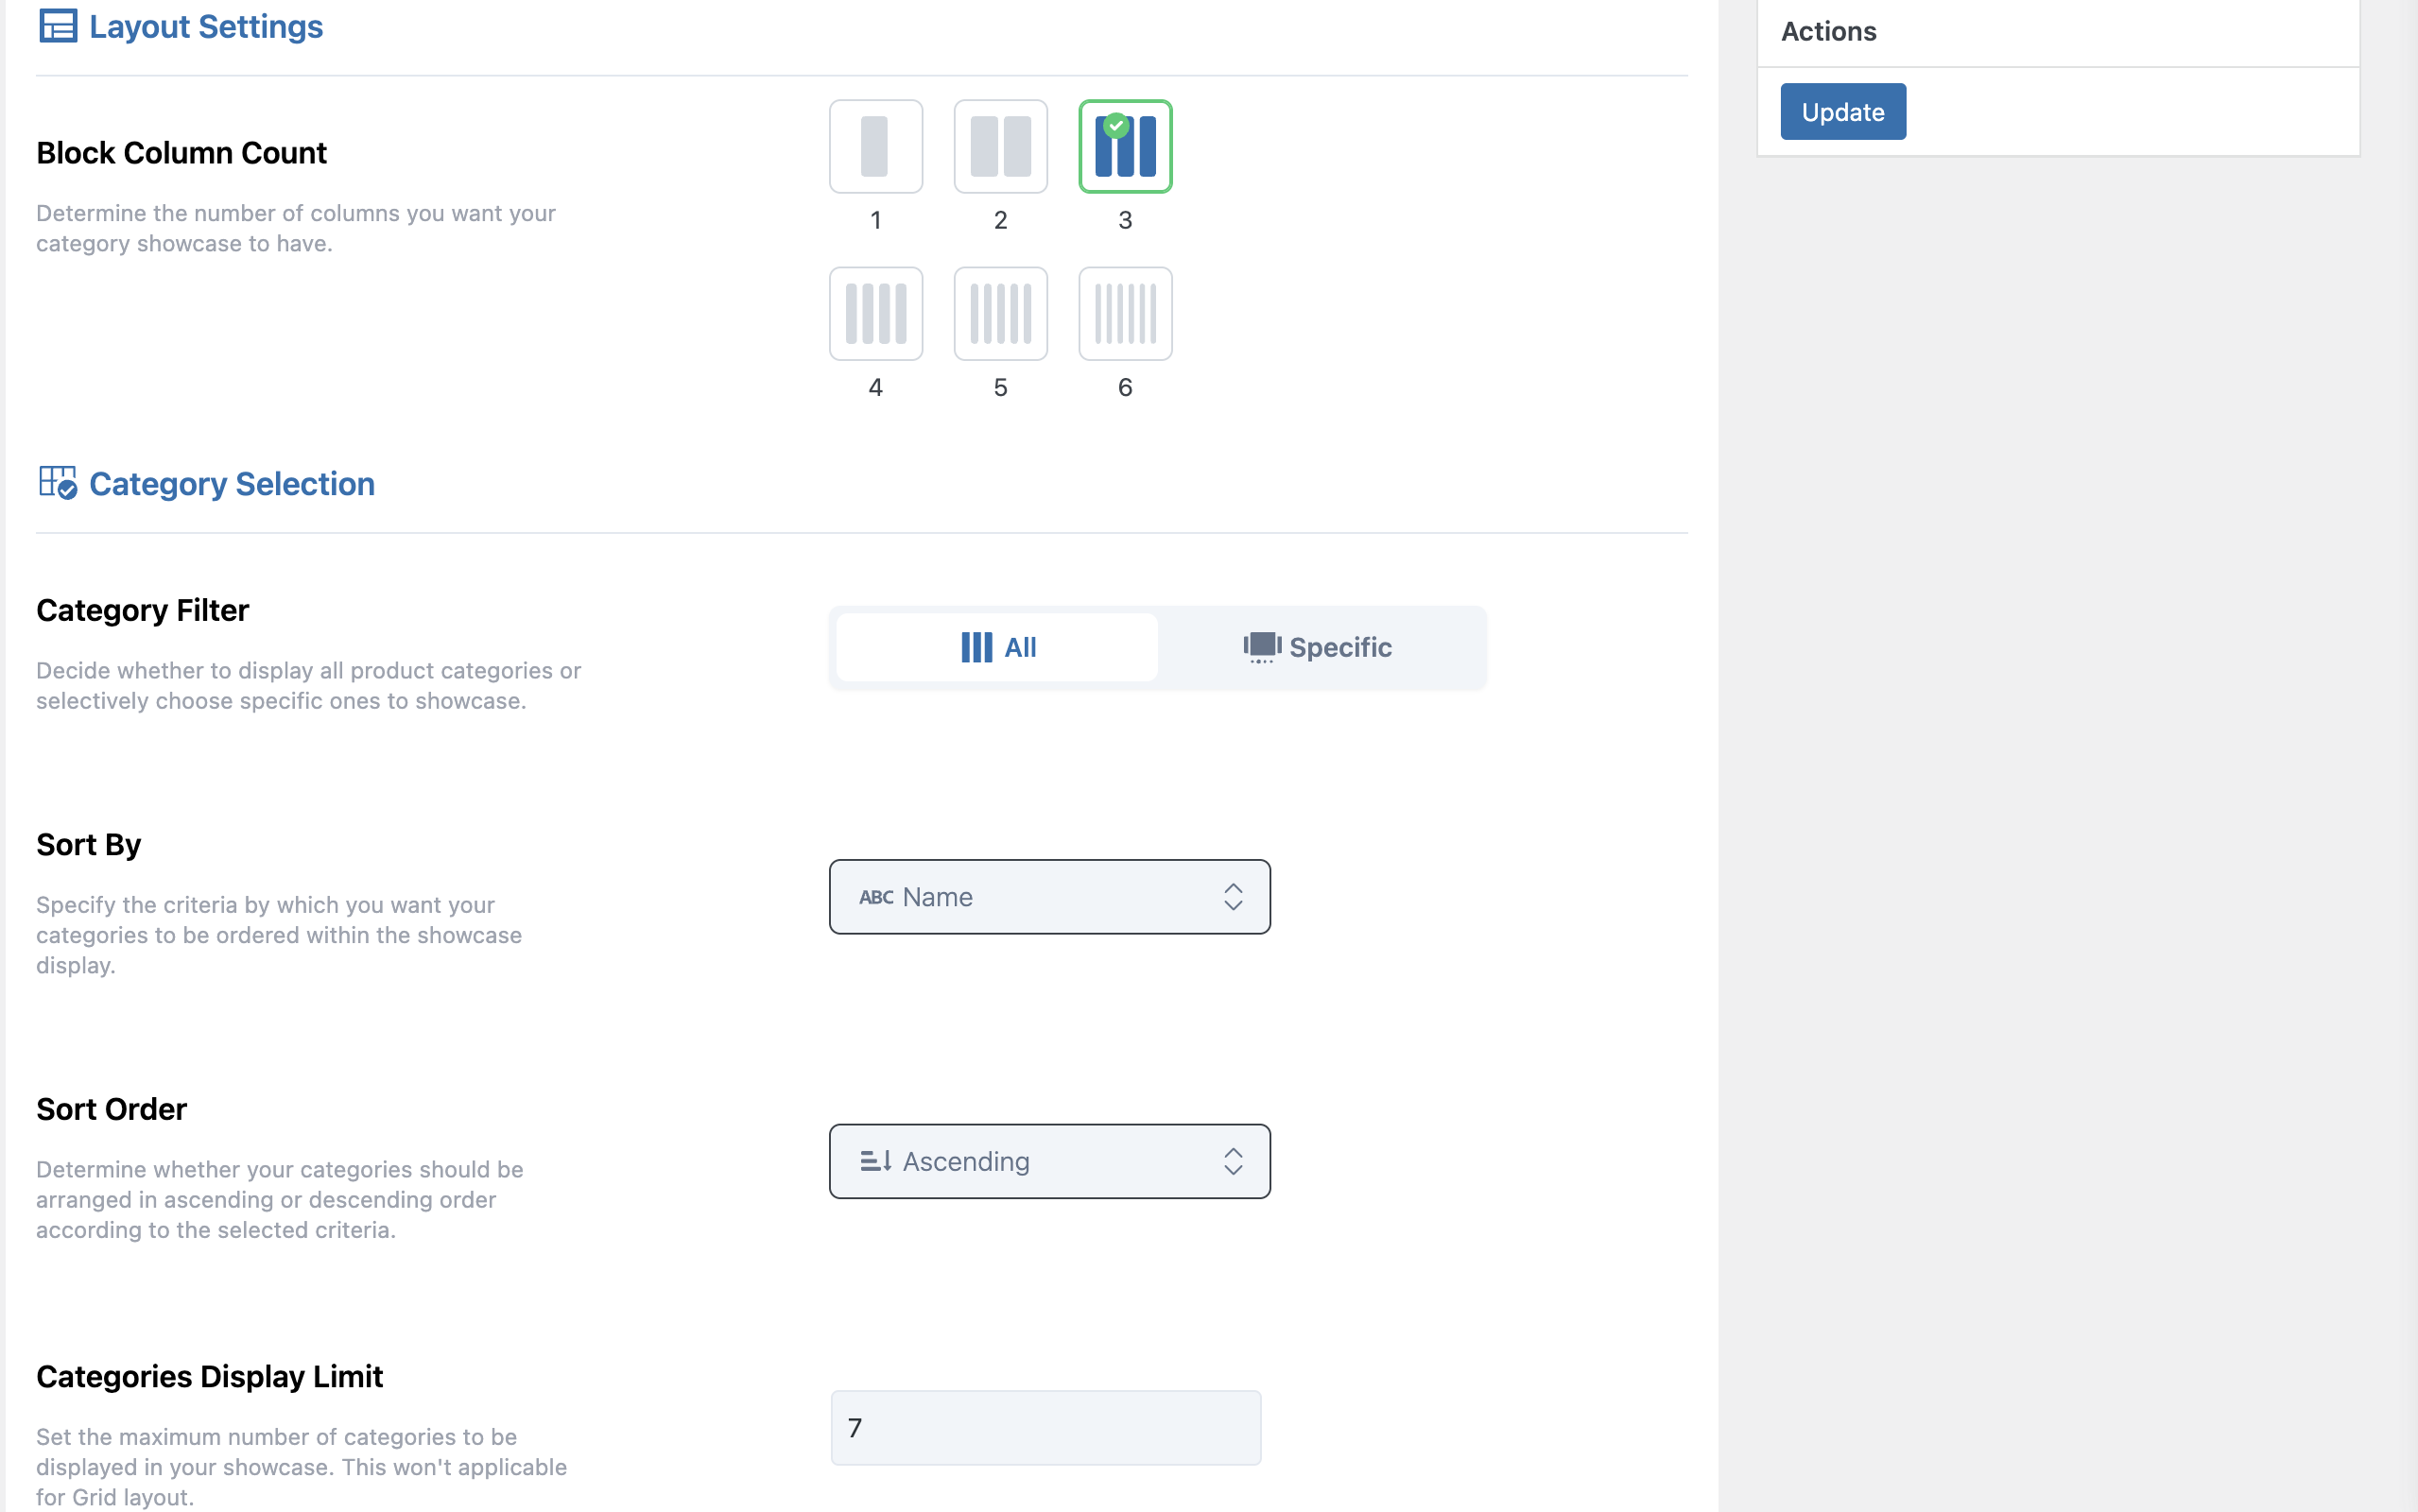
- Layout Settings: Choose from available column and row count for Slider and Block layouts, or set the number of categories to show in Grid layout.
- Category Filter: Select “All” to automatically include all categories.
- Sort By: Choose “Name” for alphabetical ordering.
- Sort Order: Select “Ascending” (A to Z).
Step 4: Publish Your Showcase
- Click the Publish button.
- Your showcase is now created, and a shortcode is automatically generated.
Understanding Shortcodes
Once published, you’ll see a Shortcode tab in the sidebar containing a code like:
[wc_category_showcase id="123"]This shortcode is unique to your showcase and contains all your configuration settings.
Insert the Shortcode
- Edit the post or page where you want the showcase to appear.
- Add a Shortcode block (in Gutenberg) or paste directly in text mode.
- Copy and paste your shortcode.
- Update/Publish the page.
Next Steps
Your basic showcase is now working! Next, learn about the different layout options to choose the best fit for your needs.