In this era of digitalization, the digital world has accelerated, and the future of eCommerce is dictated by new roles, expectations, and goals. eCommerce has entirely revolutionized and become a successful choice for many businesses in the post-pandemic era.
To top it all off, Covid-19 made things difficult for the sellers. This global epidemic triggered the digitalization of eCommerce store platforms, prompting almost 260 million Americans to buy things they had never purchased online before.
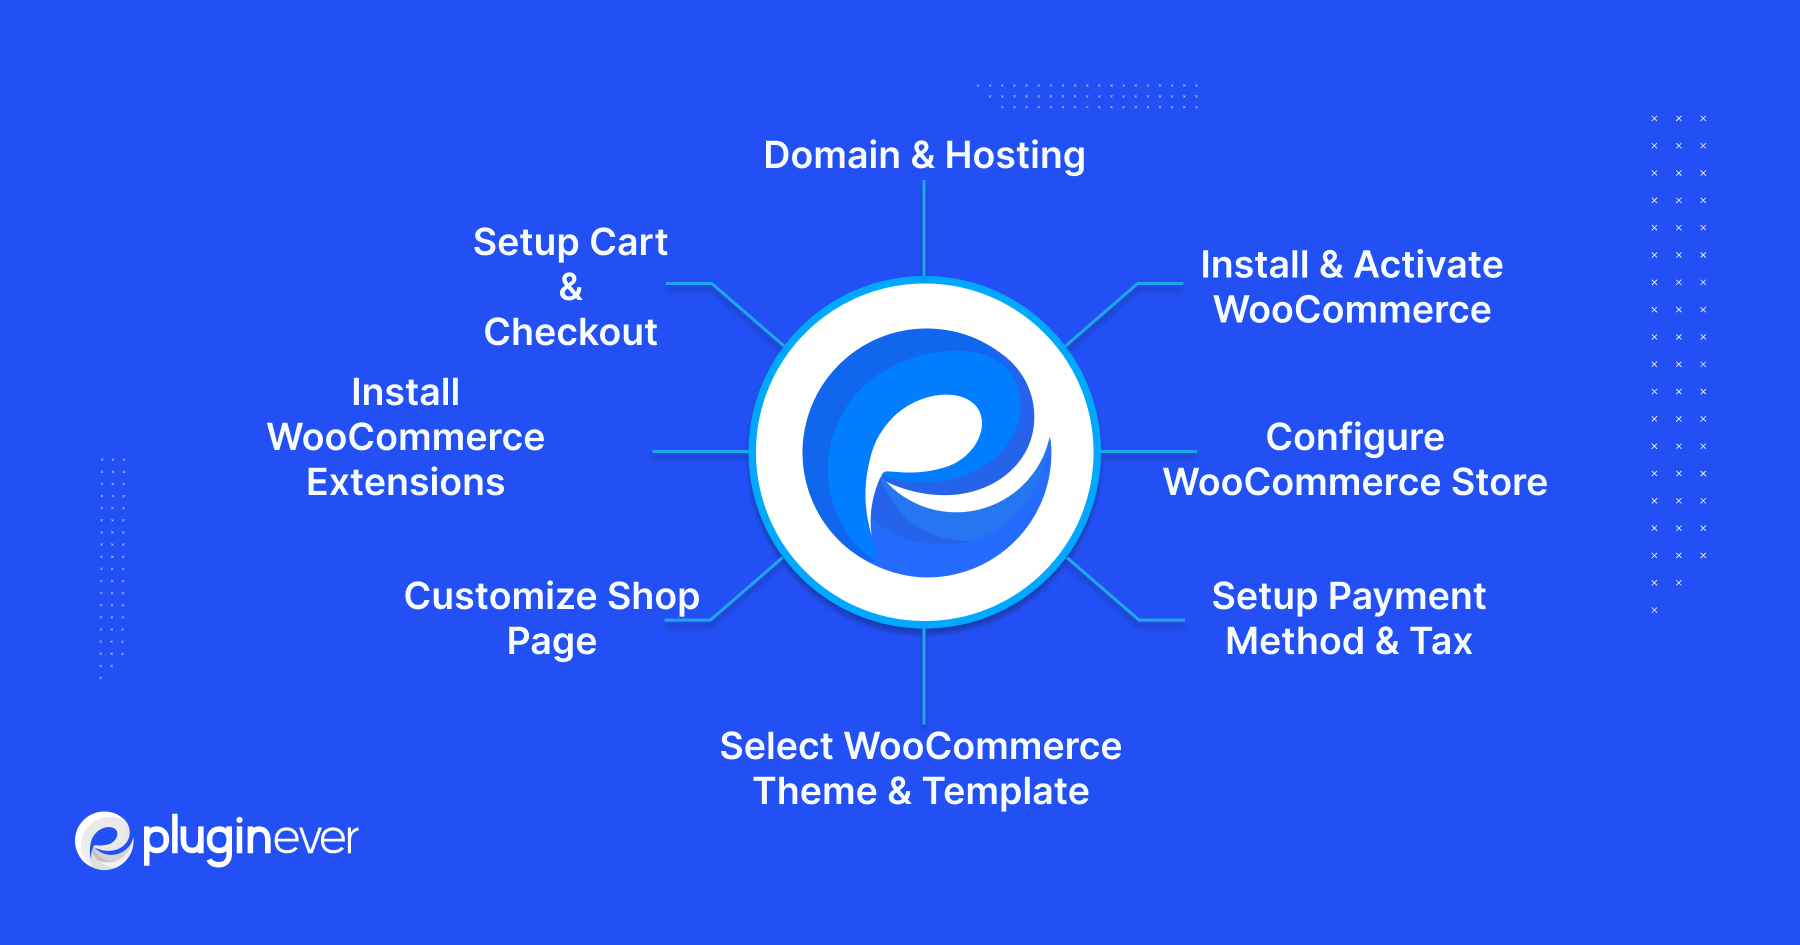
If you want to sell solid products or digital services, WooCommerce provides the freedom of WordPress with all of the eCommerce functionalities an online business might ever require. So, without further ado, let’s dive right into the step-by-step guide on how to start a WooCommerce store.
Starting From The Scratch
Assuming that you have a little knowledge of WordPress and you’re interested in starting a WooCommerce store. Whether you are running an offline business or you only have an idea to open up an online store, then proceed as advised.
1. Select a domain name and a hosting service.
Starting with WordPress.org, you’ll be required to have a unique URL for your website. This will make it appear more professional and boosts your branding. After that, To support your site, you’ll need to purchase a hosting plan from a third-party provider. Now this will be ideal if you select a hosting provider that offers an SSL certificate. This assures the security of your website’s transactions and helps you create more traffic.
A few hosting companies, such as Bluehost, SiteGround, Dreamhost, Namecheap, WordPress.com, etc, provide pre-installed WordPress, WooCommerce, Storefront theme, and Ecommerce-specific functionality to keep your store safe and secure.
If you’ve already created your hosting account, your hosting company will provide complete instructions on how to install WordPress.
2. Installing and Activating WooCommerce on WordPress.
Now that you’ve installed WordPress, you can go to the WordPress dashboard by clicking the ‘Log into WordPress’ button. After That, you’ll see a bunch of options to configure your website.
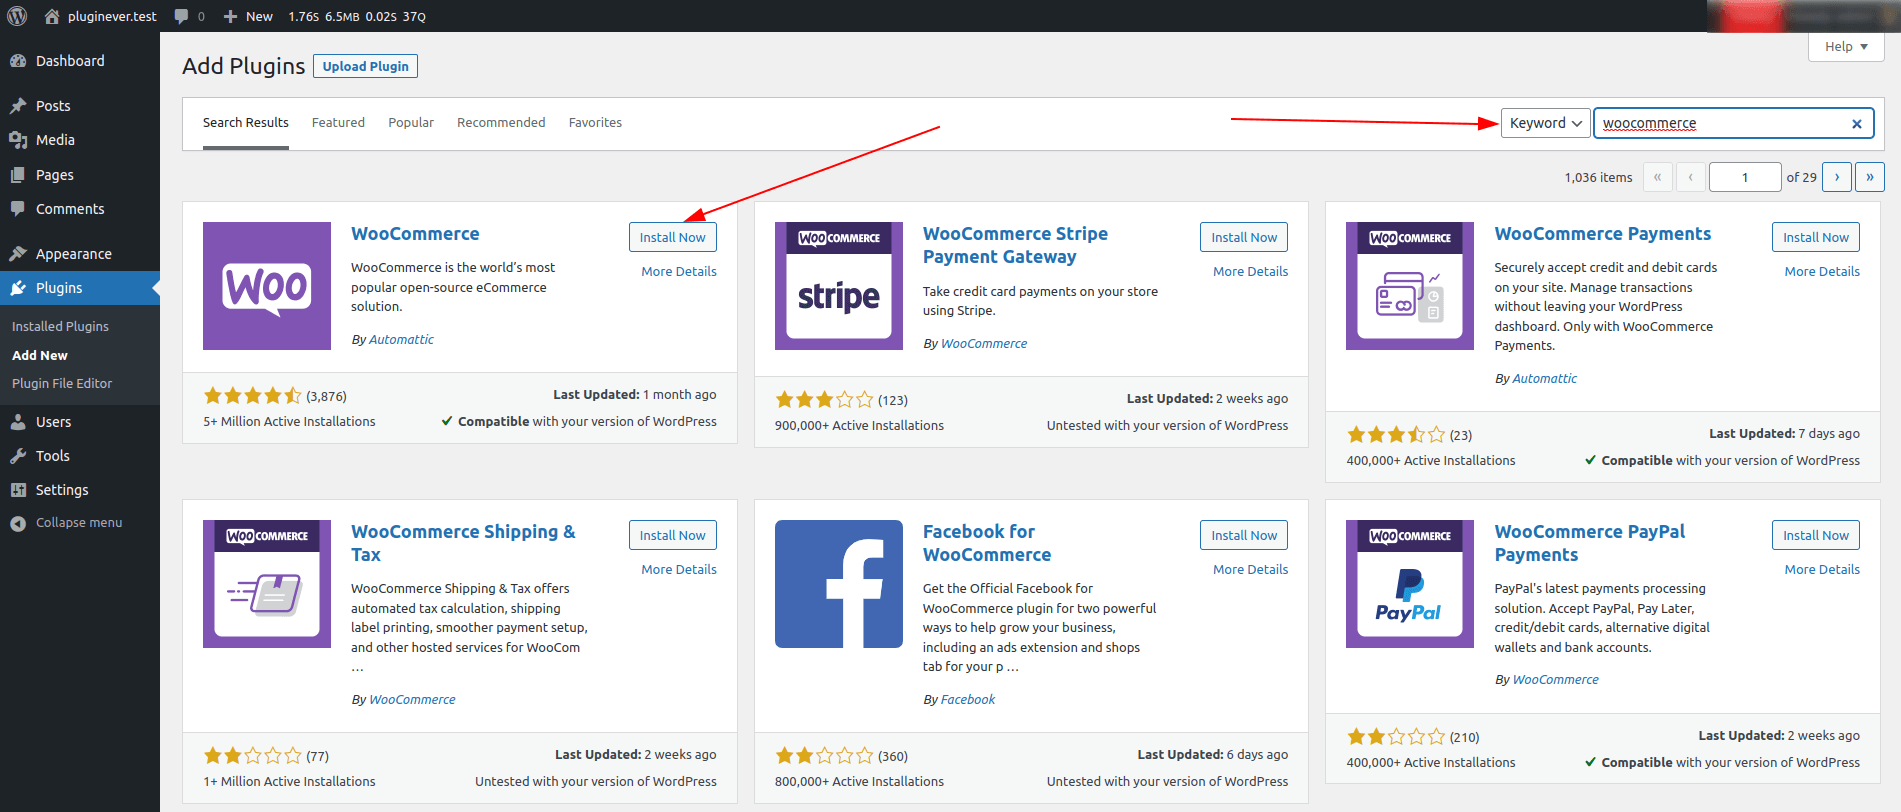
Since WooCommerce is a WordPress plugin, look for Plugins in the vertical menu on the left side. Simply go to Plugins > Add New, and then look for the search bar in the upper right corner. Search for the keyword ‘WooCommerce’ there, and then install the plugin when it appears.
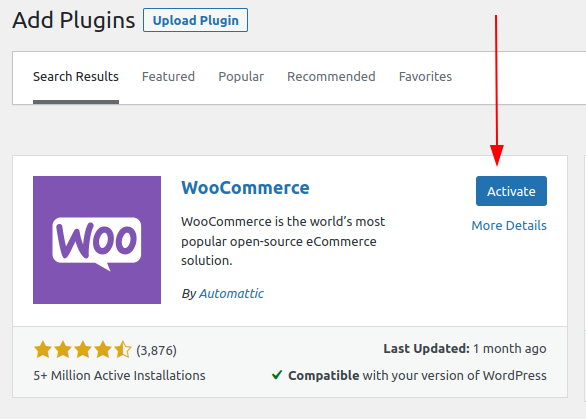
After installation, click/tap the new ‘activate’ button that shows up.
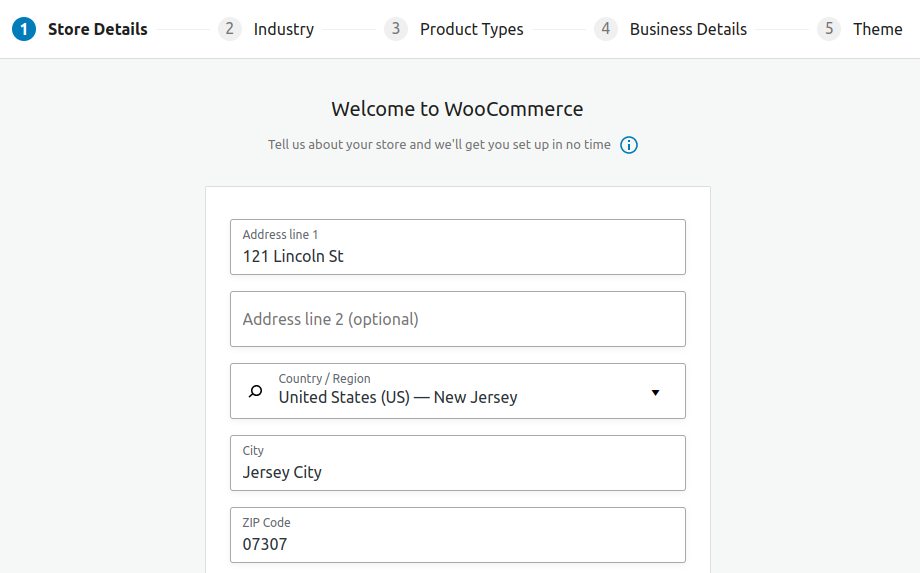
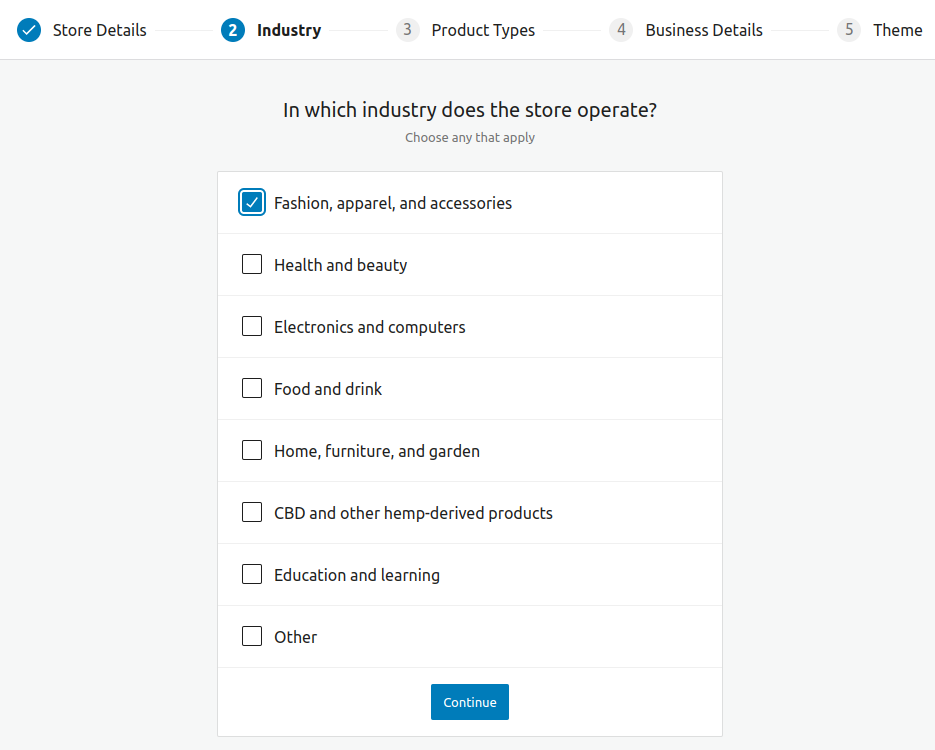
After activation, the setup wizard will continue to run.
To begin, fill out the Store Details.
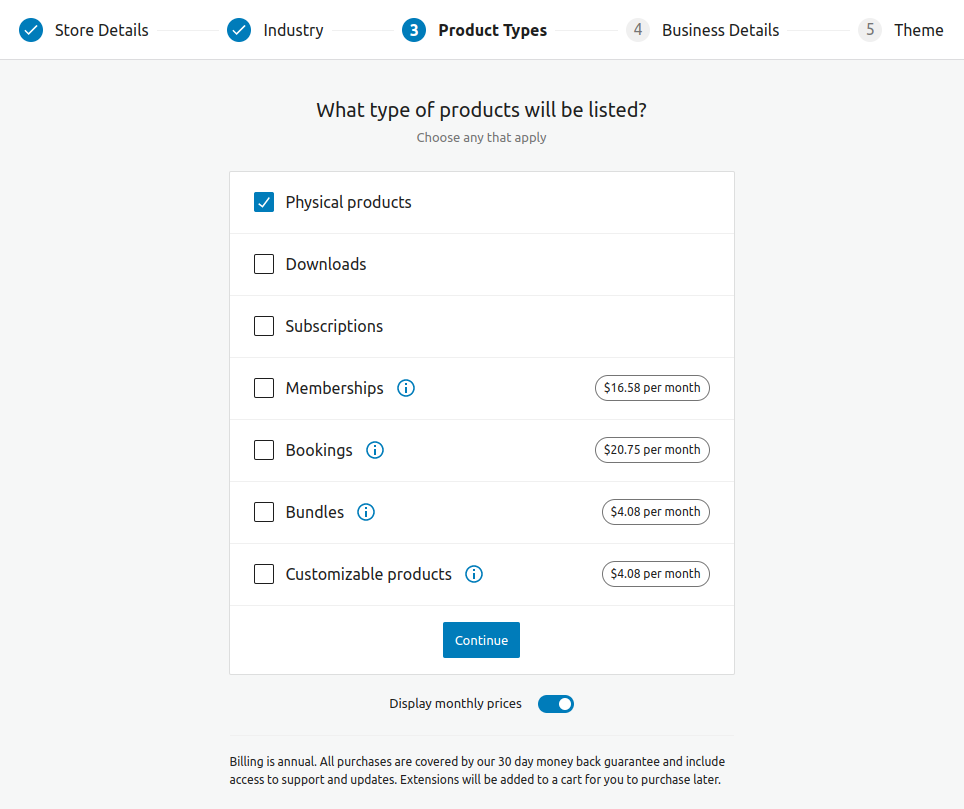
Second, you must complete the Industry, followed by Product Types
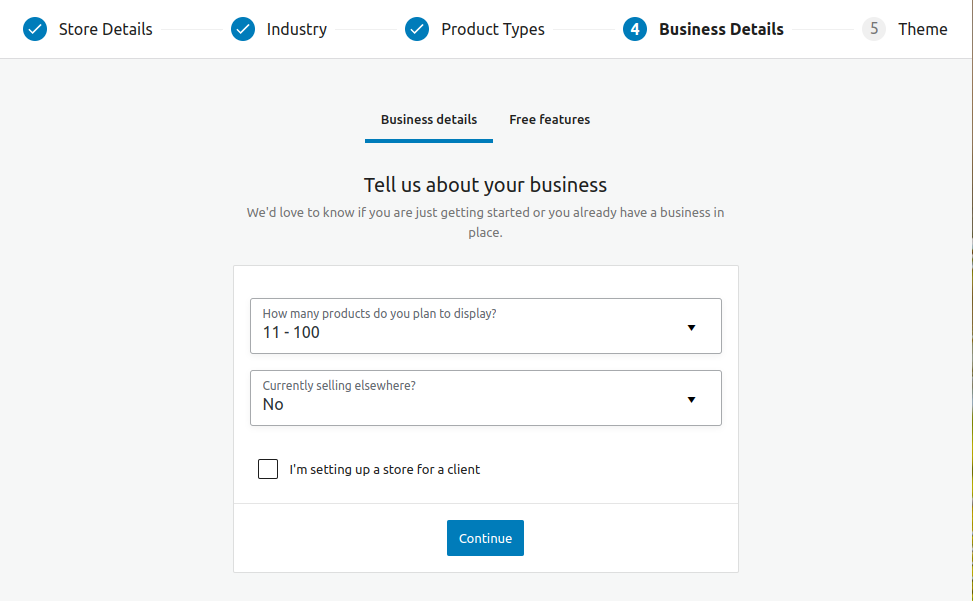
Fill out the Business Details section and after that, if you want to add recommended business features to your store, you can do so quite easily by installing them.
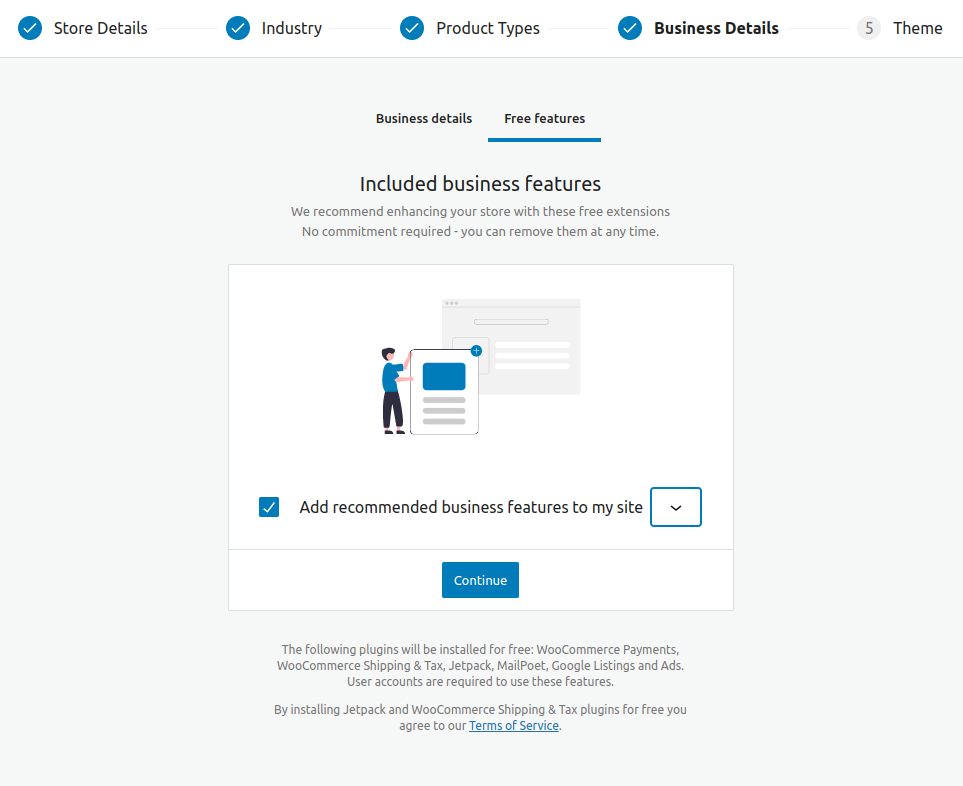
Finally, you’ll be taken to the Theme section, where you can customize the look of your website.
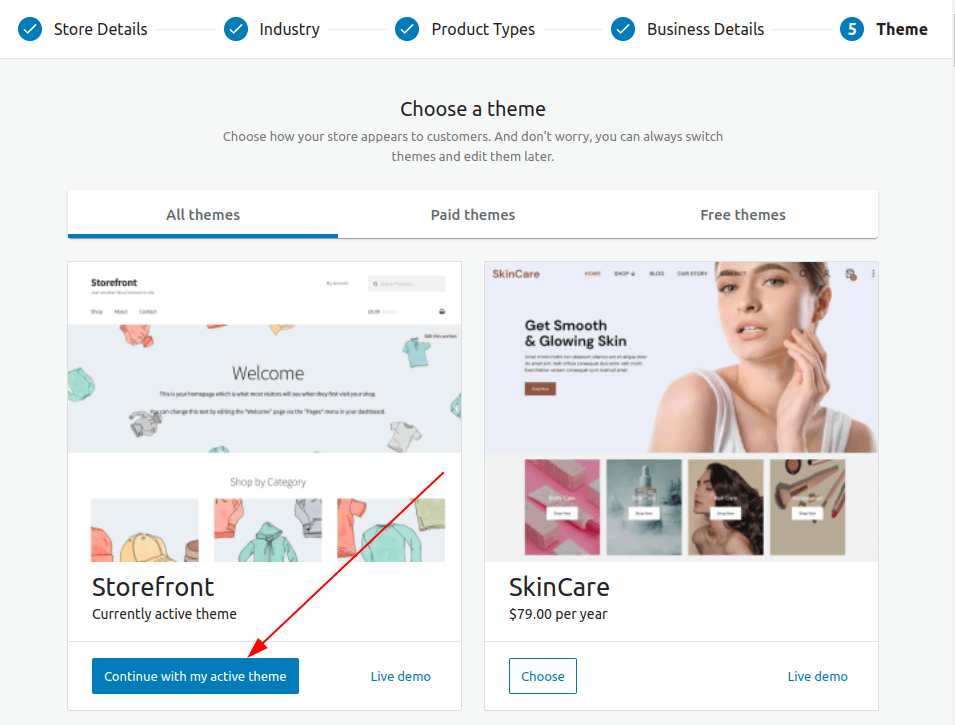
Once the setup wizard is finished, you will be routed to the WooCommerce dashboard. Don’t worry, you can change the theme any time you want. Later in this article, you’ll learn more about customizing themes.
Configuring the WooCommerce Store
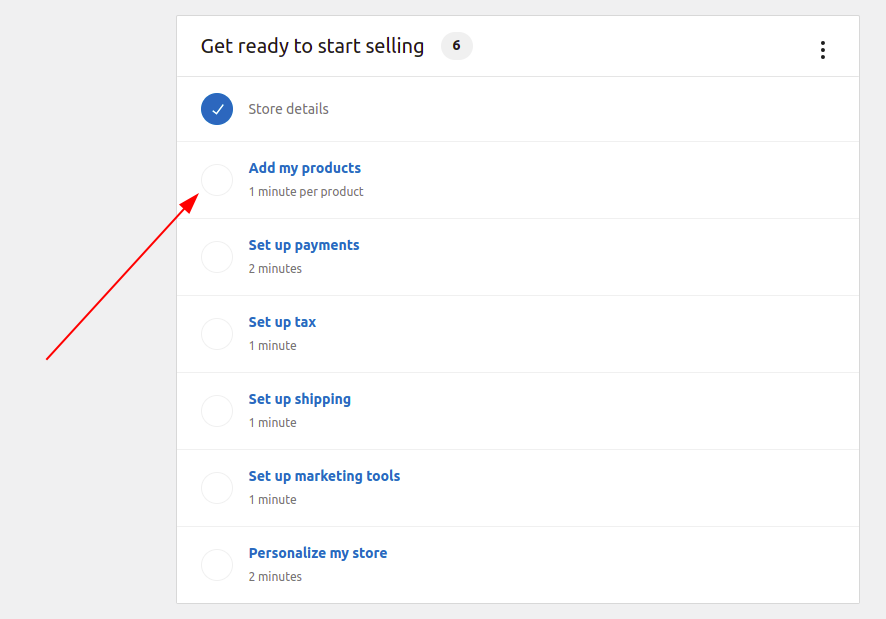
You’ll find a series of steps to configure your online store once you click the WooCommerce dashboard.
Add my products
WooCommerce makes it extremely simple to add products to your store. You’ll be given 4 categories to list your product the way you prefer. Categories are Start with a template, Add manually, Import via CSV, and Import from another service.
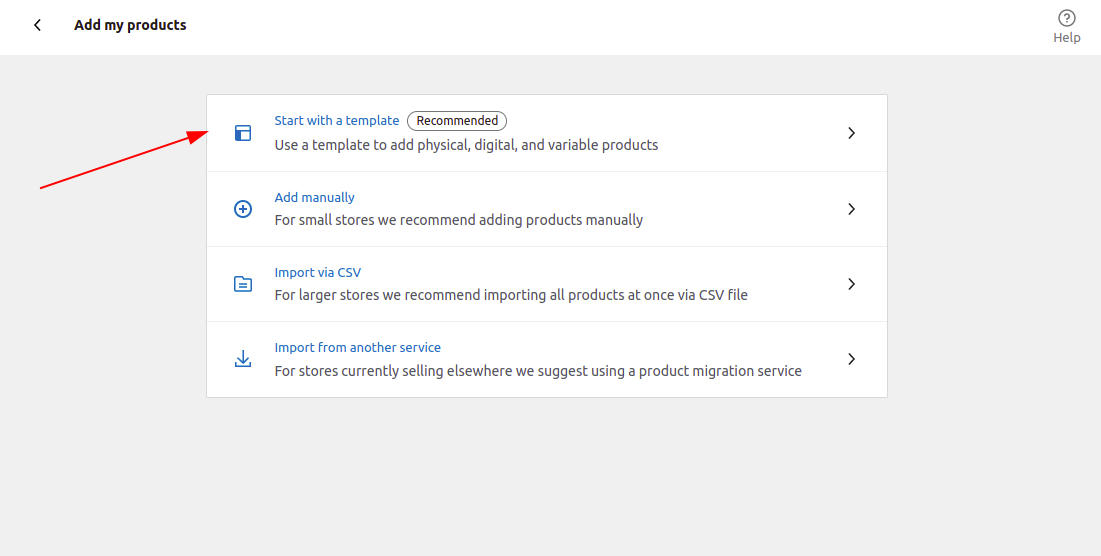
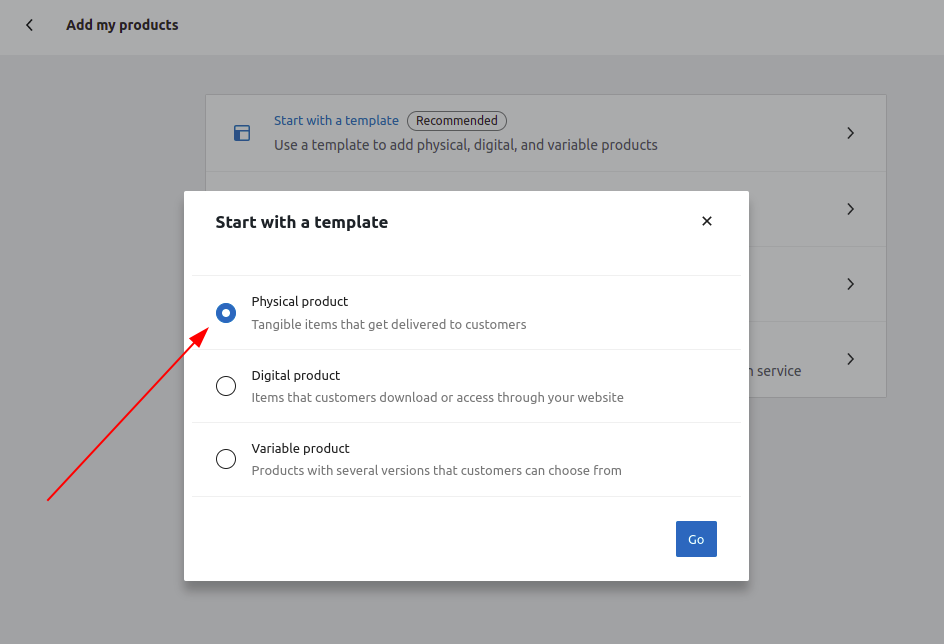
For starters, the plugin recommends utilizing the ‘Start with a template category. Inside, you’ll find three more choices for your products. There are three options: physical product, digital product, and variable product. After selecting one of these, you will be directed to the product editor.
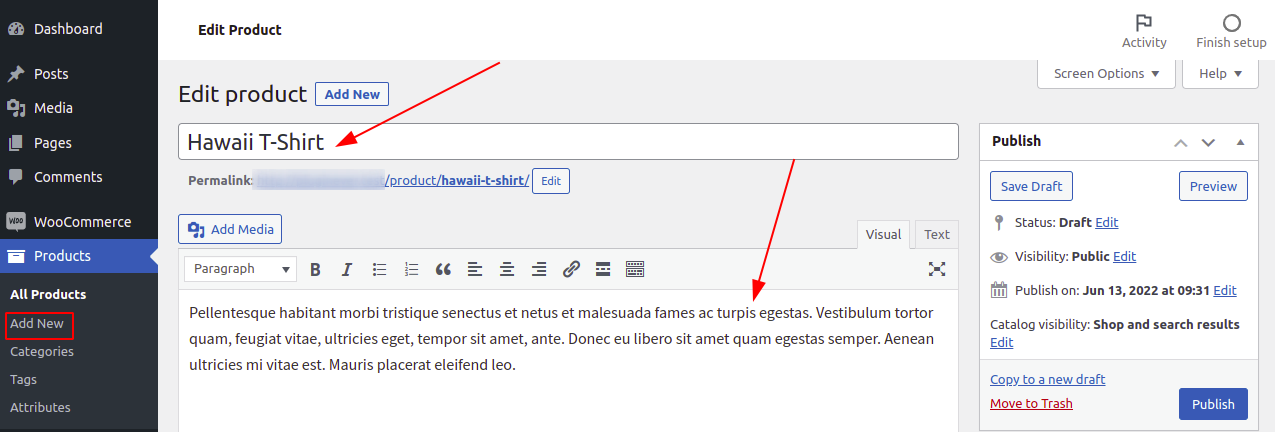
Firstly, enter a title for your product, followed by a detailed description.
Then, in the right column, click on the + Add new category link. You can add a new category for the product.
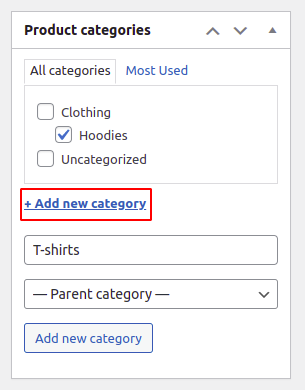
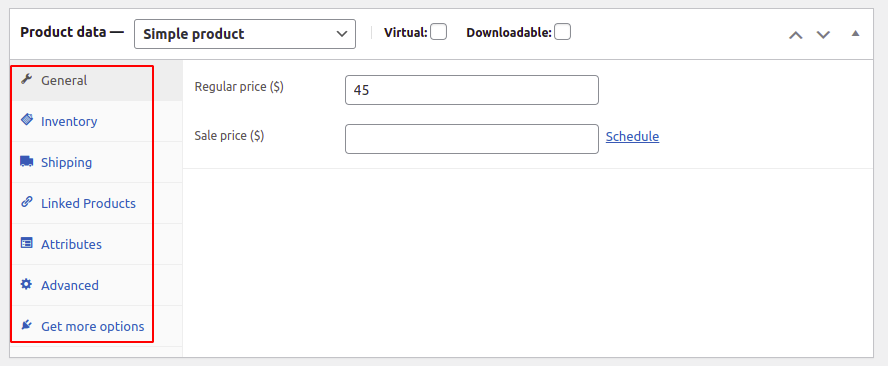
Product categories allow your clients to conveniently browse the products on your website. Then, scroll down to the ‘Product Data’ box. This is where you will choose the ‘product type’, ‘enter product pricing’, ‘shipping charges’, ‘grouped products’, and other details.
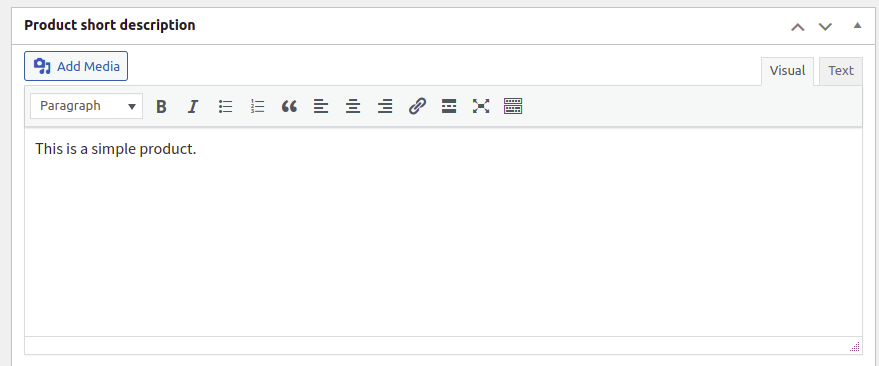
Following that, you’ll see a box named Product short description. This product description will appear on your website’s product pages. You must include a catchy and informative short description to increase clicks.
Product-featured images improve the usability of a product page. WooCommerce makes it incredibly simple to include ‘Product image’ and even product image galleries with each product.
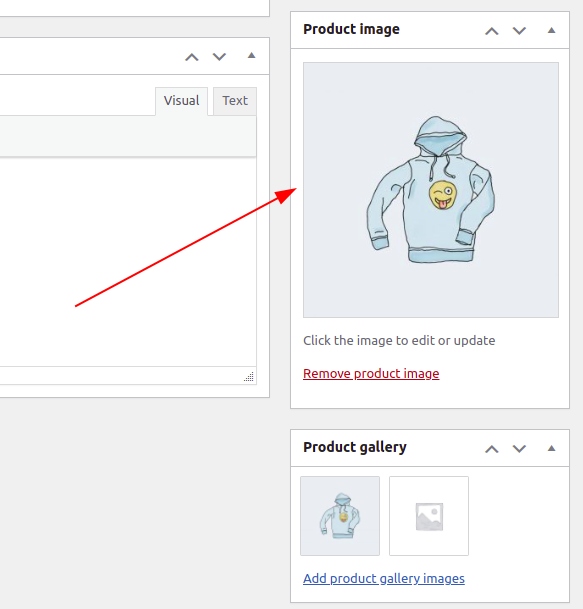
Firstly, upload the main product image. This will be the main product photo featured on all of your store’s shop pages.
You can add additional images below that to create Product gallery images.
Now go over all of the product information you’ve entered till now. If everything seems good, you’re ready to put this product in your store.
To publish your product, click the ‘Publish’ button in the upper right box of the screen.
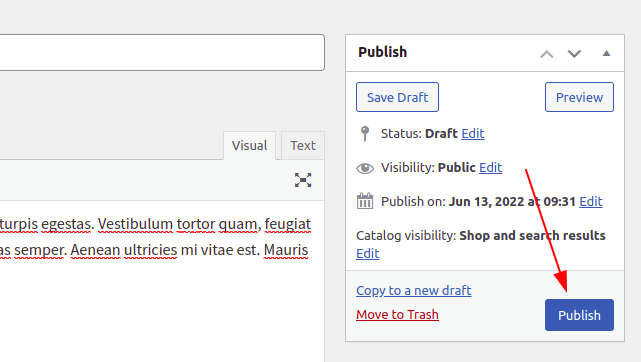
By repeating this step, you can now add more products to your website.
Configuring Payments in WooCommerce
Following that, you must include payment options so that buyers can buy your stuff online.
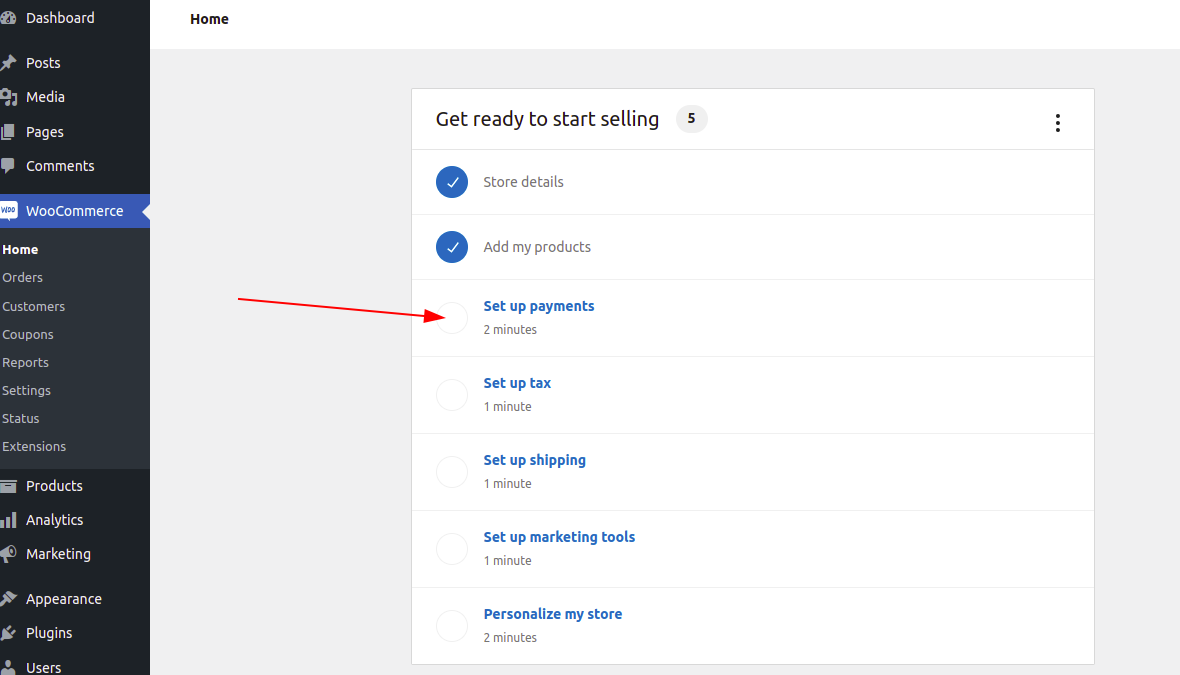
Now return to the WooCommerce > Home page to view the WooCommerce installation checklist. Select the ‘Set up payments’ option.
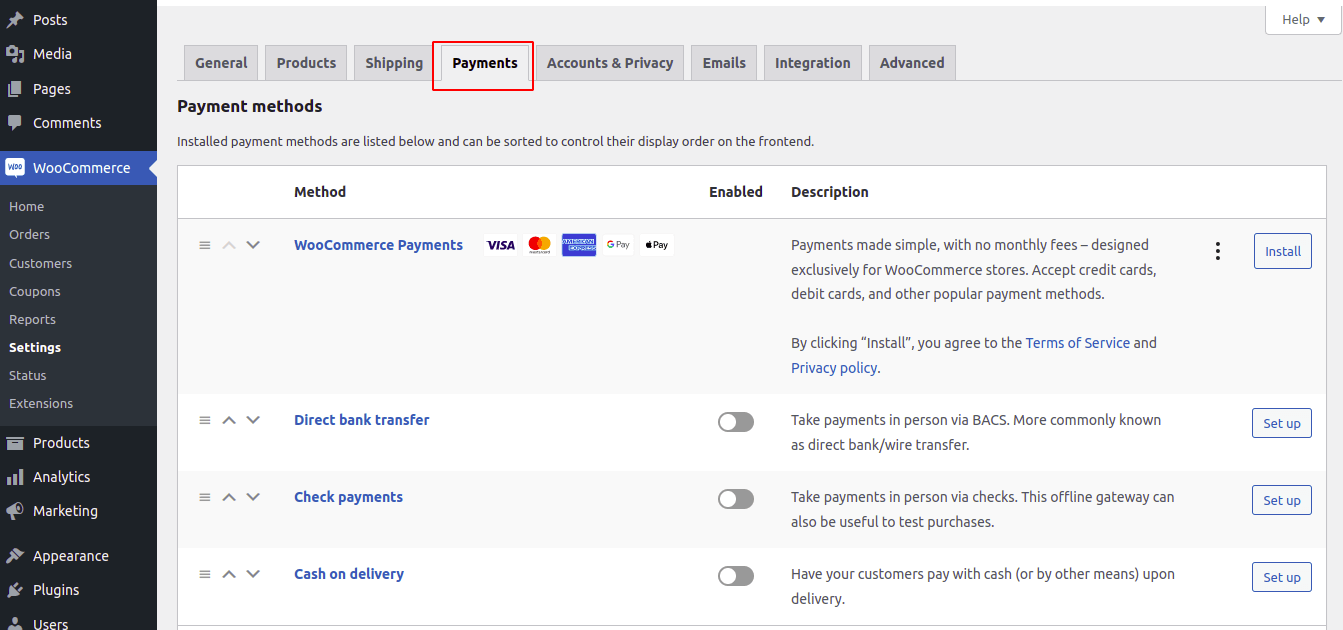
This will bring up a page with a list of payment options to which you can connect. Both online payments and offline payments are available. Stripe, PayPal, Klarna, direct bank transfer, cash on delivery, or checks are the payment options you’ll get.
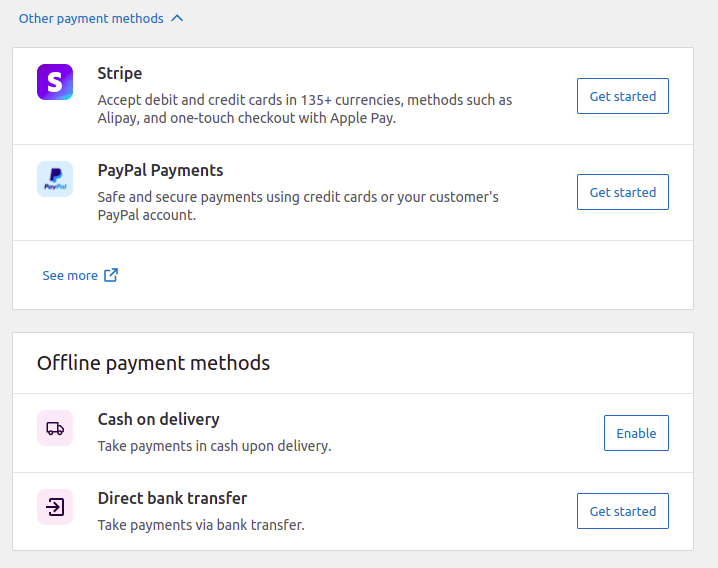
Now choose one and follow the simple on-screen instructions to configure the payment gateway.
In the future, you can add a new payment method for a better user experience by going to the WooCommerce > Settings > Payments section.
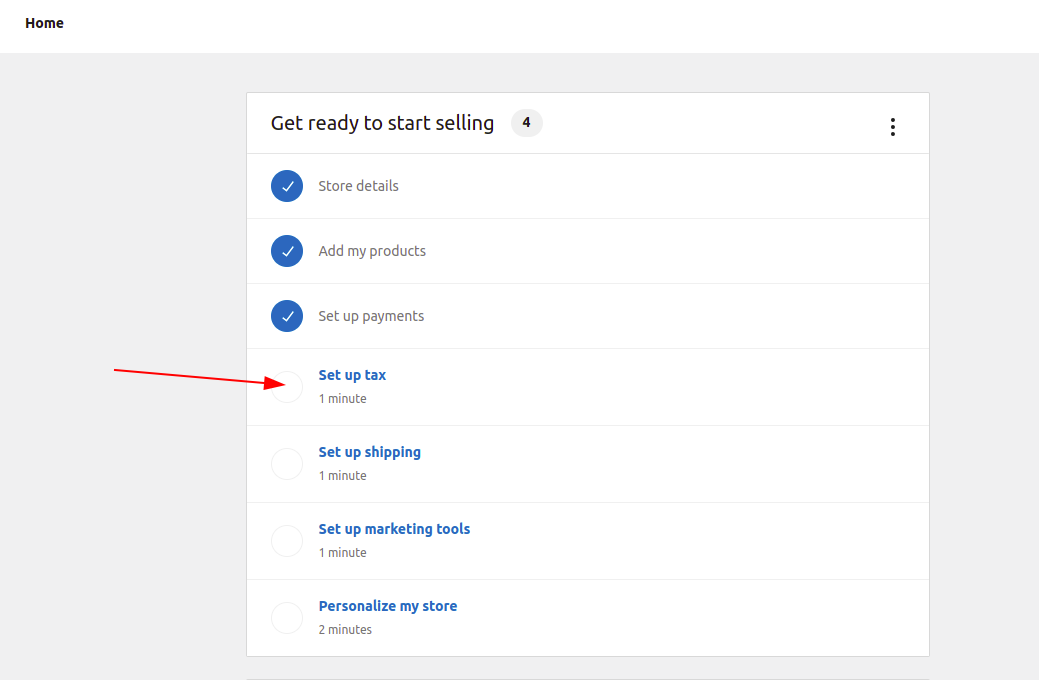
Adding Tax to WooCommerce
The next stage in the WooCommerce setup instructions is to configure tax on the home page.
You can configure taxes using WooCommerce Tax, Avalara, or manually. If you do not charge sales tax, you can also select the ‘I do not charge sales tax’ option.
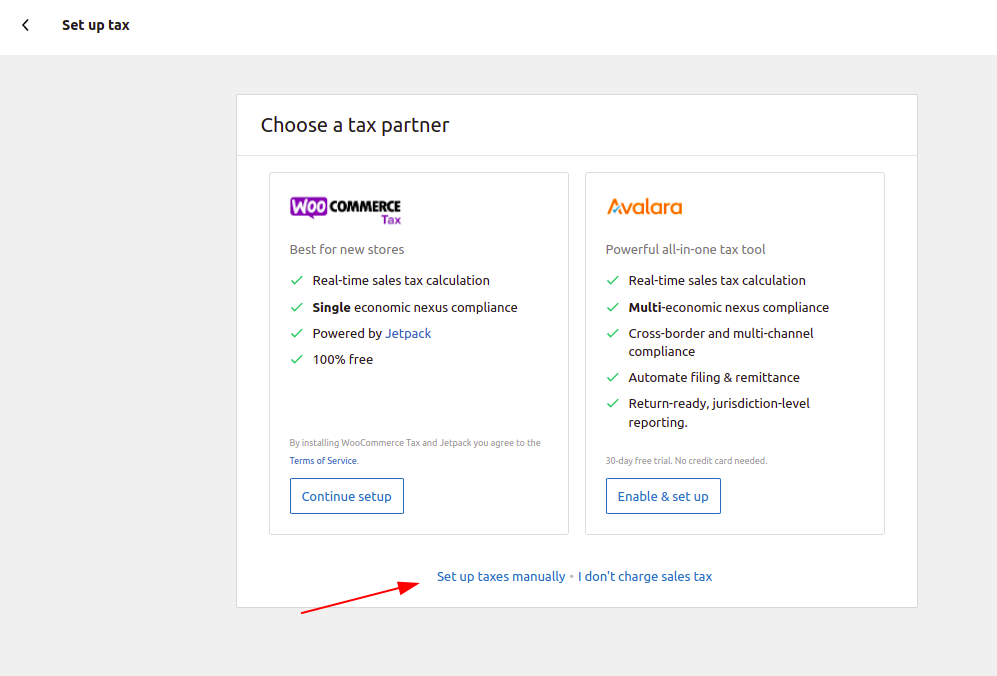
For starters, we’ll look at how to manually set up taxes.
When you select the manual option, you will be taken to the WooCommerce > Settings > Tax box
Enter your tax information, such as the country, state, city, and zip code. Then, insert the tax rate and names, such as sales tax or GST. This will increase the user experience.
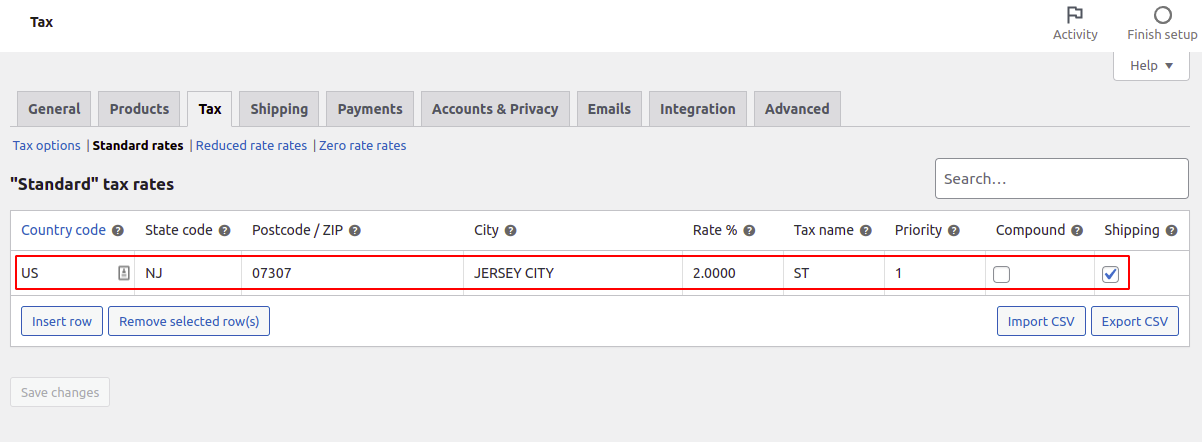
Remember to save your tax information by clicking the Save Changes button.
Configuring Shipping Option in WooCommerce
Go to the WooCommerce setup guide and click on the ‘Set up shipping’ task to add shipping options.
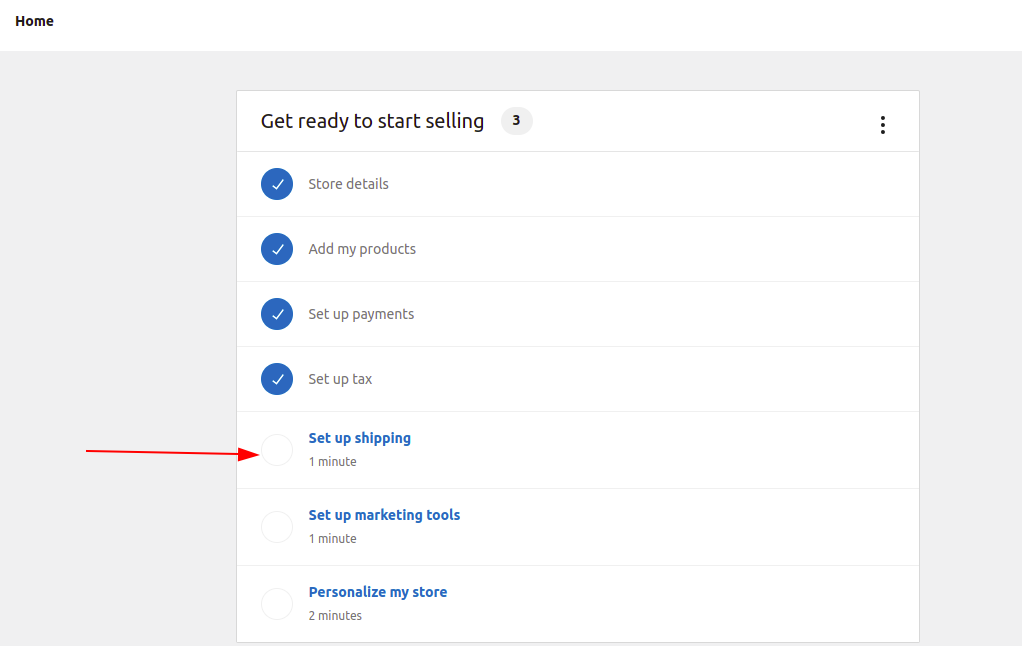
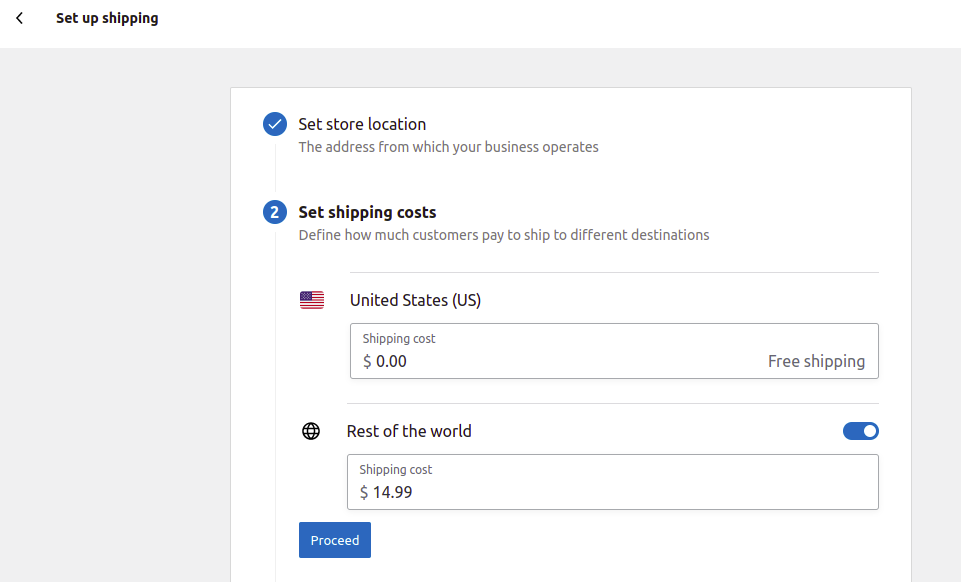
On this page, you can input your country’s shipping cost or leave the price blank to offer free shipment. You may also create shipping classes to give varying pricing for different types of products.
If you plan to send to other nations, select the ‘Rest of the World’ option and enter the charges for various shipping zones.
After entering your delivery costs, click the ‘Proceed’ button.
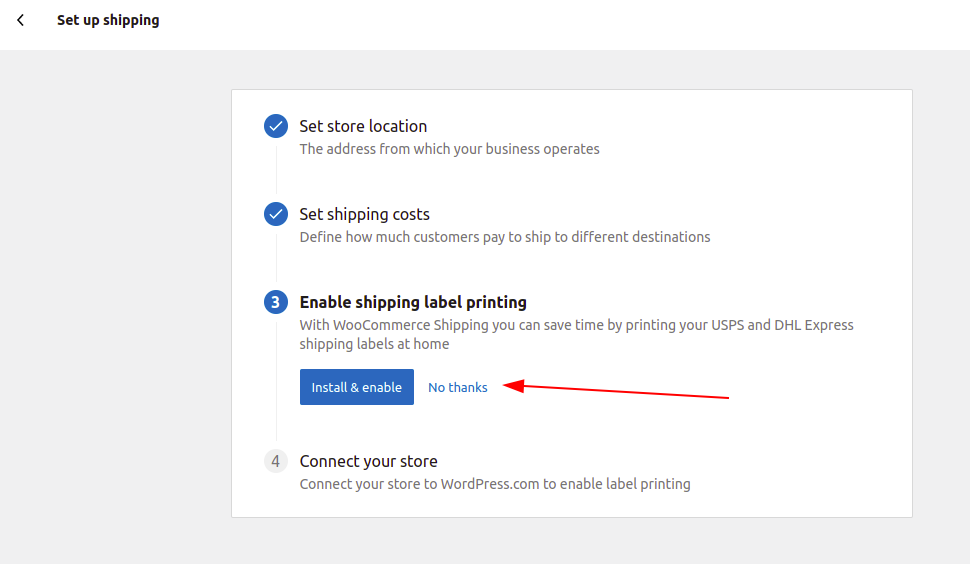
Following that, you can install and activate WooCommerce Shipping to save time by printing shipping labels at home. If you don’t require that feature, simply choose ‘No thanks.’
Now that you’ve configured the WooCommerce store installation, let’s look at how you may further customize your store by using themes and templates.
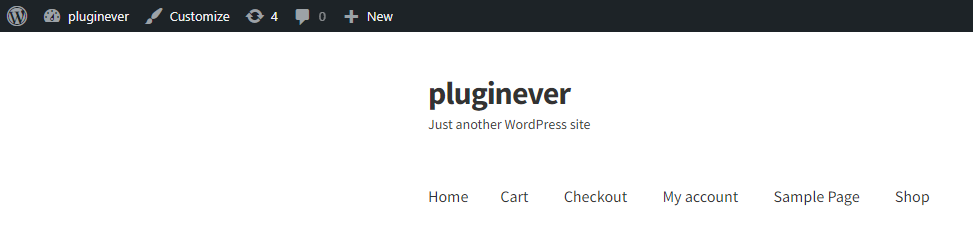
Customizing Shop Page
After getting done with the setup wizard, you’ll now look into the Shop Page on your website which was by default created during the Woocommerce store installation.
You can personalize your typical website by clicking “Customize” in the header.
You may now offer your shop page a new structure by using these Customizable options, whether it’s a different layout, alternative widgets, or even the product catalog under the WooCommerce option.
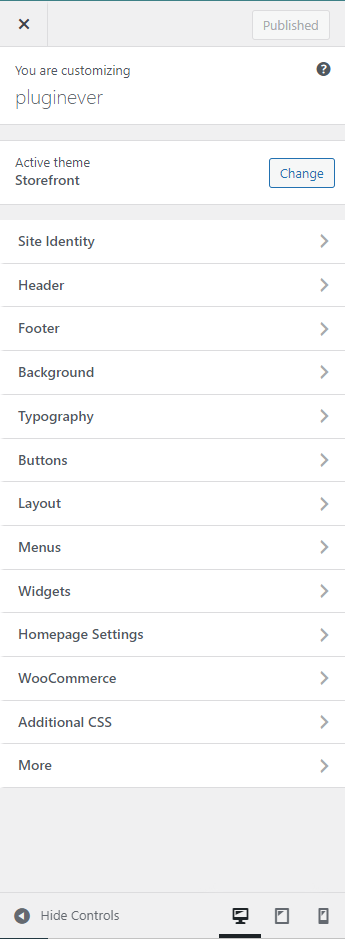
Now if you want to make your site’s interface catchy and well-maintained, there are numerous ways to make your shop page appear beautiful, and you may modify it to your specific requirements. Simply take your time and experiment with different styles to get the right fit.
Shopping Cart Adjustment
You may want to make your Cart appear fascinating at this point, and you can even personalize and design the cart page with different types of qualities that go under your product category. Aside from that, your cart is ready to use because it was generated by default during the Woocommerce store installation.
Customizing My Account
The WooCommerce plugin creates this My Account page where the users might set their payment methods, shipping methods, contacts, email address, locations, etc. There are other plugins and extensions available that provide users with more interactive features than the default ones.
Checkout Page
Checkout is possibly the most crucial page of all. It’s where your customers may finalize their orders and make payments. You must ensure that the buyer can complete their order without being diverted by the items or ads or any sort of thing available in the sidebar.
Aside from that, the checkout page’s default design is excellent.
3. Picking up WooCommerce Themes and Templates
Many competitors are willing to offer the same items as you at a place such as an eCommerce store. In this case, a professional design stands out and makes a noticeable impact on your conversion rate.
On the market, there are thousands of WooCommerce templates and themes with a range of features. While WooCommerce may be used with any WordPress theme, we recommend using a WooCommerce-ready theme.
These themes are designed exclusively for WooCommerce websites and will help you increase sales on your site and help you to get potential customers.
Because there are thousands of premium and free WooCommerce themes available, it can be tough for starters to choose the wide range of best designs.
To make things easier for you, we’ve picked the best WooCommerce-ready themes. All of these are mobile-friendly, SEO-friendly, and highly optimized.
Storefront
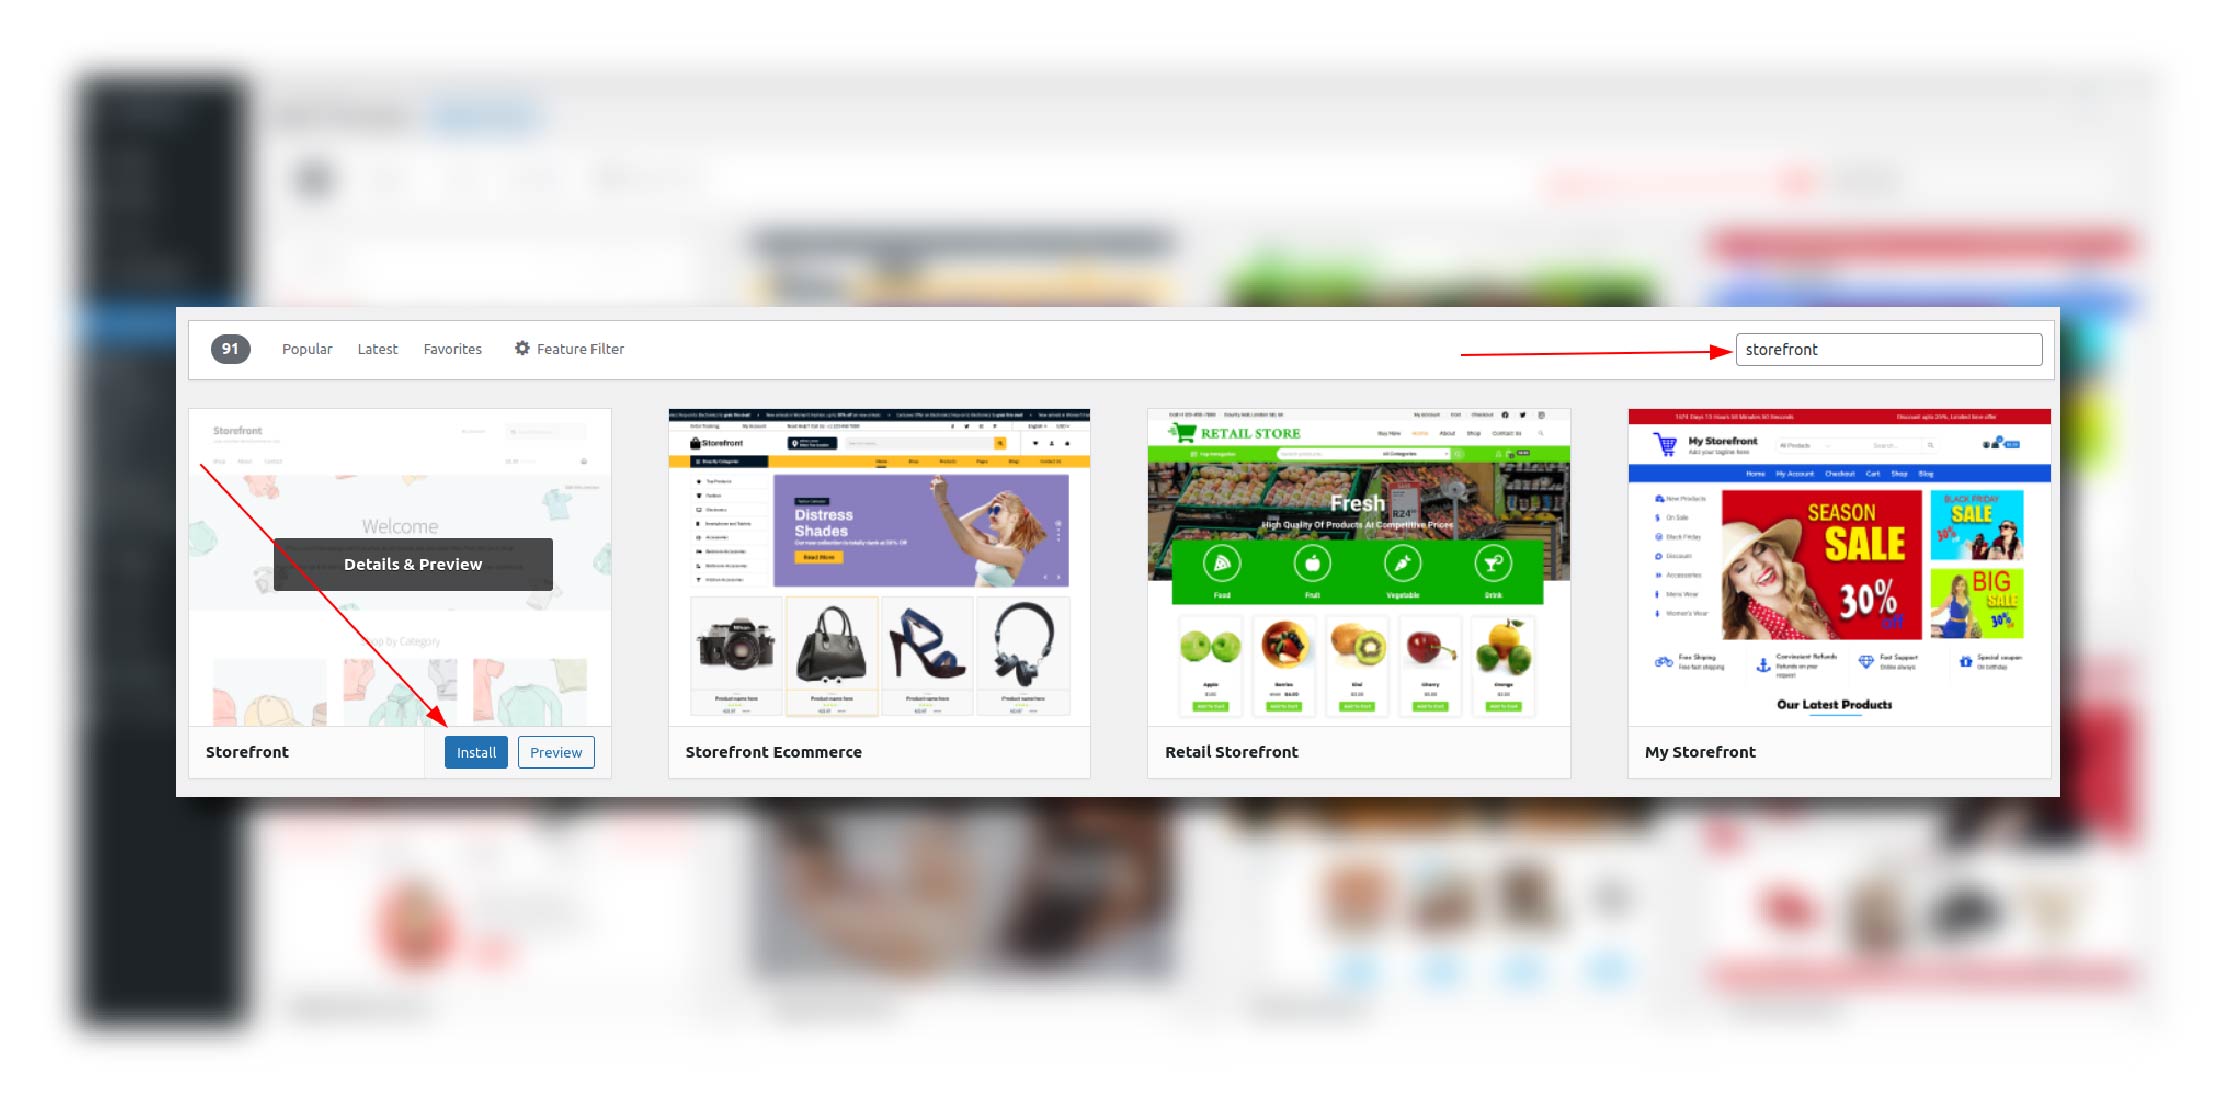
Storefront is a collection of WordPress themes created by WooCommerce. It has several plugin versions, each of which is intended for a specific eCommerce site.
The Galleria child theme, for example, is ideal for an apparel and fashion store, whilst the Bookshop theme is designed for an online bookstore. With over ten child themes to select from, each with its distinct flavor and features, Storefront is difficult to beat.
Botiga
Botiga is an excellent choice for a stunning theme for your online store or boutique. This attractive theme features a clean and modern style that is simple to adapt to match your brand. It’s loaded with useful features and tools for promoting your products and assisting clients in easily finding what they’re looking for.
Botiga also provides a variety of product listing styles, product galleries, and header alternatives. This WooCommerce theme has been performance enhanced. Botiga, with its fast, lightweight, and extremely adjustable design, may help you construct a profitable online storefront. While the free edition includes a plethora of features and design possibilities, there is also a premium tier that includes additional capabilities such as multi-step checkout and popups.
Divi Shop
In the world of premium themes in WooCommerce sites, Divishop is outstanding in its features. It is the most widely used premium WordPress theme in the world.
Divi Builder is a website construction framework that allows you to create gorgeous websites without touching a single line of code or installing and configuring dozens of different plugins. To make your posts or pages stand out to your online customers, you may add several gorgeous store layouts.
Astra Shop
Astra is a gorgeous, quick, and fully configurable WordPress theme suited for a blog, personal portfolio, business website, and WooCommerce marketplace. It is extremely lightweight (less than 50KB on the user end) and extremely fast. Astra is SEO-friendly, as it includes Schema.org code and is Native AMP ready, so search engines will appreciate your site.
Astra has several pre-built WooCommerce sections and templates, allowing you to add any layout to your website and personalize it to your specific page or product. You may easily alter the colors of your sell buttons, typography, and general hue to match the theme of your store.
It has unique features and templates which are compatible with all page builders, including Elementor, Beaver Builder, Visual Composer, SiteOrigin, and others. Astra is a lightweight, completely customizable, and WooCommerce-ready theme that can be used to create any type of website!
WooCommerce Store Builder
With Bluehost, you can now create any form of a website using the simple and easy WordPress drag-and-drop website builder. They provide over 300+ design templates to assist you in getting started with any type of project, from the portfolio, blog, and WooCommerce, to any company website. You can effortlessly migrate from any hosting provider to Bluehost for free and install WordPress with a single click.
4. Installing WooCommerce Extensions and Add-ons
WooCommerce is excellent on its own because it has thousands of plugins and premium extensions available. WooCommerce’s true power comes from powerful extensions and add-ons.
These add-ons function precisely like WordPress plugins, and you may install them just like any other WordPress plugin.
Today, we’re going to provide some of the greatest WooCommerce extensions for WordPress, so you may create the store your website requires. Here are our top recommendations for essential WooCommerce plugins for any eCommerce store.
WooCustomizer (Free)
WooCustomizer allows you to personalize your WooCommerce pages. This free plugin is jam-packed with features to help you improve your store. To create even better pages, use the built-in styling choices in the live Customizer, edit/remove tabs on product pages, make sale banners, configure your “Add to Cart” button, and edit/remove common WooCommerce product attributes (ex: SKU, title, etc.), and more. WooCustomizer also allows you to customize your cart page, checkout fields, and even front-end admin sales statistics.
Min Max Quantities for WooCommerce
This is the most basic WooCommerce extension by PluginEver for creating special discounts based on product quantities and prices. Customers are only permitted to purchase a predetermined minimum and maximum product number and/or amount with the help of this plugin.
Min Max Quantities for WooCommerce distinguishes for its user-friendly features. It will allow you to create a rule that applies to all of your store’s products. You can also specify quantity and pricing thresholds for single and variable goods. Furthermore, the plugin lets you limit the product quantity and price on the cart page.
OpenPOS – WooCommerce Point Of Sale (POS)
Using WooCommerce and the OpenPOS add-on, you may sell your products both online and in-store. This fantastic plugin makes it simple to sell your products directly to customers, whether in a physical store or a pop-up shop. OpenPOS allows you to process purchases and sync your inventory in real time. You may even generate a receipt for your customers right on the spot. And the flexibility to refund or exchange items makes it simple to keep your consumers happy and returning.
By far most of you who have gone through this article should’ve done making your fully functional online business store via WooCommerce by following our guidelines step by step.
FAQ
- How Can I Use WooCommerce for Free?
WooCommerce is an open-source software package that allows you to create online stores using WordPress. You can use WooCommerce to sell physical goods or downloadable products like eBooks, courses, music, video, apps, etc. WooCommerce is completely free to use, but you will need a paid hosting account if you want to store any files larger than 5MB. You can add additional features to your site by installing premium extensions and plugins. These features can help you attract customers and grow your business.
- What kind of products can I sell in my store?
There are different types of products that you can sell in your store – starting from actual products like vinyl, books, tote bags, etc. Then there are digital products like eBooks, photography, software, etc that your customers can download for money. Moreover, you can also sell services, bookings, and other people’s products as an affiliate. There are tons of options available.
- Why Choose WooCommerce for an eCommerce store?
Numerous eCommerce platforms offer options for creating an eCommerce website. However, Woocommerce is the most commonly used eCommerce business platform due to its consistency and versatility for all types of businesses. The rest are listed below.
- It’s Free
- It Grows With Your Business
- It’s Open Source
- It Offers Strong Cybersecurity
- It Doesn’t Charge Transaction Fees with third-party payment gateways
- It Offers Strong Email Marketing and SEO Extensions
- It’s Customisable
- It Offers Built-In Analytics
Wrap Up
At first, learning how to start a WooCommerce store may appear difficult. However, once you’ve mastered it, WooCommerce is well worth your time and work.
You are never alone in our rapidly expanding digital world. We’ve got your back since we’ve already shown you the initial steps, and you can quickly develop your effective site.
The amazing part is that you don’t need much programming experience to sell your goods on the Internet. This WooCommerce guide should assist you in setting up and managing your online store.
Our crew is the most consistent in the plugin business, and we cordially invite you to PluginEver, where you can trust anything related to WordPress and WooCommerce.
Contact us if you need the expertise to create a perfect customizable website for your eCommerce business.
If you seek a professional, look no further than us. Adios!
Leave a Reply
You must be logged in to post a comment.