
The Pro version of the WC Variation Images plugin offers advanced settings to enhance your WooCommerce product pages. Follow the steps below to configure the additional features available in the Pro version.
Step 1: Navigate to the WC Variation Images
From your WordPress admin dashboard, navigate to Variation Images to access the Pro settings.
Step 2: Customize General Settings
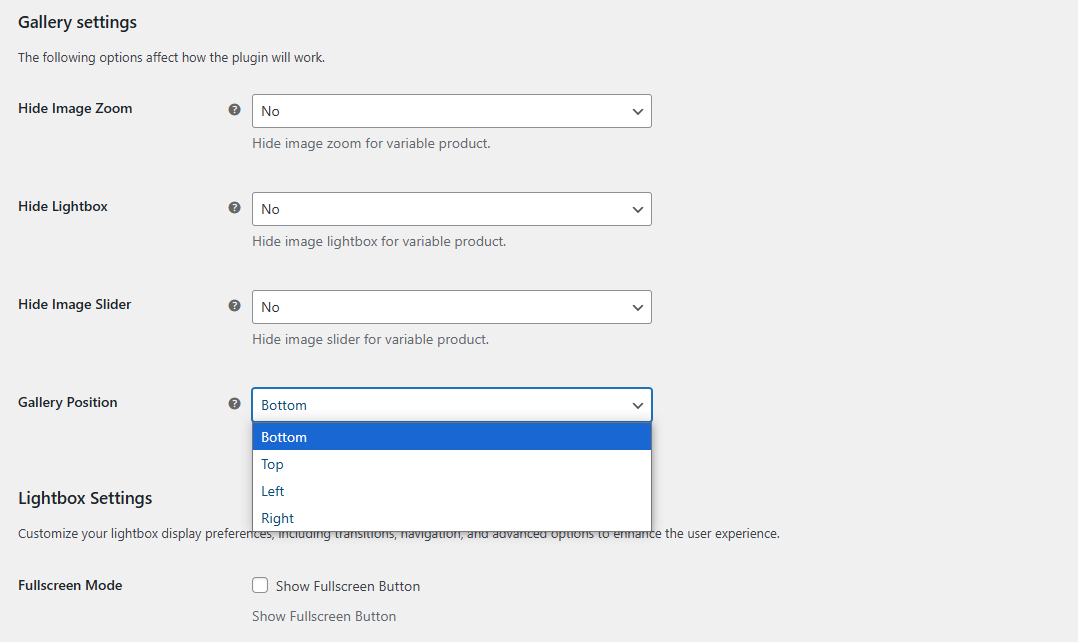
- Gallery Position: Adjust the position of the product image gallery to suit your design preferences. Options include Bottom (default), Right, Left, or Top.
Step 3: Lightbox Experience Enhancements
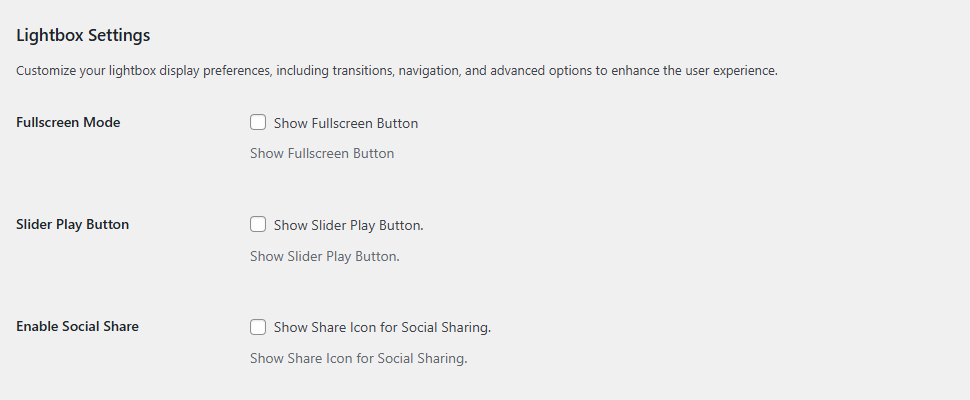
- Activate Fullscreen Mode: Enable this option to allow customers to view full-screen product images for a detailed experience.
- Enable Slider Play Button: Turn this on to make automatic image transitions within the lightbox.
- Social Sharing Options: Enable this setting to allow customers to share product images directly on social media platforms.
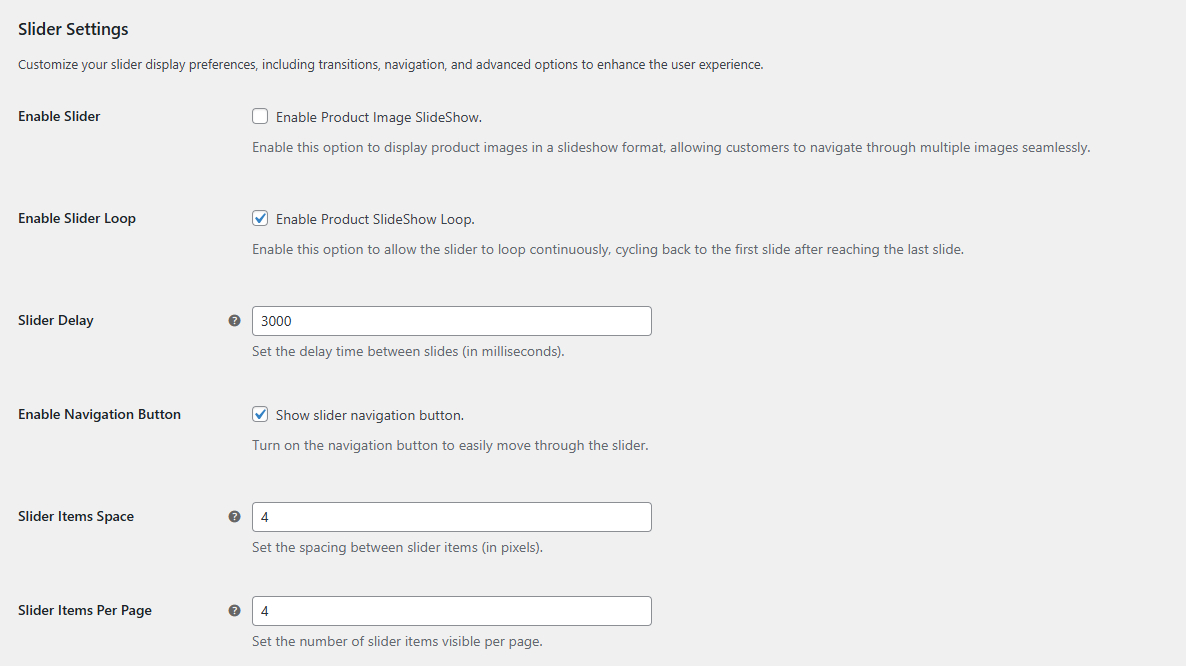
Step 4: Slider Display Controls
- Scrolling Effects: Select from customizable scrolling effects to make the slider visually engaging.
- Slider Loop: Enable the loop feature for seamless, continuous scrolling of images.
- Slide Timing: Adjust the timing between slides to control the speed of transitions.
- Navigation Buttons: Customize the design and behavior of navigation buttons for a user-friendly experience.
- Slider Spacing: Fine-tune the spacing between slider items for a clean and polished appearance.
- Number of Visible Items: Specify how many images should be displayed at once in the slider.
Step 5: Finalize Your Customization
After customizing the Pro settings, click the Save Changes button to apply them.
You’ve now successfully configured the Pro version settings for the WC Variation Images plugin, enabling advanced features for a better customer experience.