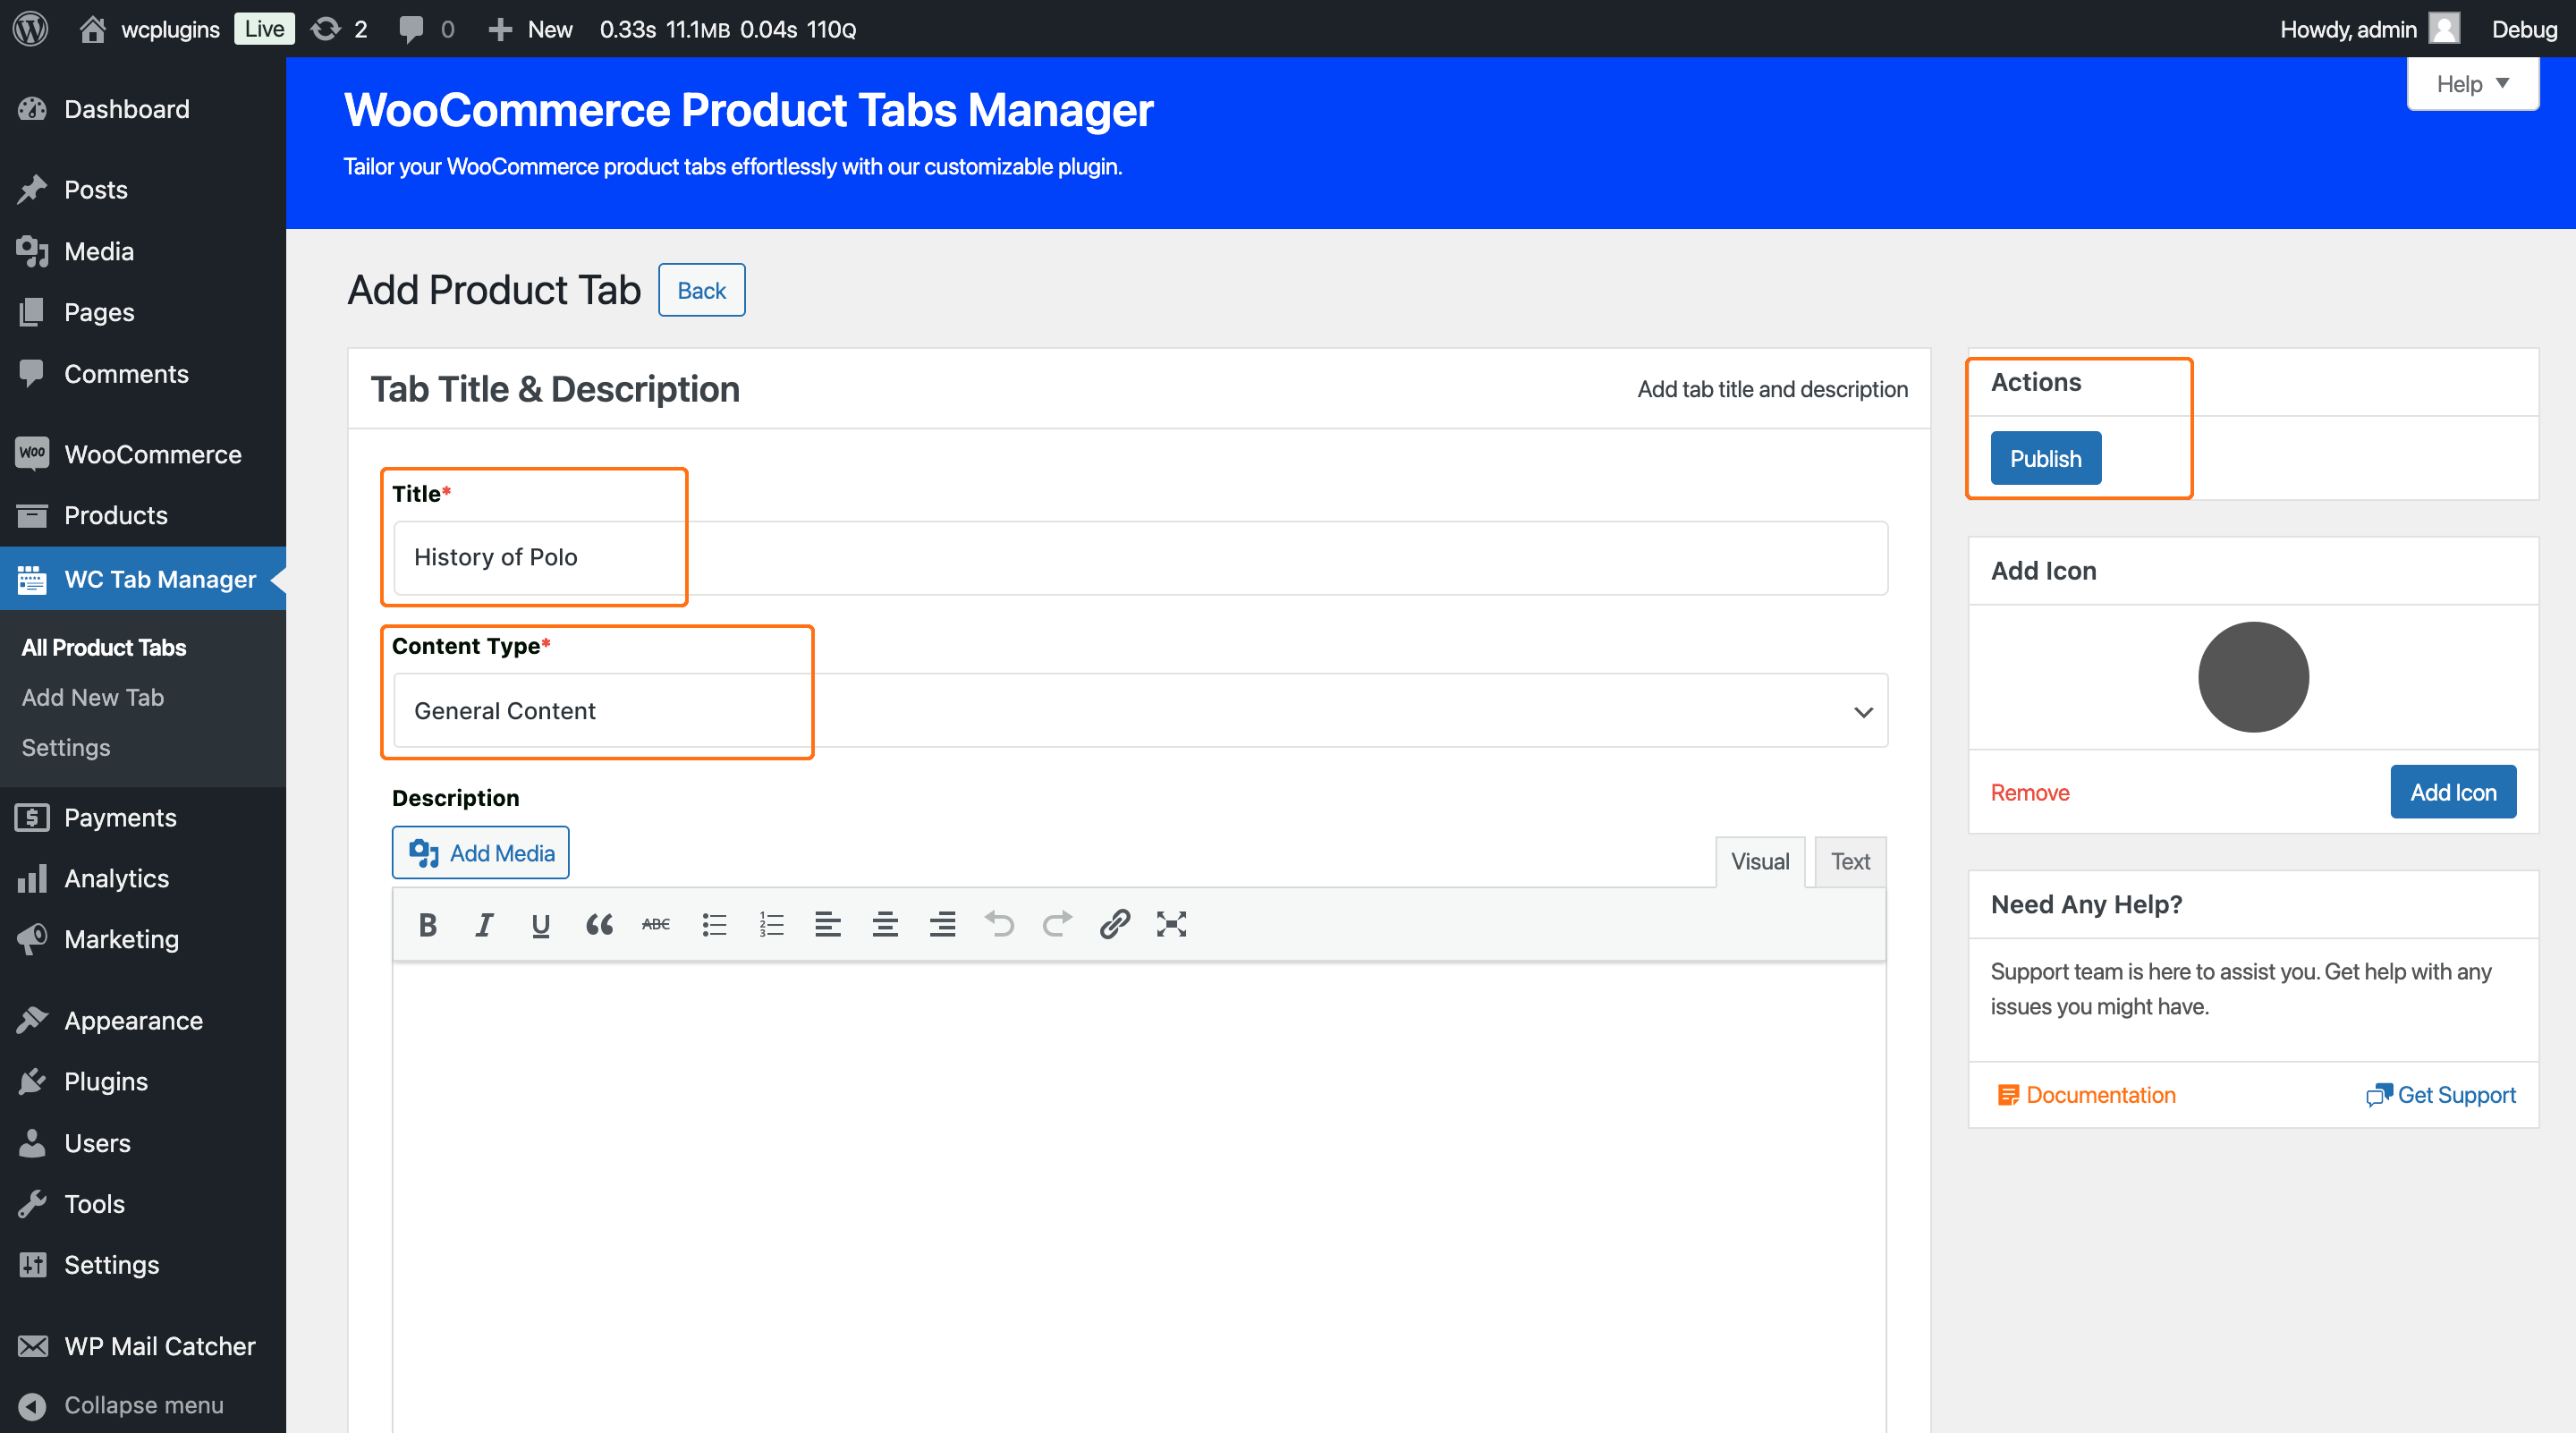
Product Tabs Manager allows you to enhance your product tabs by adding custom icons, giving your store a more visual and engaging experience. This guide explains how to add and customize icons for your product tabs using the built-in icon library feature.
Step 1: Accessing the Icon Customization Section
To begin customizing the icon for a tab, follow these steps:
- Navigate to Product Tabs from your WordPress admin panel.
- Select the existing tab you want to customize or click Add New Tab to create a new one.
- You will see a section labeled “Add Icon” on the right side of the tab editing page.

Step 2: Adding an Icon to a Tab
To add an icon to the tab, follow these steps:
- Click the Add Icon button.
- Upon clicking the button, an icon library will pop up, allowing you to choose from a variety of icons.
- Use the search functionality within the icon library to find a specific icon by name. Simply type a keyword related to the icon you’re looking for (e.g., “cart,” “star,” or “info”) to filter the available icons.
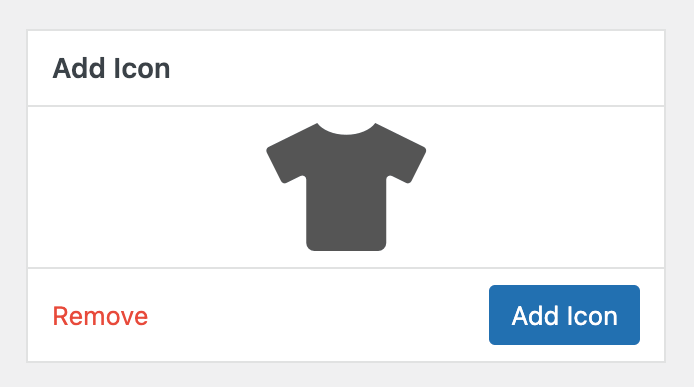
- Once you find the desired icon, click on it to select it. Then click the insert button at the bottom of the pop-up. The selected icon will automatically appear in the icon section of the tab settings.

Step 3: Removing an Icon
If you decide to remove the icon from the tab:
- Clicking the remove button will delete the icon from the tab, and the section will revert to the default “Add Icon” state.
Step 4: Finalizing Your Icon Selection
After selecting or removing an icon, ensure that all your changes are saved:
- Click the Publish or Update button to apply your changes.
The selected icon will now be displayed next to the product tab on the front end of your WooCommerce store products.