Before starting a campaign, you need to create a donation product in your WooCommerce store. This product serves as the base for collecting contributions that can later be linked to specific campaigns.
Steps to Create a Donation Product
Add a New Donation Product
Go to Products → Add New Product in your WordPress dashboard.
Enter a clear product name, such as Heart Foundation Donation or Wildlife Conservation Support. Add a short description that explains the purpose of the donation, for example, “Support the Heart Foundation’s life-saving research and treatment.” You may also upload an image that represents the cause.
Set Product Type to Donation
Scroll to the Product Data section and change the product type to Donation.
This activates all donation-specific customization options.
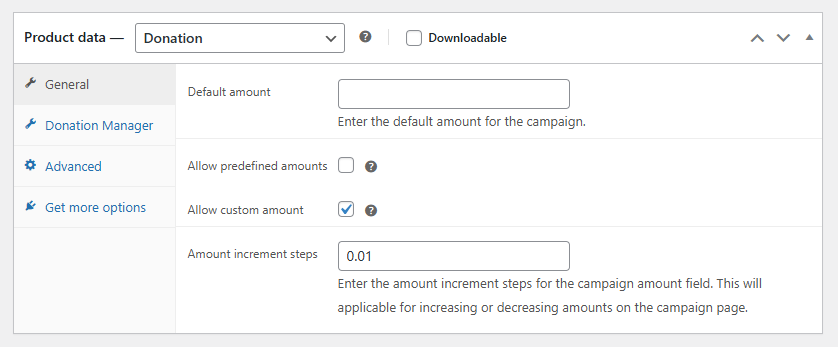
Configure General Settings
Within the General tab, you can:
- Set a Default Amount, such as 50, which appears as the pre-filled donation value.
- Enable Predefined Amounts so donors can choose from them.
- Allow Custom Amounts if you want users to enter their own value.
- Adjust the Increment Step, such as 5, so donors can increase or decrease their chosen amount in multiples of five.
Configure Donation Manager Settings
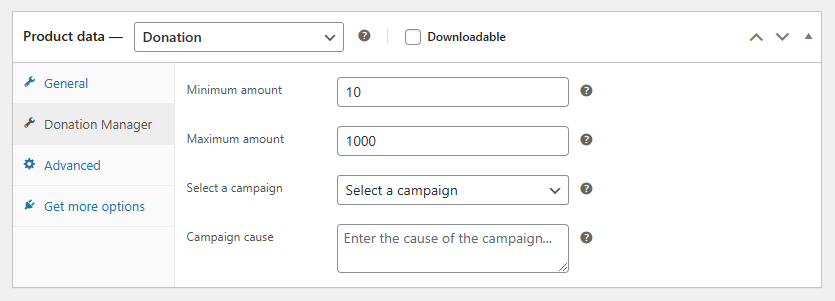
Switch to the Donation Manager tab to specify donation behavior:
- Define Minimum and Maximum Amounts to control donation limits.
- Assign the product to an existing Campaign to track its donations.
- Add a Campaign Cause description, such as “Supporting critical heart research and treatments.”
Publish the Donation Product
Once configured, click Publish.
Your donation product is now live and ready to accept contributions directly through your WooCommerce store.
Next Step
After creating a donation product, the next step is to create and link a campaign. Continue with the Create a Campaign documentation to complete your setup.