After configuring how discontinued items behave across your store, you can control how the notice appears. These styling options help you match the message box with your theme and improve overall visibility.
To set the styles, scroll down to the Discontinued Product Notice Styles section in the General Settings panel.
Styling Discontinued Product Notice
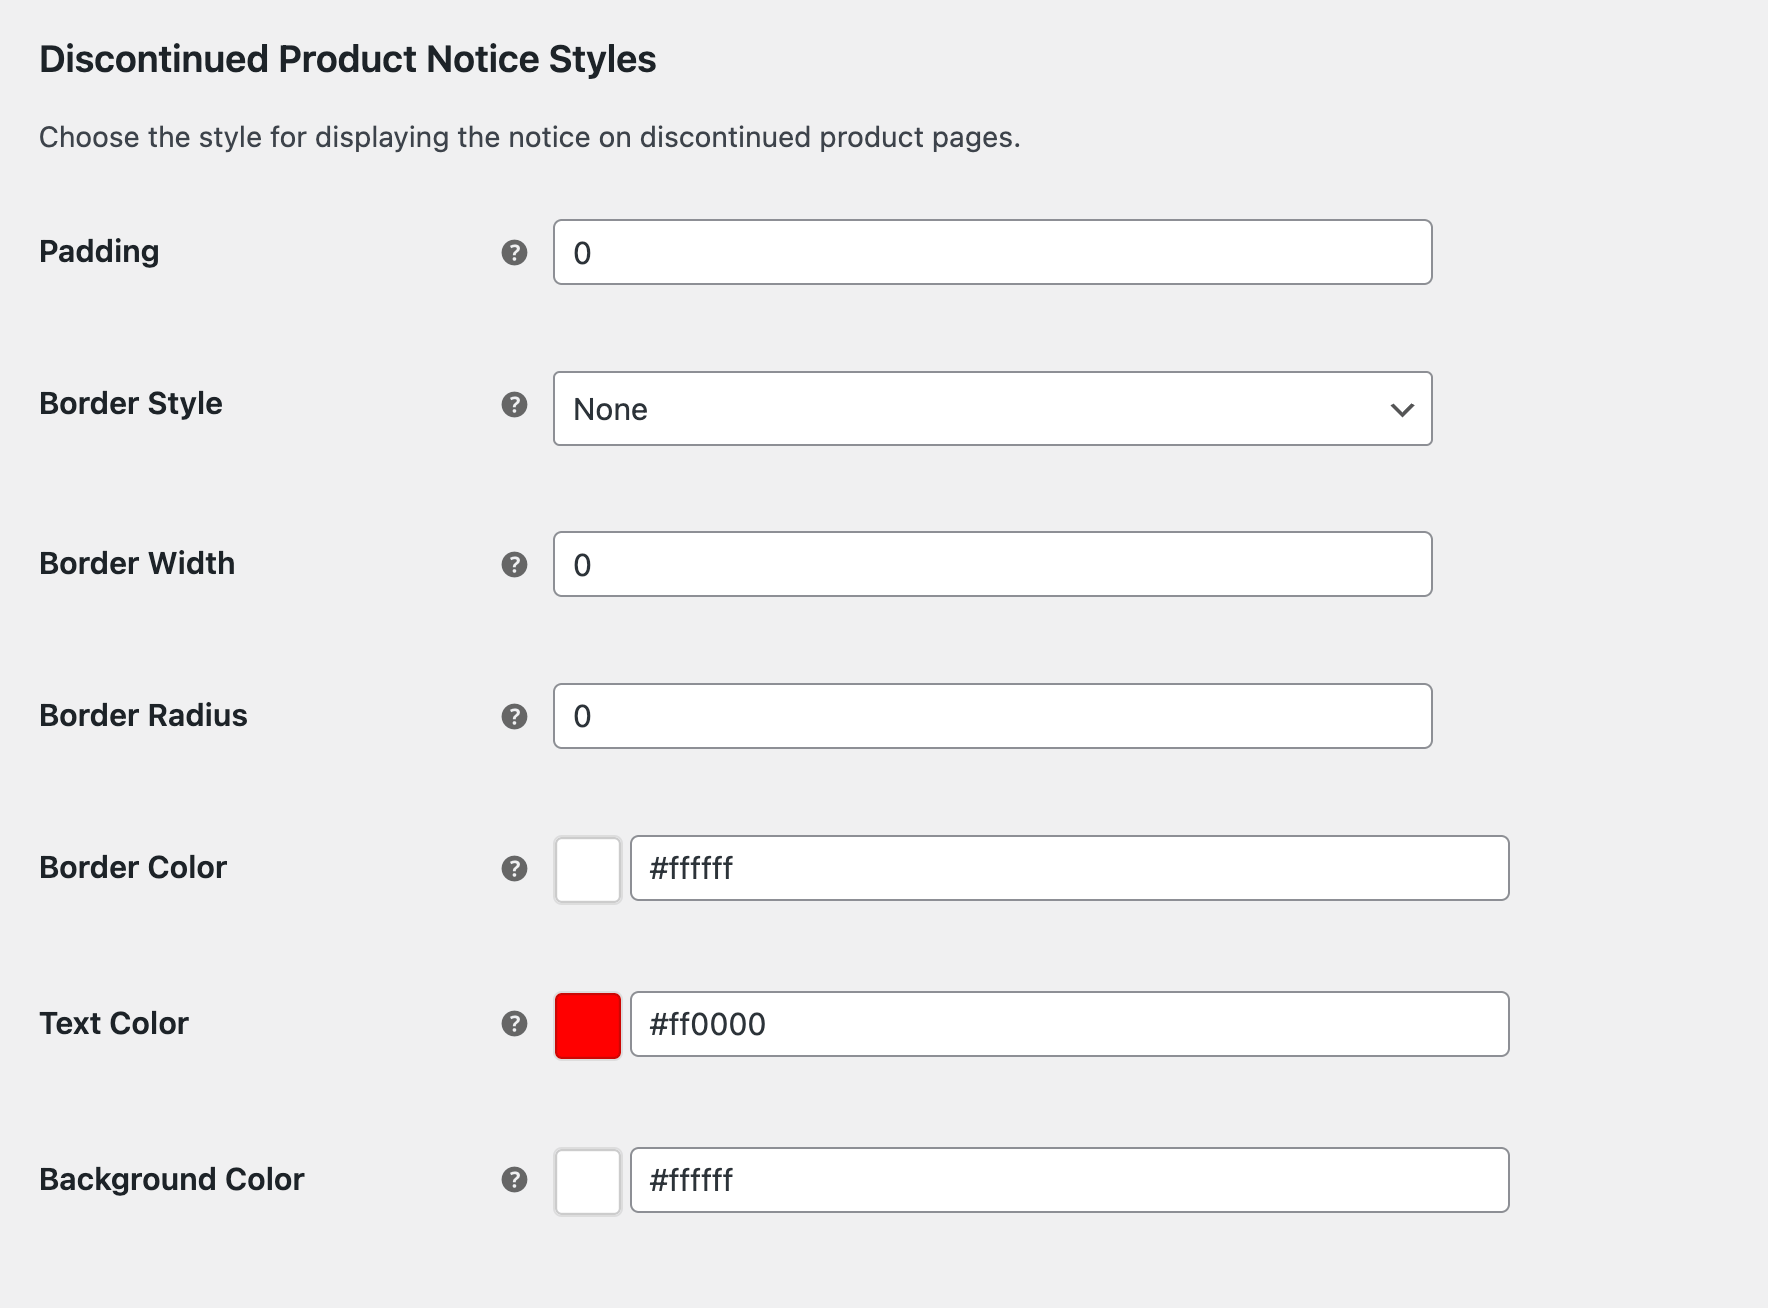
Padding
Adjust the padding to control the spacing inside the notice box. More padding adds extra space around the text and makes the box feel more balanced.
Border Style
Choose a border style for the notice box. The available styles include dotted, dashed, solid, double, groove, ridge, inset, outset, and hidden.
Border Width
Set the thickness of the border. Use a higher value for a stronger outline or a smaller value for a subtle edge.
Border Radius
Adjust the roundness of the notice box corners. Lower values keep corners sharp while higher values create a softer, rounded shape.
Border Color
Select the color used for the border. This is helpful when you want the notice to stand out or blend naturally with your store design.
Text Color
Choose the text color for the notice message. Pick a color that contrasts well with the background for better readability.
Background Color
Set the background color for the notice box. This is useful for highlighting important messages and improving visibility.
Save Changes
After finalizing the design, save your changes to apply them across all discontinued product notices.
Next Step
When you finish styling the notice, continue to the product-level settings where you can override the global configuration and set a custom notice or choose specific alternative products for individual items.