Once you activate WC Checkout Files Upload Manager, configure how the file uploader will work for your customers.
Navigate to General Settings
Open your WordPress dashboard and go to WooCommerce > Checkout Files > General. All uploader preferences are managed here.
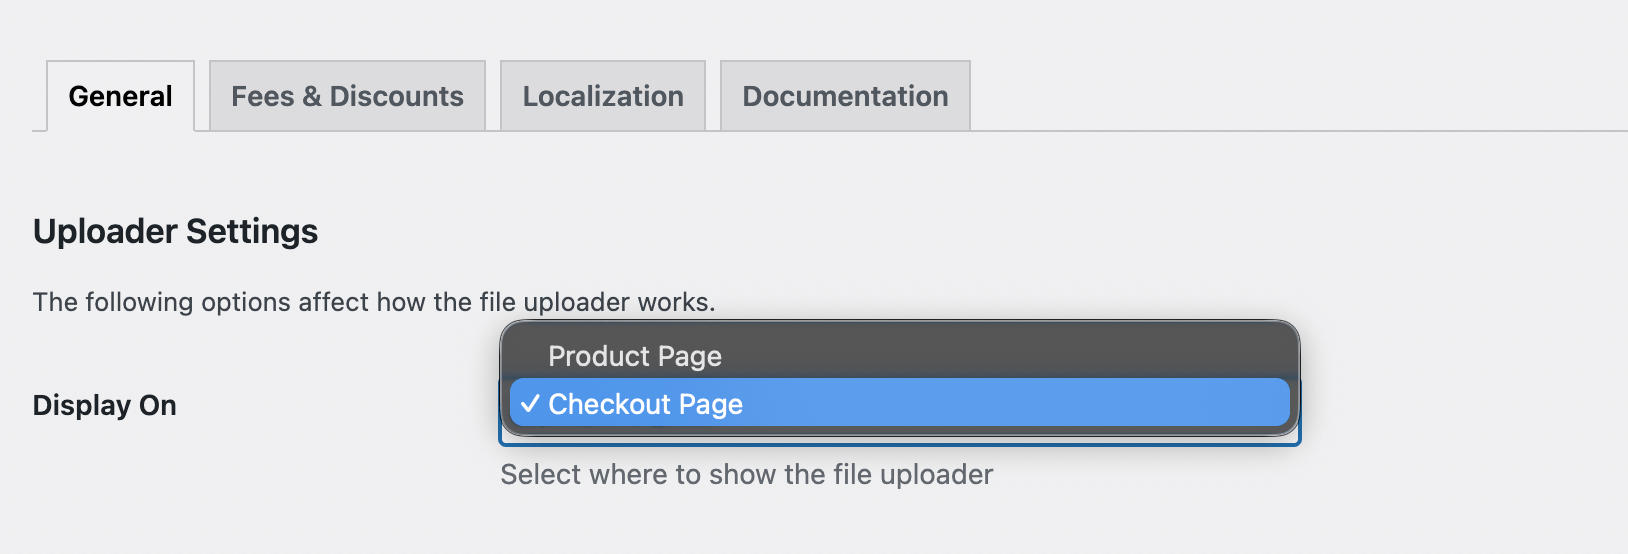
Display On
Choose where the upload field and note field appear. You can display them on the Product Page or the Checkout Page, depending on your store’s workflow.
Note: To use file uploads on the Checkout page, the page must be set to Classic Shortcode mode.
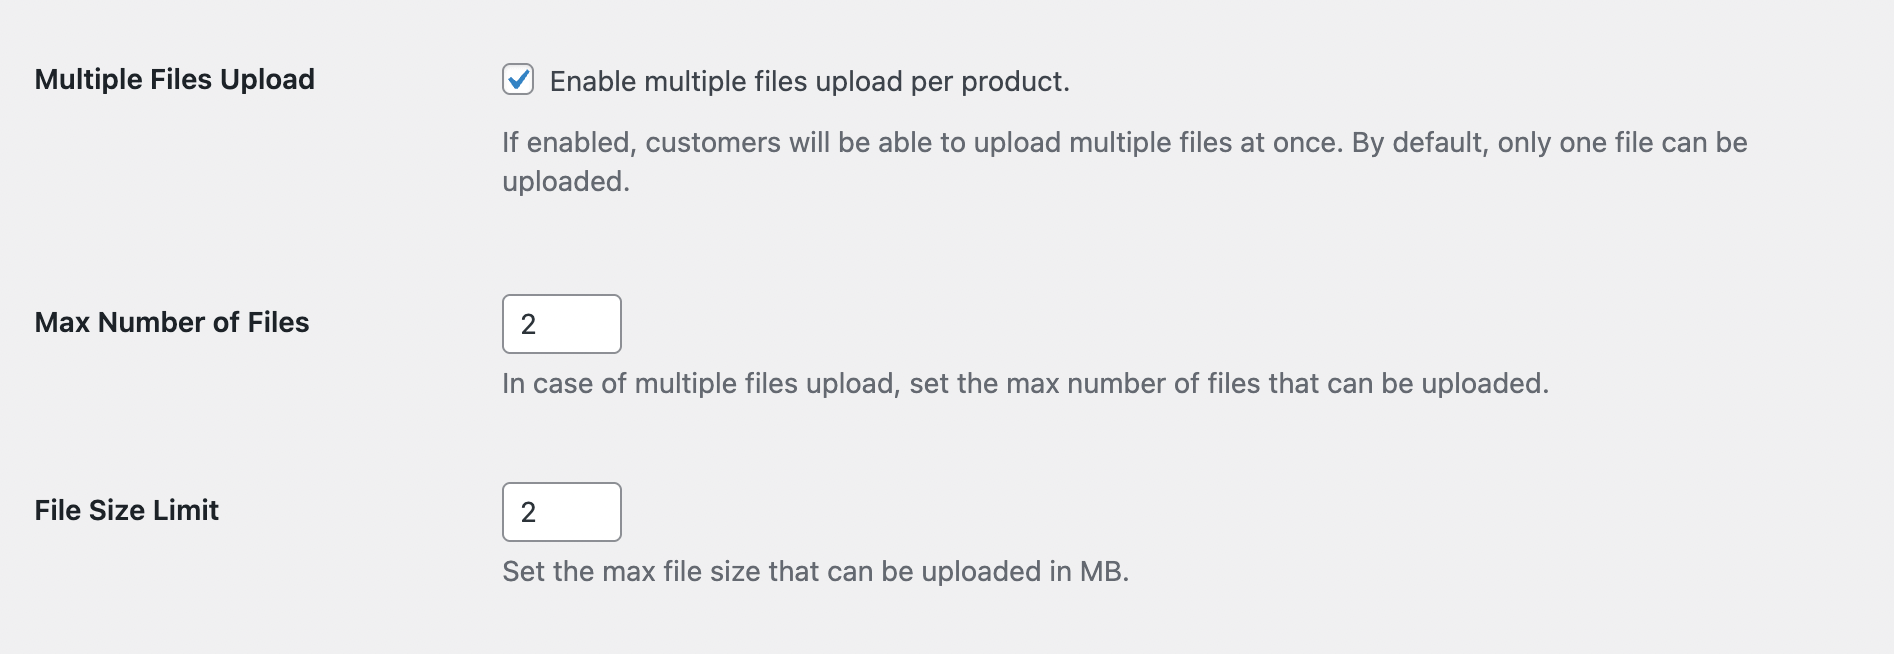
Multiple Files Upload
Enable this if you want customers to upload more than one file at a time. If left disabled, only a single file can be uploaded.
Max Number of Files
If multiple uploads are allowed, set the maximum number of files customers can add. This helps control the size of each submission.
File Size Limit
Set the maximum file size (in MB) that customers can upload. This keeps large files from affecting your server performance.
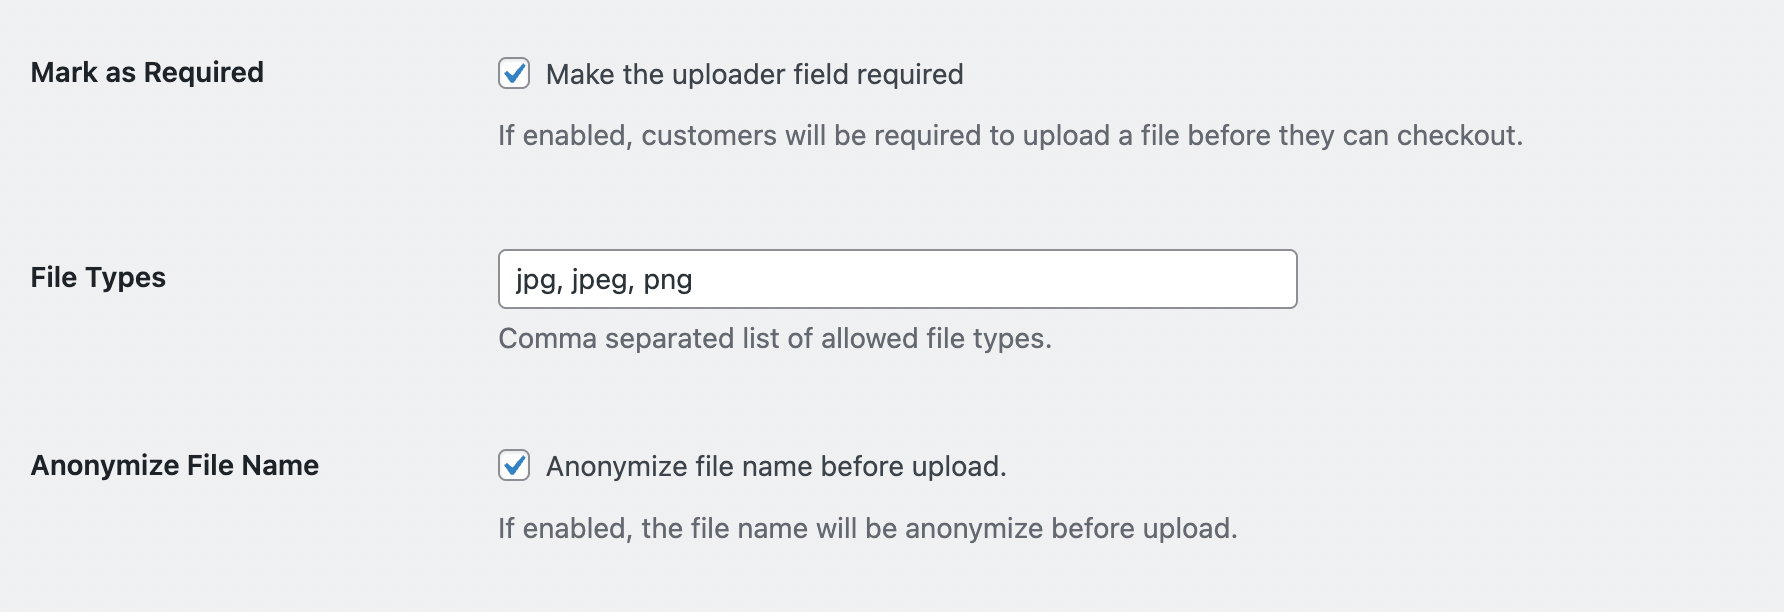
Mark as Required
Enable this if a file must be uploaded before checkout can continue. If required, customers cannot place an order unless they upload at least one file.
File Types
Specify the file types your store accepts. Separate each extension with a comma, such as: .jpg, .jpeg, .png, .pdf
Anonymize File Name
Turn this on if you want the file name to be replaced with a random string. This is useful when privacy is a concern and original file names should not be exposed.
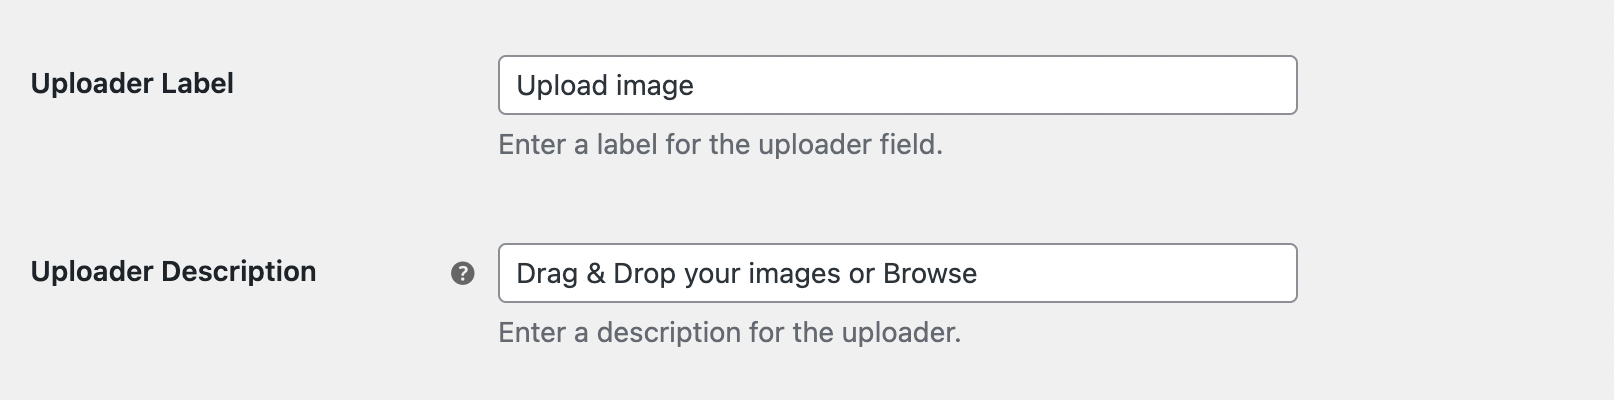
Uploader Label
Set the label that will appear above the uploader field. Choose something descriptive so customers know what is expected.
Uploader Description
Write a short description to help customers understand why they need to upload a file or what kind of file is required.
Save Changes
When you finish adjusting the settings, click Save Changes.
Next Step
The settings are not complete yet. You can enable customer notes along with file uploads, or choose which products should have the file upload feature enabled, by continuing to Advanced Settings.