After completing the general settings and enabling customer notes, you can control where the file uploader appears. These options allow you to display the uploader based on products, categories, tags, shipping methods, payment methods, or user roles.
This helps ensure file uploads are requested only when needed.
Navigate to Advanced Settings
Go to WooCommerce > Checkout Files > General and scroll down to the Advanced Settings section.
These rules determine when and where the file upload and note fields are shown.
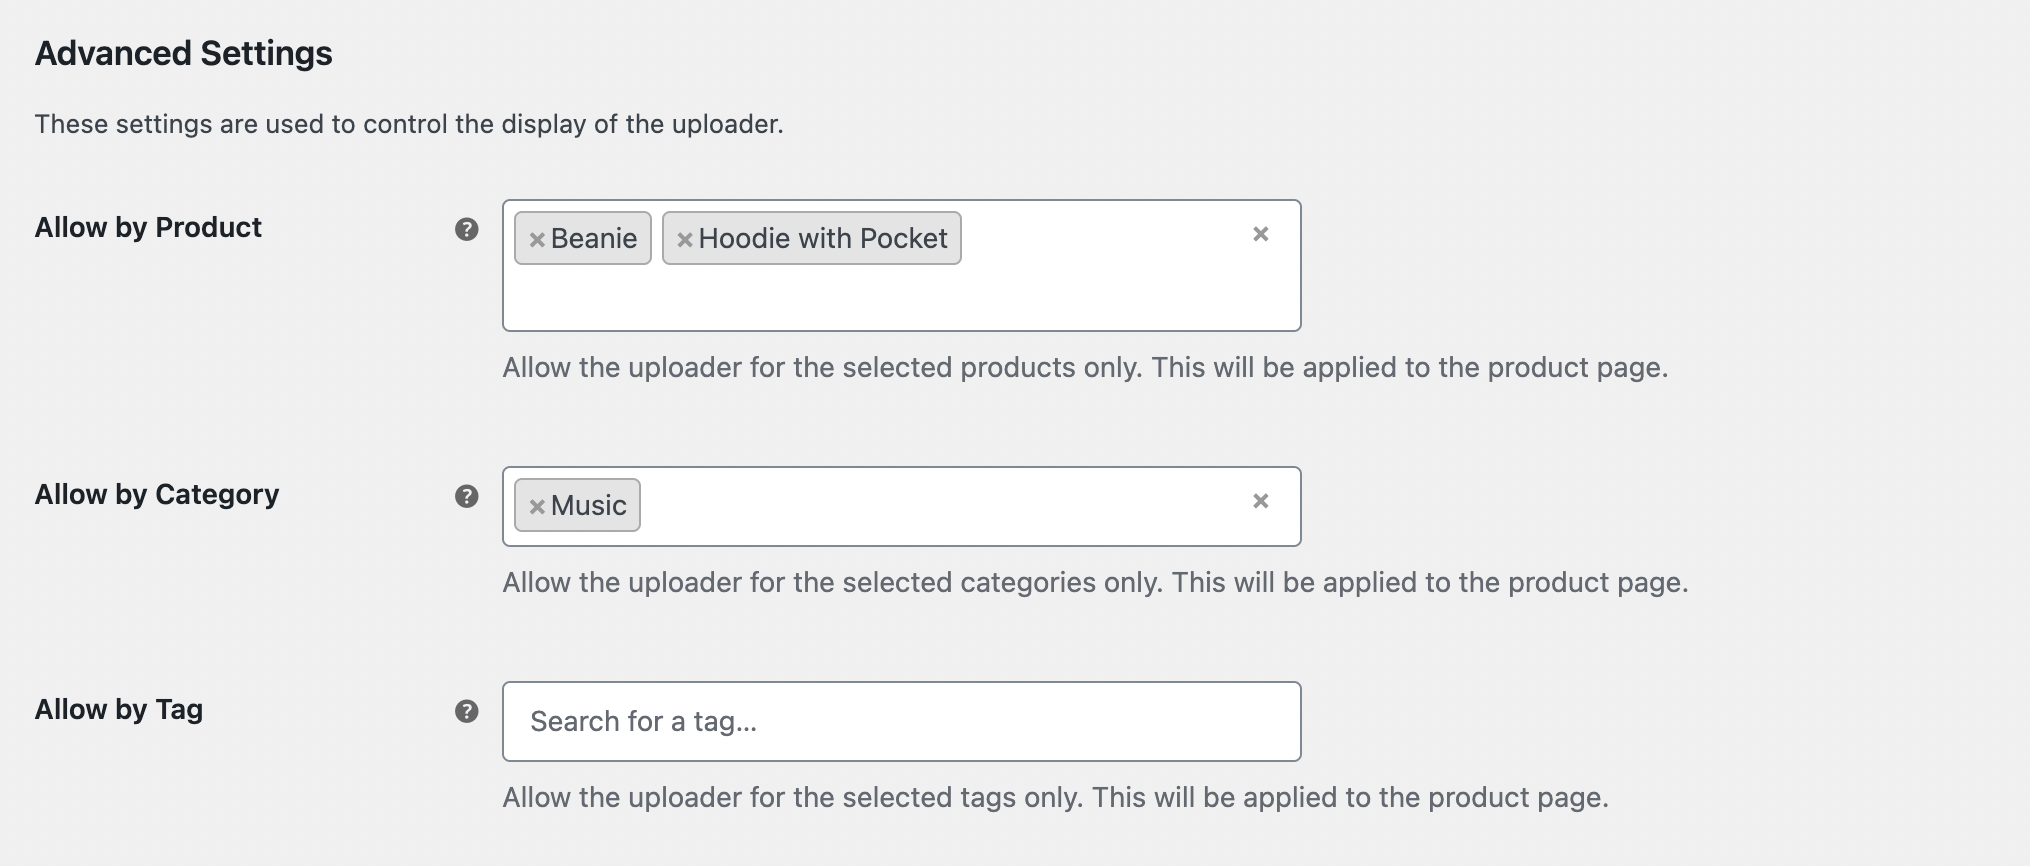
Allow by Product
Select the specific products where the uploader should appear. This is useful when only certain items require customer files.
Allow by Category
Choose product categories that should show the upload and note fields. All products within the selected categories will follow this rule.
Allow by Tag
If you organize items using tags, you can activate the uploader based on selected tags. This gives you another flexible way to target certain products.
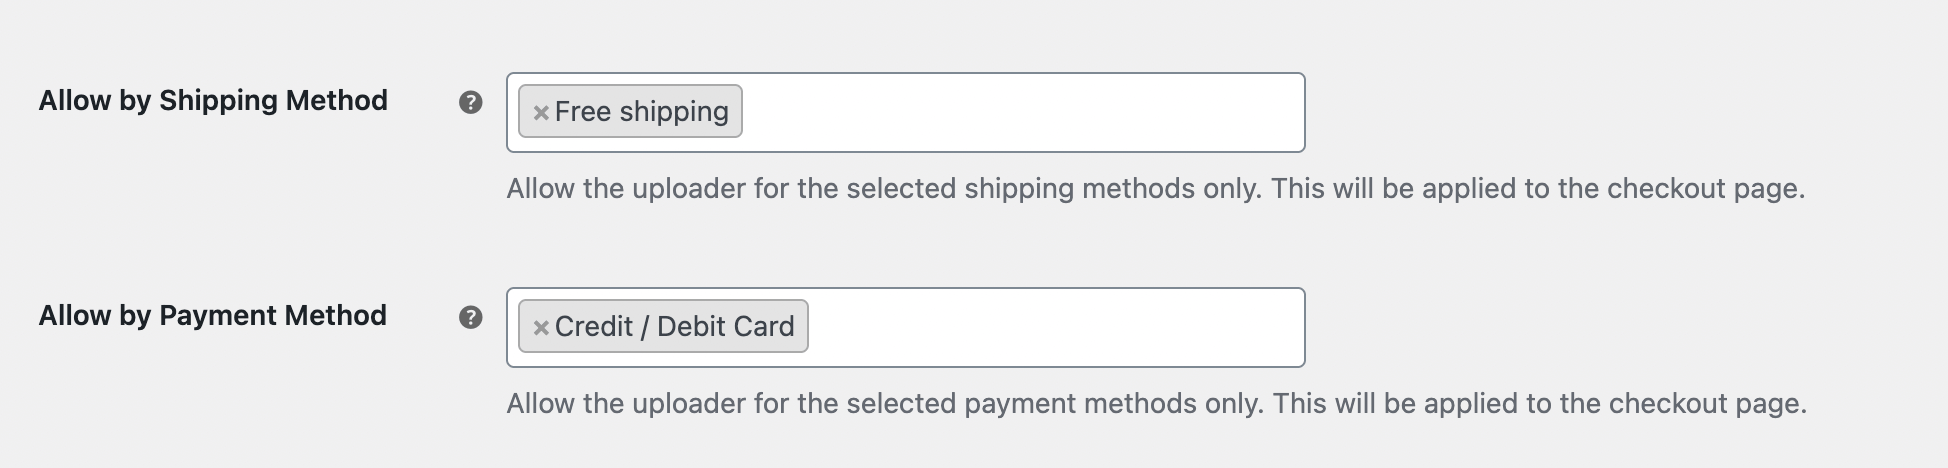
Allow by Shipping Method
Enable the uploader only for specific shipping methods. This is helpful when certain delivery types require extra documents or instructions.
Allow by Payment Method
Choose which payment methods should trigger the uploader’s appearance. For example, you may want additional information only when customers choose cash on delivery.

Allow by User Role
Select the user roles that should be able to see the uploader. This is useful for stores that treat wholesale, retail, or guest customers differently.
Save Changes
After adjusting the rules, click Save Changes. Your visibility settings will take effect immediately.
Next Step
Continue to Fees and Discounts to configure cost adjustments based on file uploads.