Installing, Updating, and Uninstalling Free Plugins
Our plugins can be installed, updated, and uninstalled in the same manner as any other WordPress plugin.
If you have an existing WordPress site and wish to install our plugins, the simplest method is to use the admin dashboard.
Please note that all of our plugins are an extension for WooCommerce and thus only works if you have the WooCommerce plugin installed.
Alternatively, however, our plugins can also be downloaded from WordPress as a ZIP file and then you can upload them to the WordPress Plugins folder from the admin dashboard or if you’re an expert then you can unzip the installation file and install them via FTP.
Installation & Activation via Admin Dashboard
Learn how to install and activate our free plugins for your WooCommerce store.
Option 1: Search
Login to your WordPress site and open the admin dashboard. Go to Plugins > Add New. Now look for the plugin you’re looking for in the top right of the search. (Write the exact name of the plugin on the search bar)
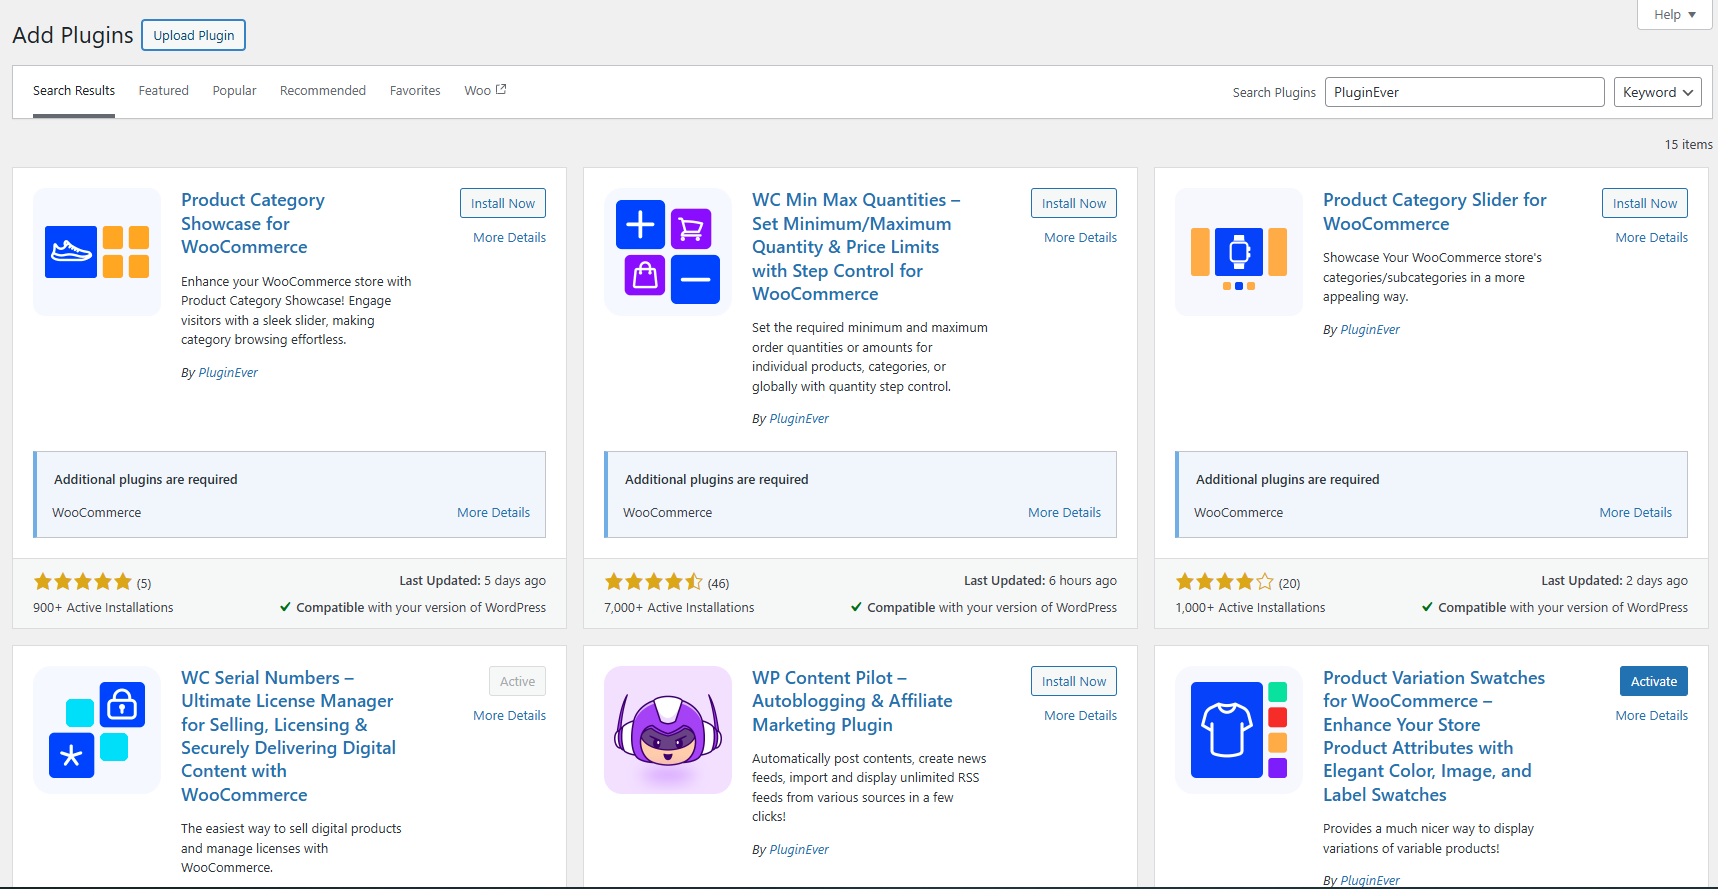
Now install the plugin by pressing the Install Now button. After the installation is complete, click on Activate to activate the plugin.
Option 2: File Upload
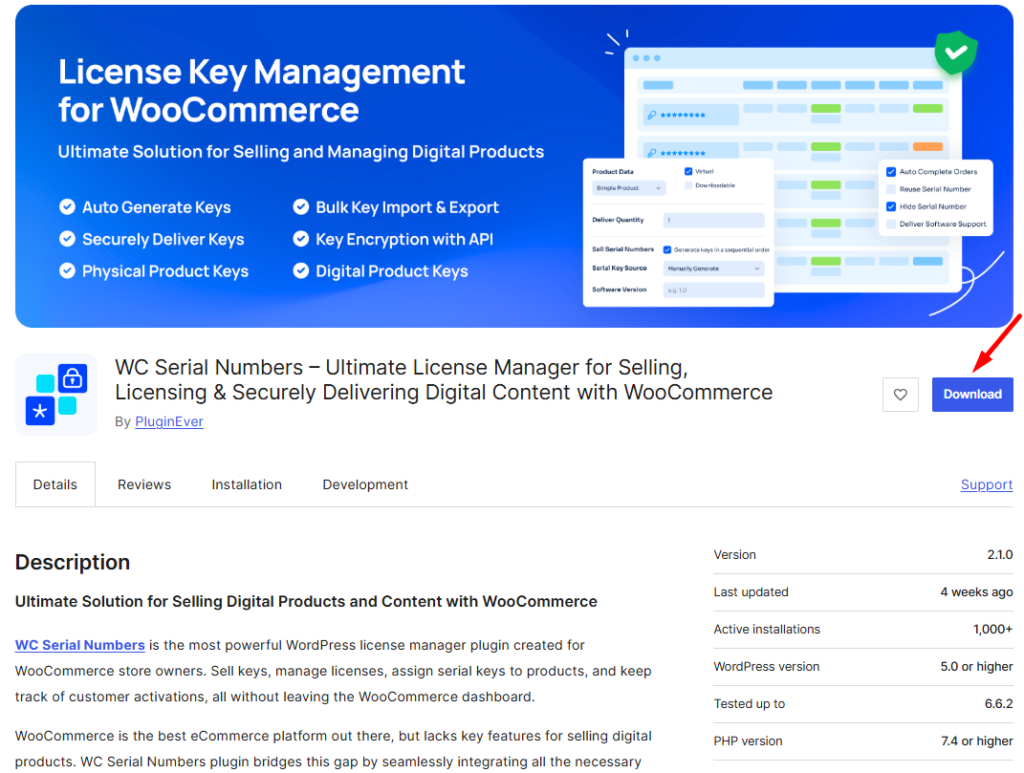
Download any of our plugins directly from the WordPress.ORG repository.
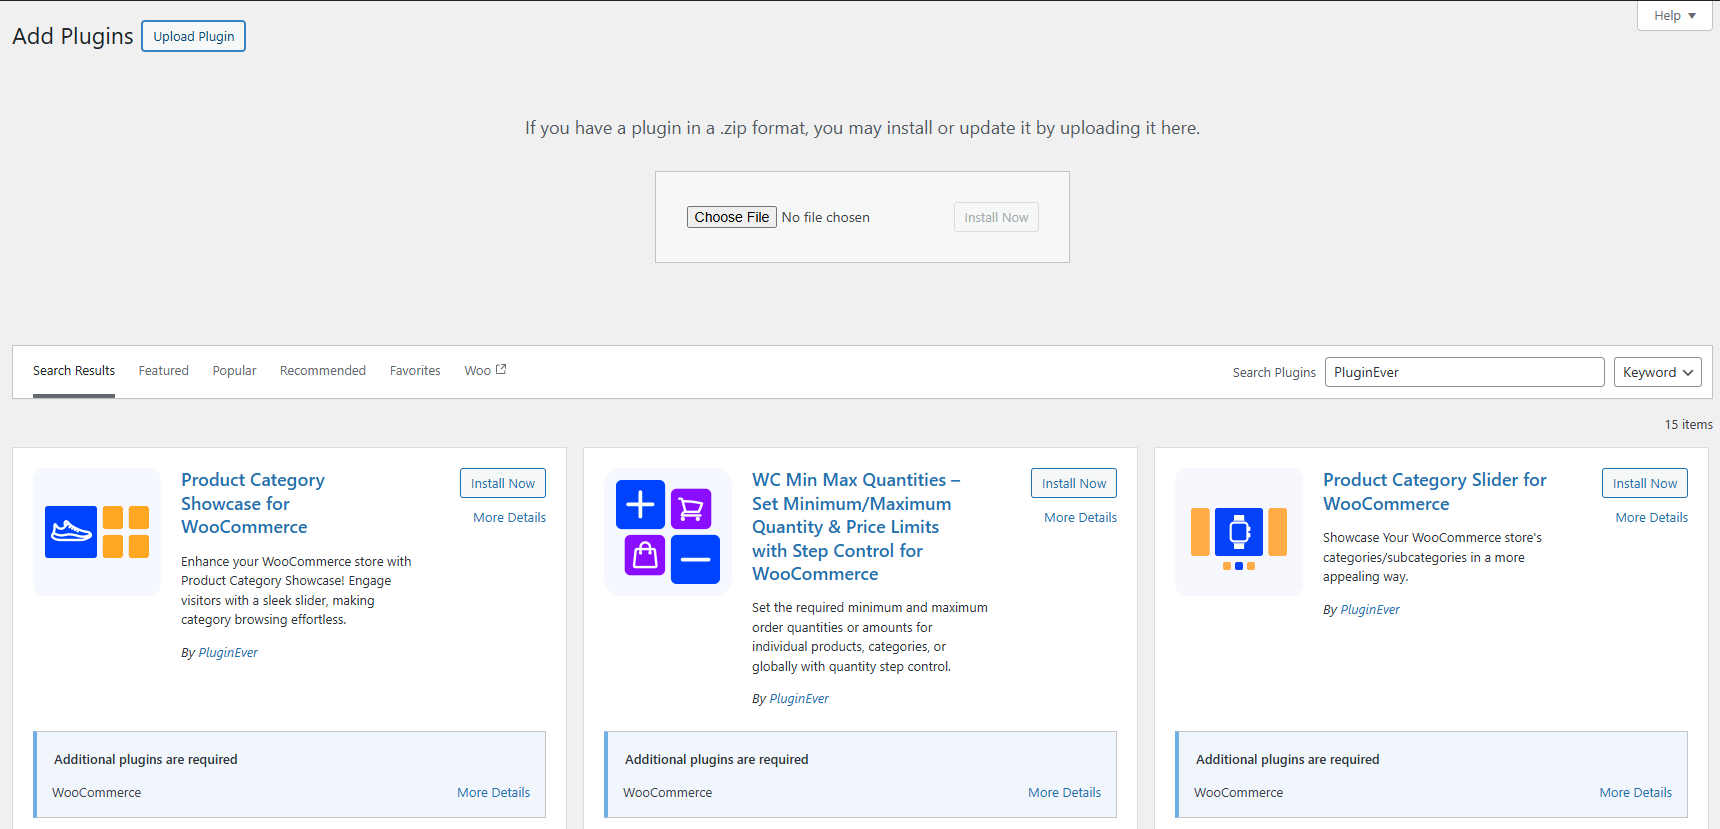
Login to your WordPress site and open the admin dashboard. Go to Plugins > Add New > Upload Plugin.
Now use the Choose file button to select the plugin ZIP file you just downloaded from the WordPress.org repository. Now start the installation using the Install Now button.
After the installation is complete, click on Activate Plugin to activate the plugin.
Installation and Activation via FTP File Upload (Developer)
First, download your desired plugin from WordPress.ORG and unzip the plugin ZIP file.
Sign up with FileZilla on your server and open the path wp-content > plugins. Now upload the plugin folder you just unzipped into the Plugins folder on your server.
The plugin is now uploaded and ready to be activated.
Now, log in to your WordPress site and open the admin dashboard. Go to Plugins > Installed Plugins. There you will find the plugin you just uploaded (installed). Now click Activate to activate the plugin.
Update via Admin Dashboard
Updating to newer versions of our plugins is vital for securing them for your website’s environment and making them compatible with WordPress and PHP.
In addition, our development team works tirelessly every day to release updates that add new features, fix pesky bugs, enhance overall security, and generally improve the user experience.
Learn how to update our plugins without causing problems.
Please make sure to back up your WordPress site before any update. The backup should contain the folder wp-content, as well as the database of your WordPress site. This ensures that your WordPress site can be recovered after a failed update.
Frankly speaking, we test every update before release, but there may be peculiarities on some WordPress sites that may interrupt or affect the update.
The easiest way to update our plugins is via the Updates page in your WordPress admin dashboard.
Alternatively, you can download the most recent version of our plugin from WordPress.ORG then upload it to your site and replace the older one, or by uploading the unzipped installation file to the site’s Plugins folder via FTP.
Learn how to update our plugins via the admin dashboard.
Option 1: Updates page
Arguably the easiest way to update our plugins is through the Updates page in the admin dashboard.
First, log in to your WordPress site and open the admin dashboard. Go to Dashboard > Updates. You will now see a list of existing updates to your plugins, including WordPress updates. If no updates are visible, you may click on the Check Again link to clear the update cache, which ideally will show new updates.
If there is an update available for any of our plugins you’re using right now, you can find it in the Plugins update table. Now activate the checkbox in the table and press the Update plugins button. Our plugins will get updated automatically.
Option 2: Plugins page
Another way to update our plugins is the Plugins page itself. For this, you need the latest plugin installation file, which you can download directly from WordPress.ORG.
First, log in to your WordPress site and open the admin dashboard. Go to Plugins > Install > Upload Plugin. Now use the Select file button to select the plugin ZIP file you want to upload.
That’s it!
You can also use the same method we talked about above for FTP file upload. You just need the new version of the Plugin ZIP file to replace the older one.