The Localization settings in the WC Checkout Files Upload Manager plugin allow you to customize the language and labels that appear in the file upload interface and order details. This helps tailor the experience for your store’s audience, whether you’re translating into another language or simply changing text for clarity.
To access these settings, go to your WordPress Dashboard → WooCommerce → Checkout Files → Localization
Order Details
This section allows you to personalize the labels that appear in the Order Details Table (both for customers and admins). For example, you can change how the file uploads and notes are labeled in the order review.
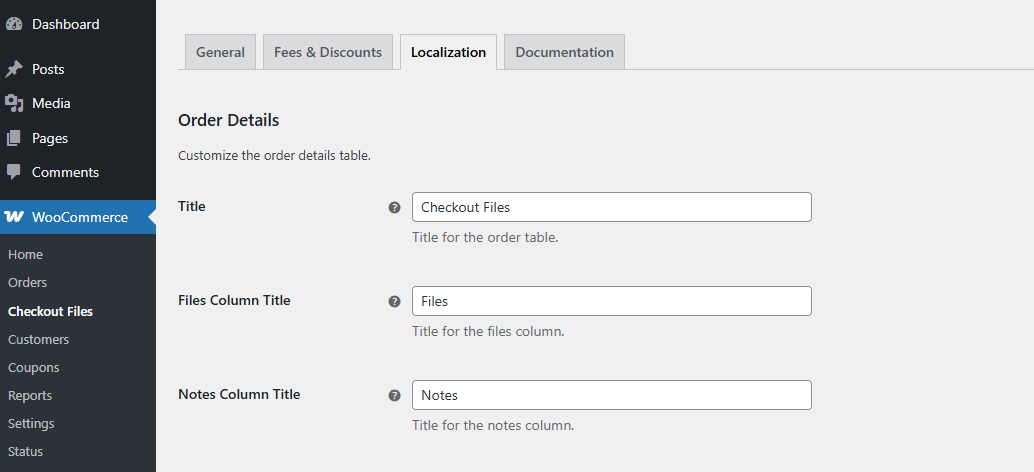
Title
Set the main title for the order details section that displays uploaded files and notes.
Files Column Title
Set the label for the files column in the order table.
Notes Column Title
Customize the notes column title, which appears beside each uploaded file if notes are enabled.
Notices
Here, you can customize all the error and information messages shown to customers during the upload process. This is helpful for localization (multi-language sites), UX clarity, or brand tone consistency.
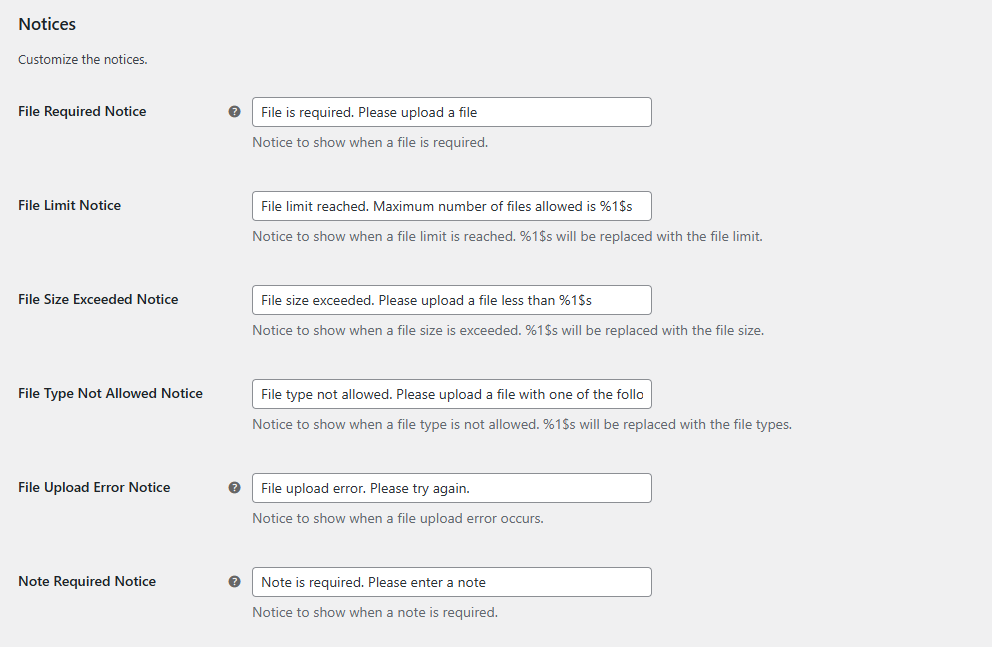
File Required Notice
Displayed when a file upload is mandatory, but the customer hasn’t uploaded anything.
File Limit Notice
When a file limit is reached, a notice is displayed. The file limit will replace percentages/numbers/costs.
File Size Exceeded Notice
Shown when the customer tries to upload more files than allowed. The file size will be replaced by percentages/numbers/costs.
File Type Not Allowed Notice
Appears when a file exceeds the size limit set in your general settings. The file types will be replaced by percentages/numbers/costs.
File Upload Error Notice
Used for general upload failures—often due to browser, server, or temporary issues.
Note Required Notice
Shown when notes are required, and the customer hasn’t entered one.