Add dynamic hover effects to your product images. Choose from five different effects and customize how they behave to match your store’s style.
Access Image Flip Settings
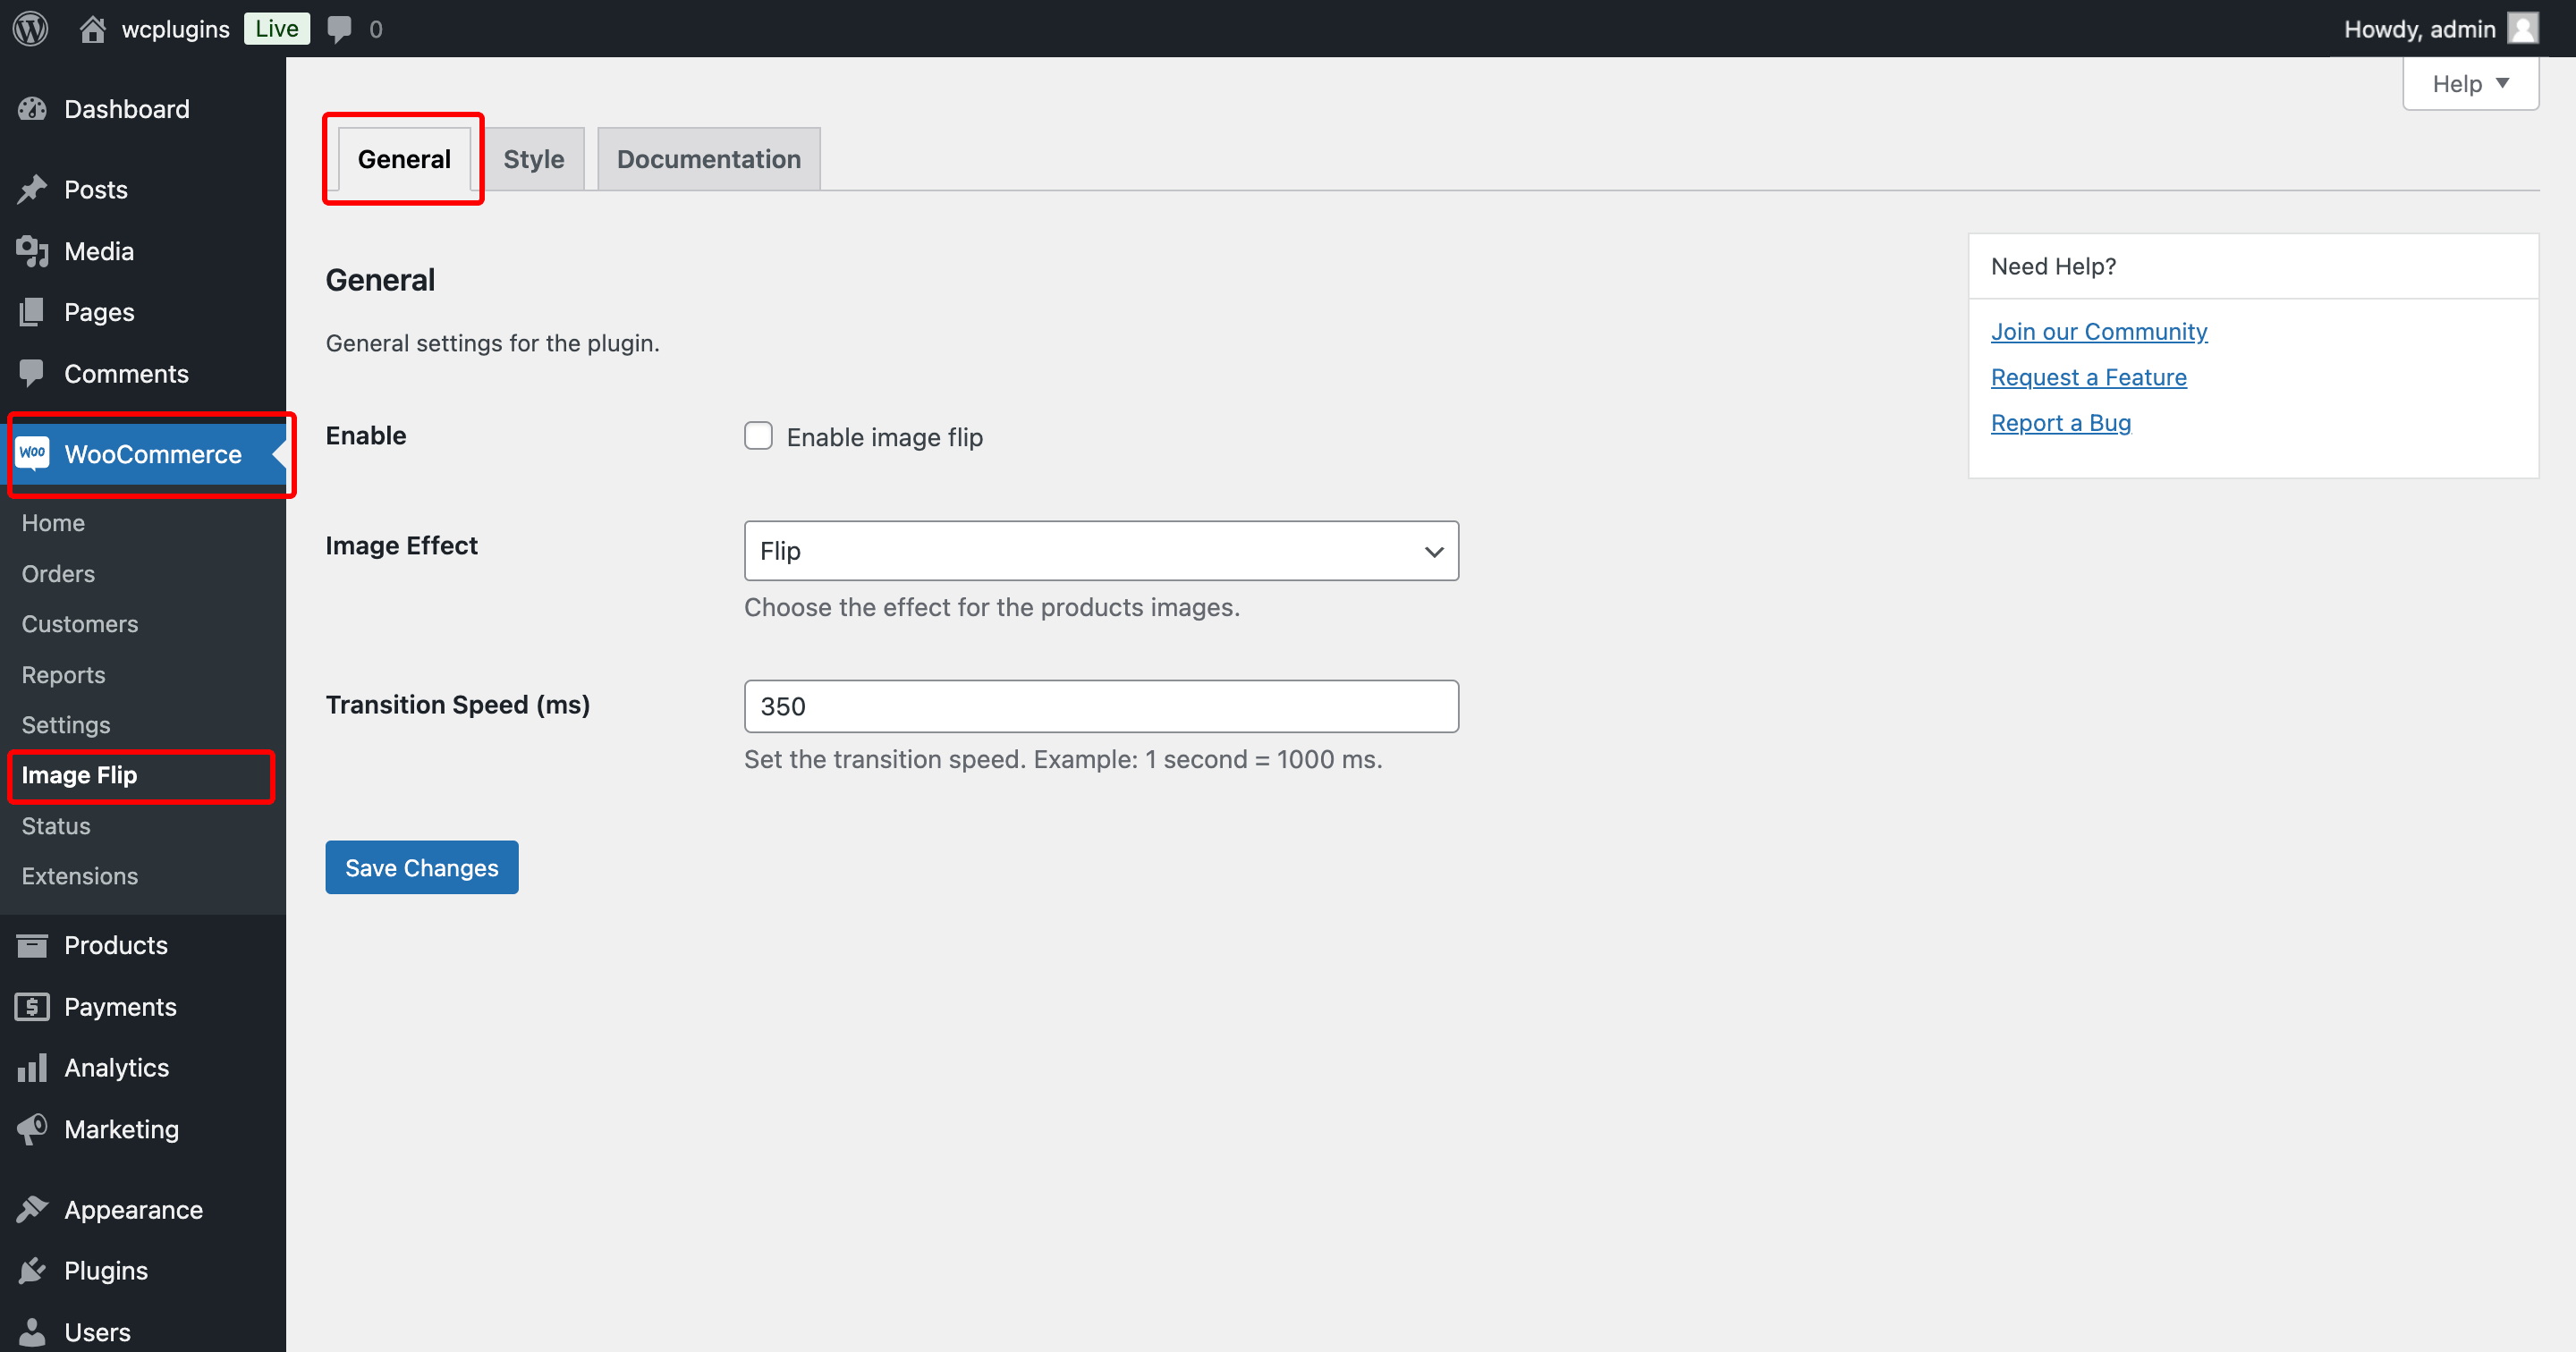
Navigate to WooCommerce > Image Flip in your WordPress dashboard.
Setup Process
Step-1: Enable Image Flip
Choose one of five hover effects for your product images:
Step-2: Select Your Image Effect
Choose one of five hover effects for your product images:
Only one effect can be active at a time and applies to all products store-wide. Choose the effect that best showcases your products.
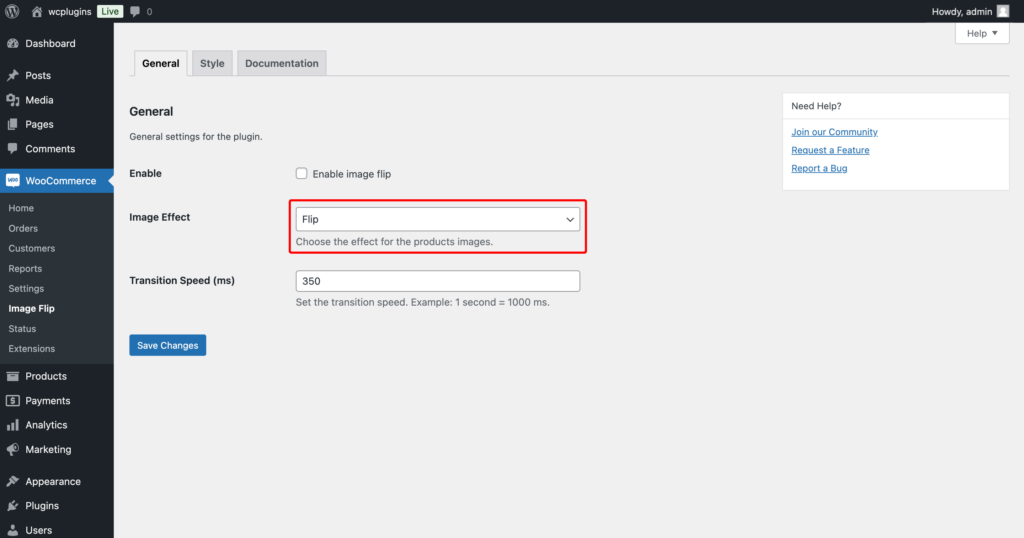
2.1: Flip
Creates a flipping animation that reveals the second product image when customers hover over it.
Transition Speed (ms) – Control how fast the flip animation happens. Example: 1000 ms = 1 second
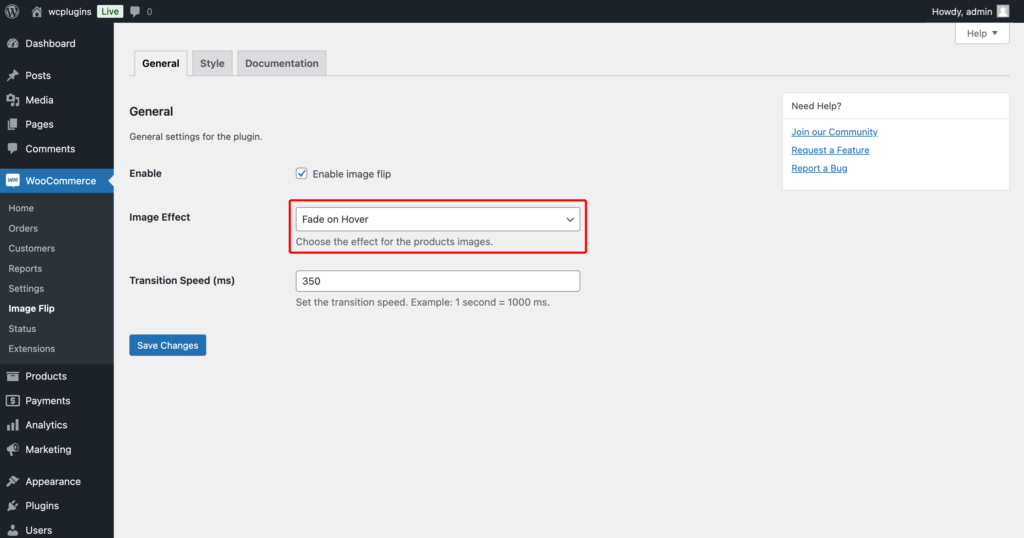
2.2: Fade on Hover
Smoothly transitions from the first image to the second with a fade effect, creating an elegant image switch.
Transition Speed (ms) – Set the fade duration. Example: 1000 ms = 1 second
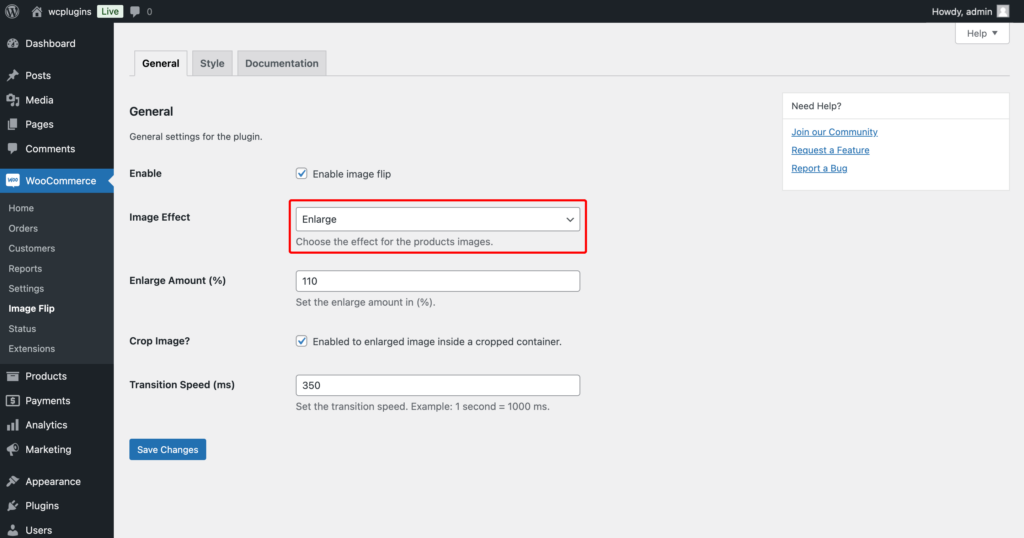
2.3: Enlarge
Zoom into the product image on hover, letting customers see more detail without clicking.
Enlarge Amount (%) – Control how much the image zooms in
Crop Image – Keep images fitted to their container during the zoom effect
Transition Speed (ms) – Set zoom animation speed. Example: 1000 ms = 1 second
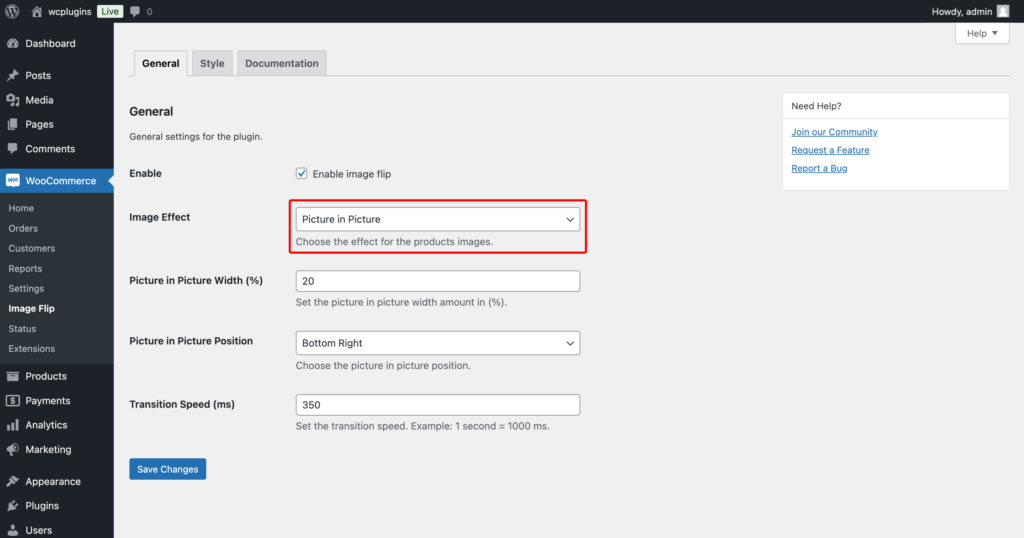
2.4: Picture in Picture
Displays a smaller preview image in one corner of the main image when hovering, perfect for showing alternate views.
Picture in Picture Width (%) – Set the size of the preview image
Position – Place preview in Top Left, Top Right, Bottom Left, or Bottom Right corner
Transition Speed (ms) – Control how quickly the preview appears
Border Color – Set in the Style tab to match your store design
Customize the preview border in the Style tab to match your store’s design.
2.5: Slide
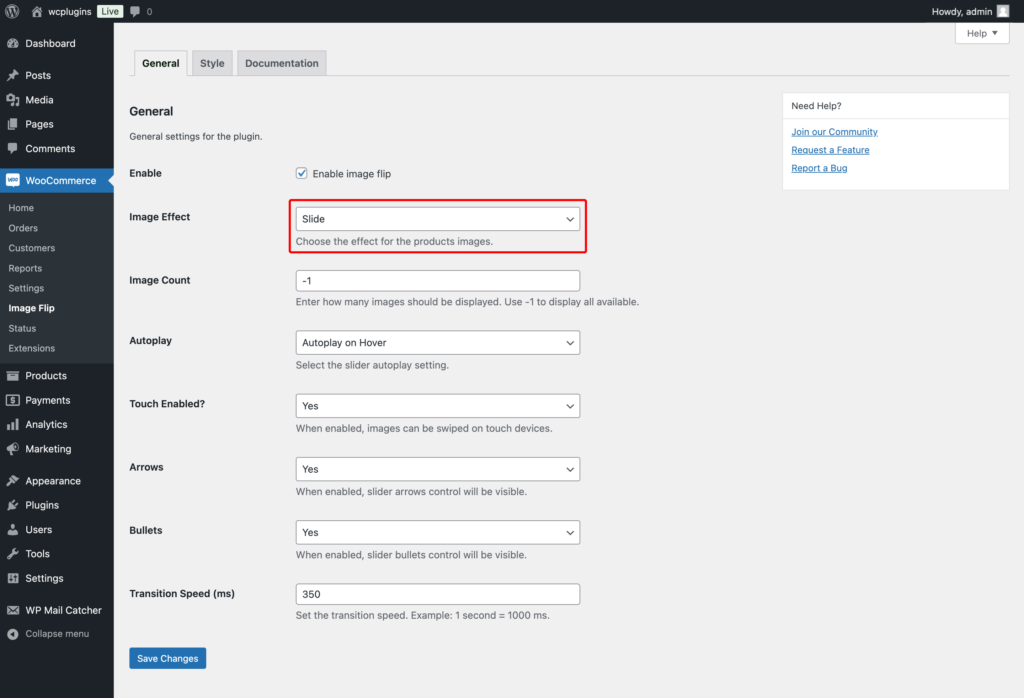
Turns multiple product images into an auto-playing or manual slider, great for products with several photos.
Image Count – Choose how many product images appear in the slider
Autoplay Options – Pick Autoplay on Hover (starts when the mouse hovers) or Forced Autoplay (continuously loops)
Touch Slide – Let mobile users swipe through images with touch gestures
Arrows & Bullets – Display navigation controls for manual sliding
Transition Speed (ms) – Set how fast slides change
Change the navigation dot colors in the Style tab to match your theme.
Step-3: Save Settings
Click Save Changes to apply your effect across all WooCommerce products.
Next Step
Customize visual details like border colors and styling options in the Style tab to perfect your product image presentation.